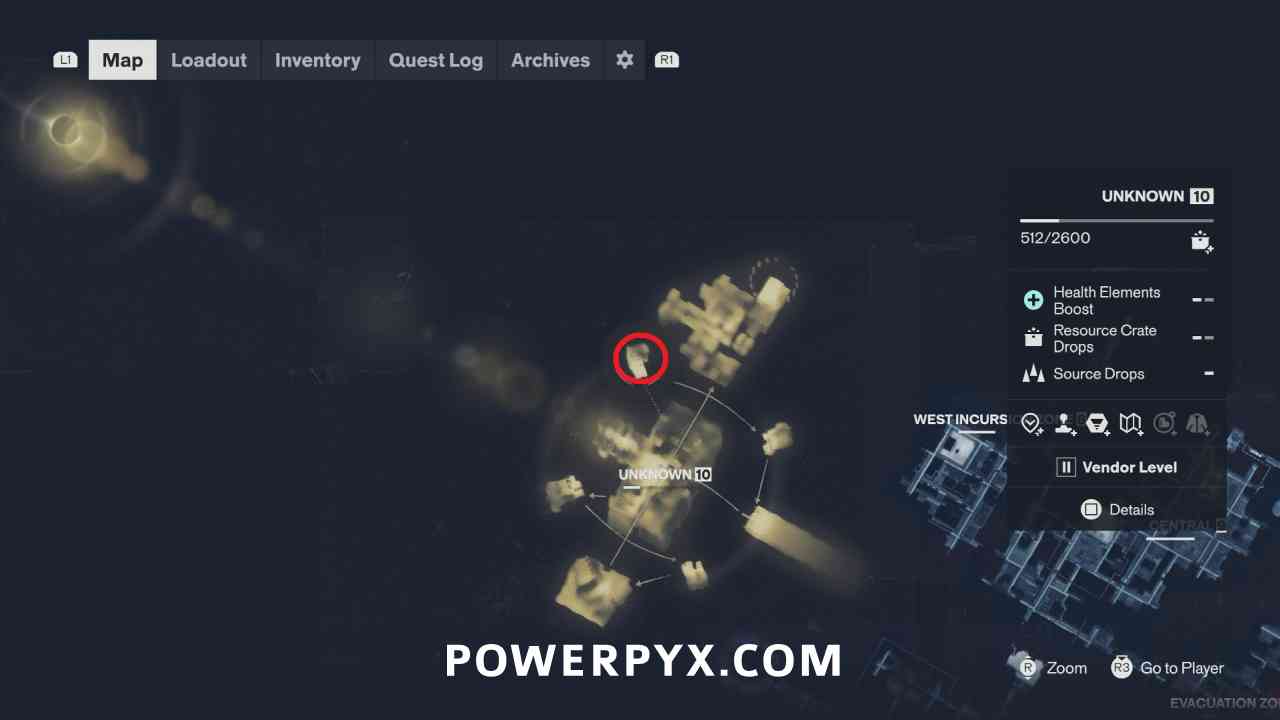
How to Start
A New Directive begins on its own while Dylan is traveling through the Unknown Zone. Walking onto the north-west island or the south-west island triggers an automatic radio call from a mystery caller, and visiting the opposite island brings a second call. The caller speaks in garbled, hard-to-understand sentences — and, as it turns out, "Fred" and "Fra" are the same person: Fra Mauro.
This quest has no combat at all — it's a pure investigation-and-errand chain, so you can take it at your own pace. The main thing to keep straight is the identity of the caller: the garbled voice on the radio, Fred in the blue jumpsuit, and Fra Mauro are all the same person. Everything you do — the office setup, the portrait, the radio calls — is about convincing him that the containment container south of Langston is his proper Director's office.
Walkthrough
Follow the objectives in order:
- Wait to Hear Back from the Mystery Caller — The second call arrives automatically once you visit the opposite island.
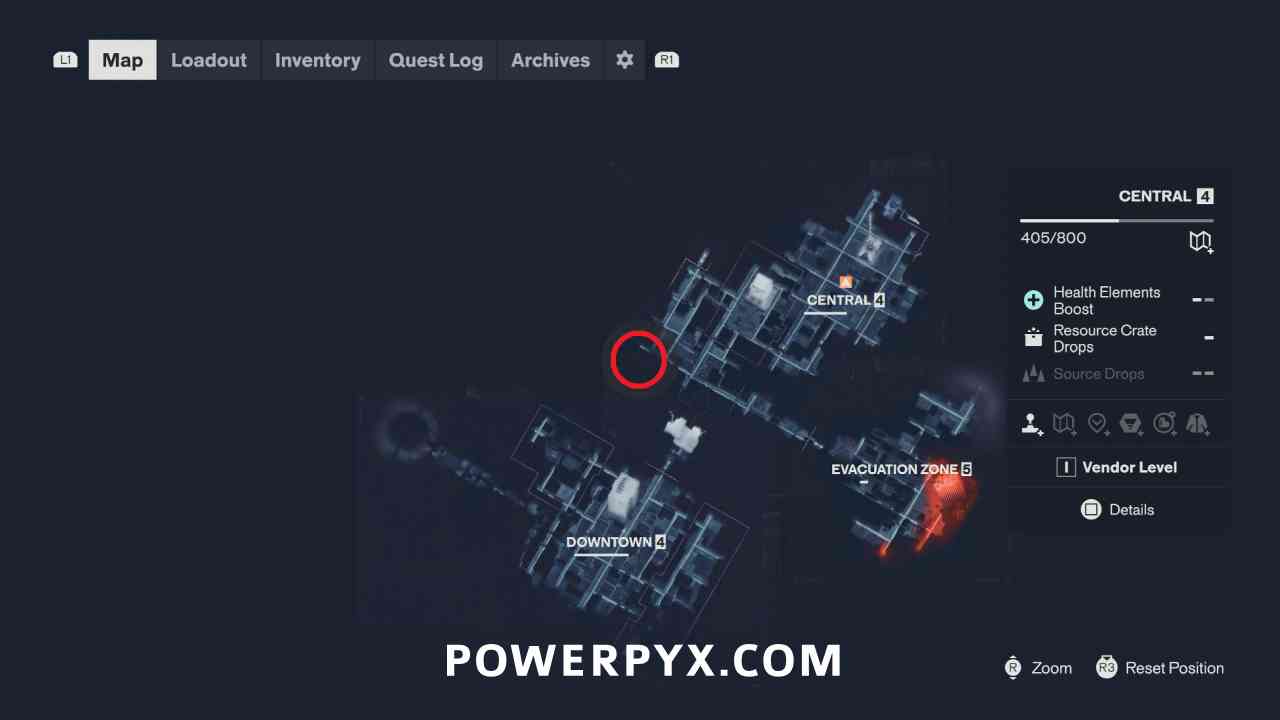
- Locate the Mystery Caller — Head to the Field Office in Central. In the eastern part of the area, find the building labeled CAFETERIA and interact with the person in the blue jumpsuit. This is Fred.
- Question FBC Agents at the Field Office about Fred — Speak with the agents around the search area, starting with Langston on the east side of it.
- Find Out What Fra Wants — Langston suggests how to talk to Fred. Return to Fred and pick the dialogue options "You call Jesse 'Roosa'" followed by "You're looking for Jesse?"
- Tell Langston What Fra Wants — Report back to Langston. Any response works here.
- Go to the Real Director's Office for Reference — Langston suggests using the Director's Office as a reference for trapping Fra. Enter the Oldest House, go to the Director's Office, and inspect the desk to sketch a reference.
- Furnish the Containment Unit — In the Field Office area, directly south of Langston, find the container with furniture sitting outside it. Arrange the furniture like this: two plastic chairs in front of the desk, the sofa chair behind the desk, the fan and the light on top of the desk, and two traffic cones behind the desk. Take your time with the placement — each piece needs to be roughly in the right spot for the objective to register.
- Get Fra into the Containment Unit — Go back to the Cafeteria and speak with Fra. Work through the dialogue until the "Is it a Portrait" option appears, and choose it.
- Get a Canvas for Fra's Portrait — Fra wants a portrait of himself as the Director. Enter the main Field Office building and interact with one of the portraits of Jesse inside — the Director's portrait.
- Paint Fra onto the Director's Portrait — Return to the Cafeteria and interact with Fra to alter the portrait.
- Hang the Portrait in Fred's Office — Go back outside into the container and interact with the back wall to hang the portrait.
- Get Fra into the Containment Unit — Speak with Fra in the Cafeteria again. He's still unconvinced, so the plan needs one more push.
- Talk to Langston about Fred — Speak with Langston outside once more for advice.
- Tell Zoe How Great Fred is — Go to the Watchtower in Central and speak with Zoe, then interact with the radio to the left of Zoe to call Fred. Tell him his office is ready — and he agrees to move.
- Trap Fra Mauro in the Containment Unit — Return to the Field Office area near Langston and interact with the panel beside the container door to finish the quest.
Don't be thrown off by the repeated "Get Fra into the Containment Unit" objectives — they're two separate attempts. The first attempt stalls because Fra isn't convinced by the office yet; the second comes after Zoe's radio call tips him over the edge. If you're ever unsure where to go next, the quest log always points at the current step.
Rewards
- Untapped Whetstone artifact.
- Progress toward the Panopticon Intern trophy.