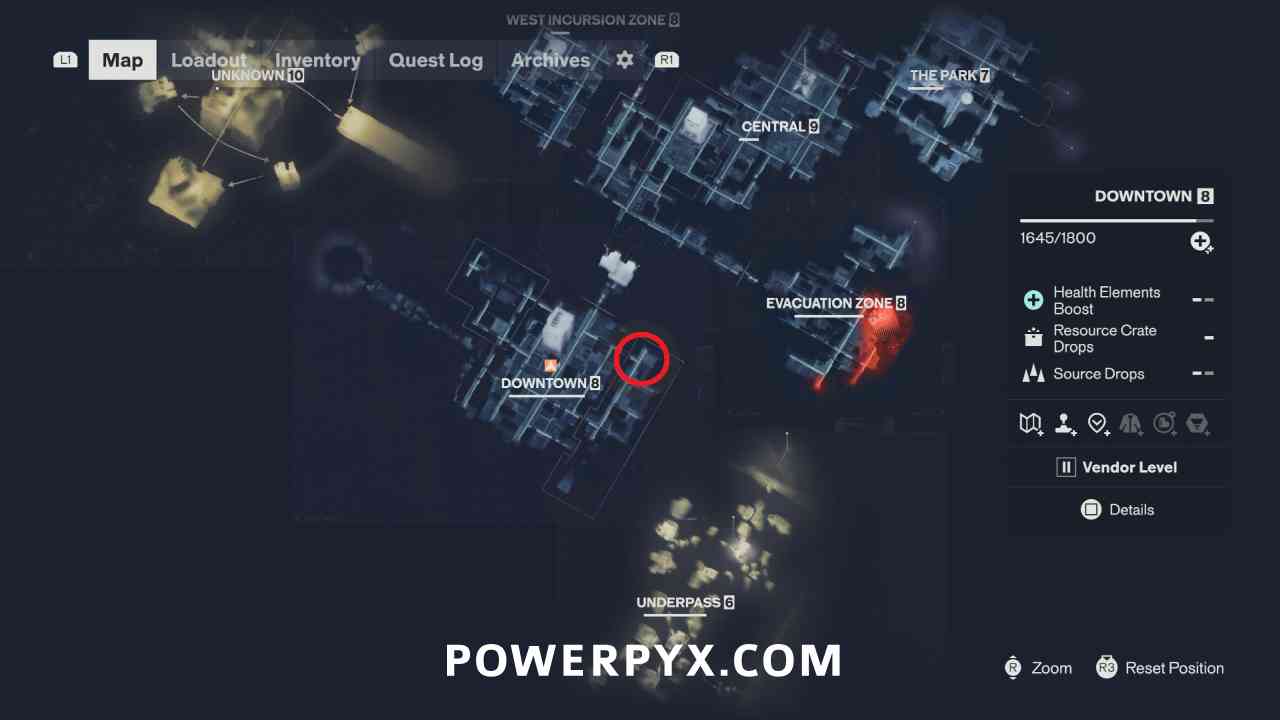
Dylan hears honking coming from a taxi — and someone inside may be in trouble. The Last Taxi sends him to seven different cabs scattered across Manhattan, each one a doorway into a Threshold with its own puzzle to escape. It is one of the three side quests feeding the Threshold Researcher trophy, alongside Unsupervised Science and Crossing the Threshold — thirteen thresholds between the three of them. Each taxi also counts as a collectible, since the full set of 7 Taxis shares this quest's completion.
How to Start
The quest begins when Dylan inspects any of the seven taxis (with L1/LB). There is exactly one taxi per zone, and they are marked on the map once the player gets close — the log updates with whichever cab was found first. The taxis can be handled in any order, and the only requirement is being able to reach the area where a given cab sits. The quest's stated objectives are "Help the Taxi Driver," "Get Back to Manhattan," and finally "Get the Caller Back to Manhattan."
The loop is the same at every cab. Interact with the taxi and Dylan is taken into a separate Threshold area. Inside, the first move is always to answer the ringing phone in the alley — that starts the actual puzzle. The core of each puzzle is identification: across three cycles, pick out the correct taxi from a group of identical-looking cabs. The right one is always the vehicle that behaves differently from the rest — its roof light stays on or off, its blink pattern is off-beat, or its shadow does not match. The clues below give the exact tell for each cycle.
Walkthrough
Taxi 1 — Downtown
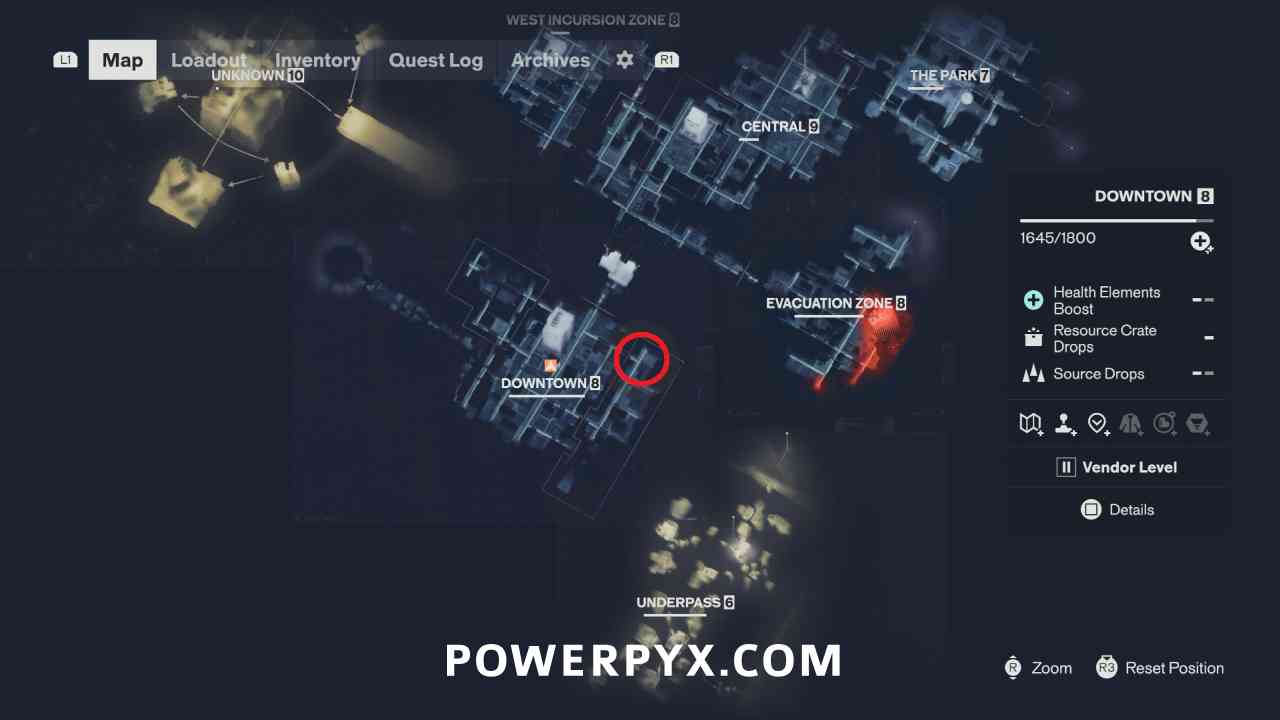
The Downtown cab sits on the main road, north of the deserted road checkpoint. Inspect it, then inspect the right passenger door and choose to get in. After the ride into the Threshold, answer the phone in the alley.
- Cycle 1: take the cab with the TAXI roof light turned on.
- Cycle 2: take the taxi whose top light does not go out when the player approaches it.
- Cycle 3: take the taxi whose top light is currently lit — the light toggles on and off, so watch the row and move quickly when the lit one shows.
Taxi 2 — Central
The Central cab is found on the main road, north of the deserted road checkpoint. The pattern here is a two-step that repeats.
- Cycle 1: take the taxi with its roof light lit.
- Cycle 2: take the taxi with headlight, taillight, and top light all lit.
- Repeat: to exit the Threshold, run the sequence once more — roof-light-only cab first, then the all-lights cab.
Taxi 3 — Evacuation Zone
The Evacuation Zone cab is in the center of the area, west of the Evac Building, in the alley between the three streets near the laser group. Answer the phone in the alley, then watch the flash patterns.
- Cycle 1: take the taxi flashing opposite all the others.
- Cycle 2: take the taxi that flashes twice in a row while the others flash only once.
- Cycle 3: take the taxi that does not flash along with the rest of the group.
Taxi 4 — West Incursion Zone
The West Incursion Zone cab is southwest of the Empire Avenue fast travel door, in the upside-down section of the zone, stuck to a wall. Answer the phone in the alley and use the streetlights as the guide.
- Cycle 1: take the taxi parked under the flashing streetlight.
- Cycle 2: take the taxi parked under the non-flashing streetlight.
- Cycle 3: take the taxi whose streetlight flashes opposite all the others.
Taxi 5 — The Park
The Park cab is southwest of the Mold Factory fast travel point, on top of the parking garage. To reach it, start at the north-west street corner outside the garage, climb the big blue mold growth to the roof where the vendor truck sits, then drop down one floor. Answer the phone in the alley — this cab's puzzles are about missing car parts rather than lights.
- Cycle 1: destroy the Mold to uncover the trunk and hood, then place them back onto the taxi.
- Cycle 2: pick up the hood and two wheels and fit them back on — grab the yellow hood farther down the road, not the blue one sitting near the tires.
- Cycle 3: destroy the Mold to reveal the car, then fit the correct parts: the fender, hood, and top light are behind and to the left of the car, while the trunk and rear bumper lie off to the right.
Taxi 6 — Underpass
The Underpass cab is in the far southeast of the area — reached during the story after the cable car ride — in the northeast corner of the large mold-filled room. Answer the phone in the alley and watch how the lights behave.
- Cycle 1: enter the taxi whose lights do not turn off along with the rest.
- Cycle 2: enter the taxi whose headlights and taillights go dark when the lights flicker.
- Cycle 3: enter the taxi with no lights on at all when the streetlights are on.
Taxi 7 — The Unknown
The final cab is on the Evac Building island in The Unknown, north of the building itself. Answer the phone in the alley. All three cycles work the same way here: pick up the light, shine it at the row of cars, and check their shadows on the wall. Enter the taxi with the correct shadow. The right car appears to be randomized, so there is no fixed position to memorize — look for the shadow that matches rather than a specific cab.
Final Objective — Get the Caller Back to Manhattan
After all seven taxis are cleared, Dylan comes back to the street one last time. Head into the alley and answer the phone for the final call — the caller's thread resolves (one account of this quest names the caller on the payphone as Mila) and the mission completes.
Rewards
Finishing The Last Taxi grants the Untapped Coffee Cup Artifact. It also counts as one of the three side quests required for the Threshold Researcher trophy. Nothing in the quest is missable — any taxis skipped during the story can be done in post-story free-roam.