GUIDE · UNIT STRATEGY
Ratha mode-switching formation
Ratha offer ranged and melee modes, letting one unit line adapt to the opponent’s formation. The choice between modes can change how the group engages, so mode control and scouting are central to using them well.
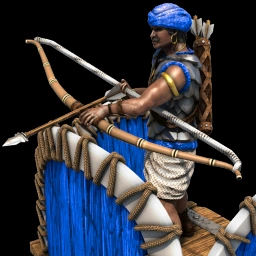
Overview
Ratha offer ranged and melee modes, letting one unit line adapt to the opponent’s formation. The choice between modes can change how the group engages, so mode control and scouting are central to using them well.
Plan and execution
Approach in ranged mode while the enemy formation is still organized, then switch a group to melee when closing distance is safer or a target must be finished. Keep a second group ready to maintain ranged pressure and avoid changing the entire army to a mode that gives up a useful firing line.
Risks and adaptation
A mode switch does not remove the unit’s need for protection or good target selection. Enemy counters can exploit whichever form you choose, so scout first and avoid sending Ratha alone into a prepared counter composition.
- Focus
- Flexible ranged and melee cavalry
- Signature / category
- Plan and execution
- Release / context
- Age of Empires II system
- Region
- Unit strategy
- Classification
- Unit strategies