01 — DARK AGE✦02 — FEUDAL AGE✦03 — CASTLE AGE✦04 — IMPERIAL AGE
THE ENCYCLOPEDIA
Game systems, maps & tools
Browse by subject, then follow the direct links to dedicated encyclopedia pages.
SUBJECT
Guides, maps & game systems
Achievements
294 entries AchievementsAchievements
 Bengali VictoryAchievementsDravidian VictoryAchievementsGurjara VictoryAchievementsRaja of the PeopleAchievements
 Hopeless RomanticAchievements
 Inspiring PoetAchievements
 Never Trust a Campaign AIAchievementsArmenian VictoryAchievementsGeorgian VictoryAchievements
 Alexandra the GreatAchievements
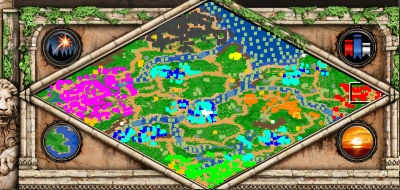 Auntie DearestAchievements
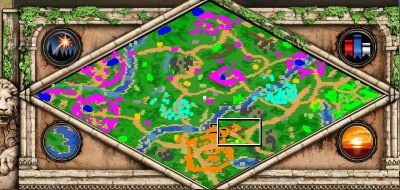 Bounty HunterAchievementsCall Me IsmailAchievements
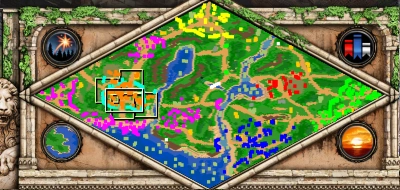 Church SanctuaryAchievements
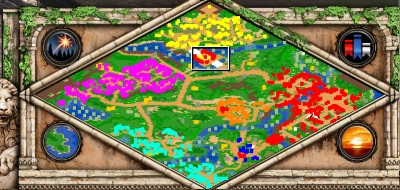 Game’s Over YuryAchievementsGeorgia On My MindAchievementsI Ain’t ’Fraid of No GunsAchievements
 Landslide ElectionAchievementsLord of the MountainsAchievements
 Raiding Party!AchievementsSneak AttackAchievements
 Heroes and VillainsAchievementsShogunAchievementsGalleon BlingAchievementsSaxon RevengeAchievementsCoup D'étatAchievementsTrust No OneAchievements
 Faster Than a Speeding CannonballAchievementsA Most Convenient DeathAchievementsSeeds of Their Own DestructionAchievementsCivis RomanusAchievementsSo EpicAchievementsPlebeian PreserverAchievementsBread and CircusesAchievementsGenerational AmbitionsAchievementsAge of VikingsAchievementsUnited We FallAchievementsVandalizedAchievementsDaimyo of the Nine ProvincesAchievementsThe Old-fashioned WayAchievementsLost VikingsAchievementsBut It's ProvocativeAchievementsA Hero Comes; He Gains RenownAchievementsKing of the SouthlandsAchievementsAcid RainAchievementsLike Taking Candy From A BabyAchievementsAwaken the DragonAchievementsMan of the PeopleAchievements
 Dare to DieAchievementsMedieval SlasherAchievementsDo Not Pursue Lü BuAchievementsShu VictoryAchievementsDrive-By BarrageAchievements
 Shu'ing EnemiesAchievementsFireworks ShowAchievementsSteppe PeopleAchievementsHero of ChaosAchievementsThe Imperial UncleAchievementsHorses for CoursesAchievements
 The Little ConquerorAchievementsI Am Coming For You, Liu BiaoAchievementsThe Tiger of JiangdongAchievements
 I Am the StormAchievements
 Time for a RaiseAchievementsI'm On Fire... Fireball!AchievementsWei March on Our StomachsAchievementsIron ArmyAchievementsWei VictoryAchievementsJurchens VictoryAchievementsWu VictoryAchievementsKhitans VictoryAchievements
 Furor TeutonicusAchievements
 A Truly Holy EmperorAchievements
 The Kushluk AssassinationAchievementsI Was in China BeforeAchievements
 The Go-GetterAchievements
 Offense Is the Best DefenseAchievements
 No Wonder on My WatchAchievements
 Diplomacy Is for the MeekAchievements
 Truly Countless BodiesAchievementsHot & SpicyAchievements
 The MissionaryAchievements
 Numerous as the Grains of SandAchievementsRome Was Destroyed in One DayAchievements
 Fire with FireAchievements
 No Royal Hair TouchedAchievements
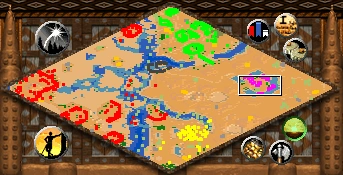 With the Help of My SistersAchievements
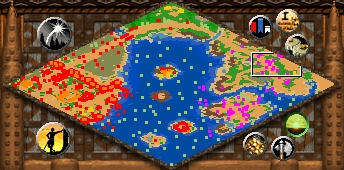 Roar like a LionAchievements
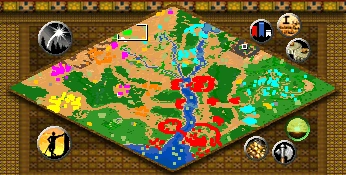 An Army Marches on Its StomachAchievements
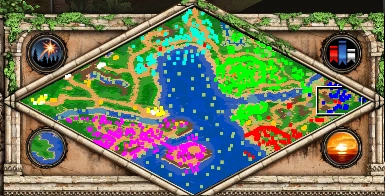 Friends, Countrymen, Lend Me Your EarsAchievementsRelic HoarderAchievements
 Chasing the CrownAchievements
 Not a Greek TragedyAchievements
 Cuman FlushAchievementsHe Won't Be BackAchievements
 Pitched BattleAchievements
 Raging WildfireAchievementsEternal GratitudeAchievementsLone WarriorAchievementsTurkish DelightAchievementsSmoke on the WaterAchievements
 BattleshipAchievements
 The Wonder, the Wonder, the... Oh, Never MindAchievements
 Unchivalrous PragmatistAchievementsThrone ThiefAchievements
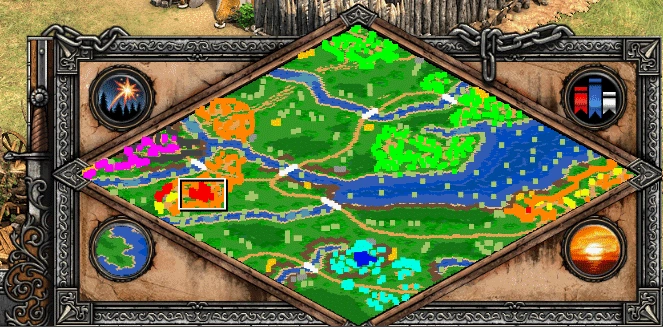 Malleus ScotorumAchievements
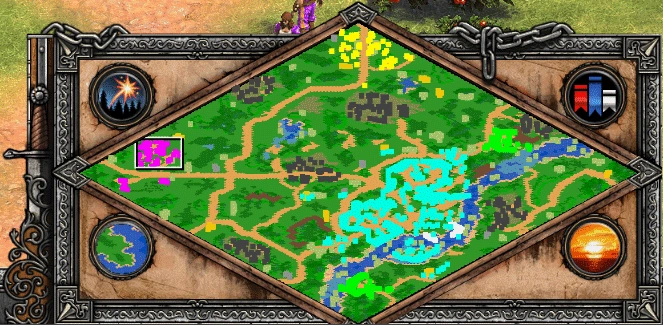 No WheelsAchievements
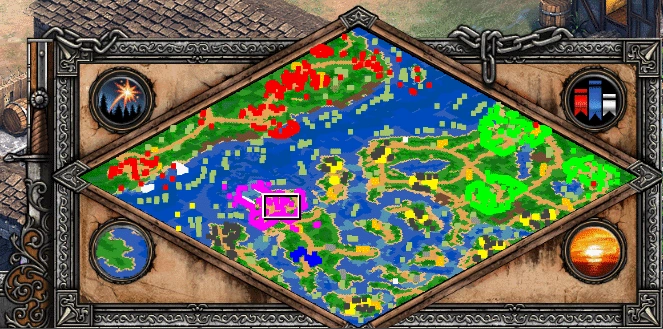 A Second HastingsAchievements
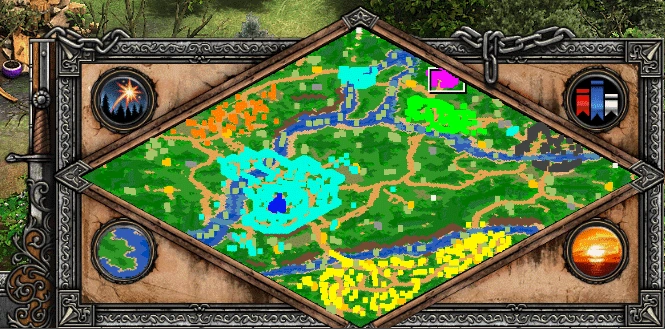 Shut Up La Hire!Achievements
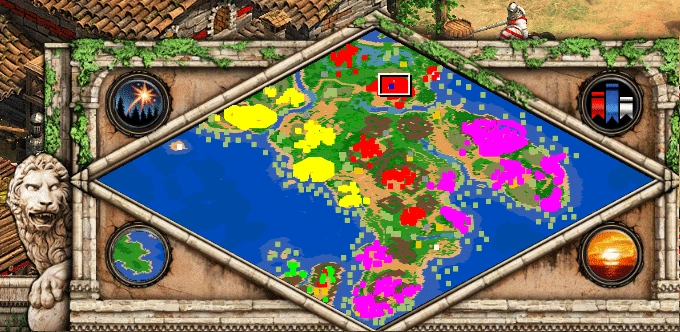 Self-Made ManAchievements
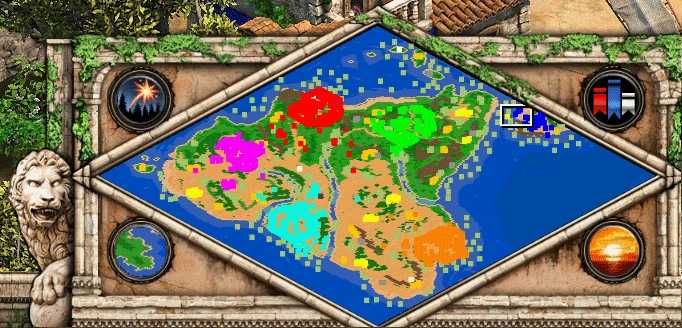 Haute, Haute, Brief Candle!Achievements
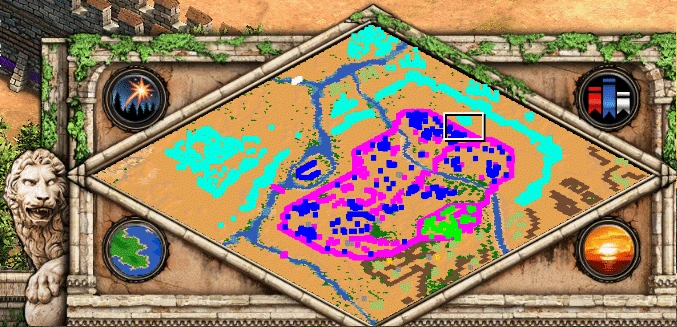 Italy Jones and the First CrusadeAchievements
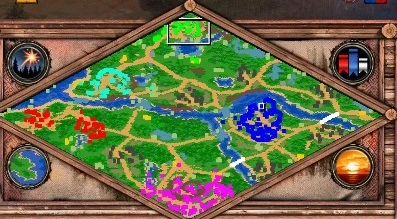 Tolerant PietyAchievements
 Scattered HordeAchievements
 Mint ConditionAchievements
 Protector of the RealmAchievements
 No BaggageAchievements
 No QuarterAchievements
 Malevolent MarauderAchievements
 Zizkov HillAchievements
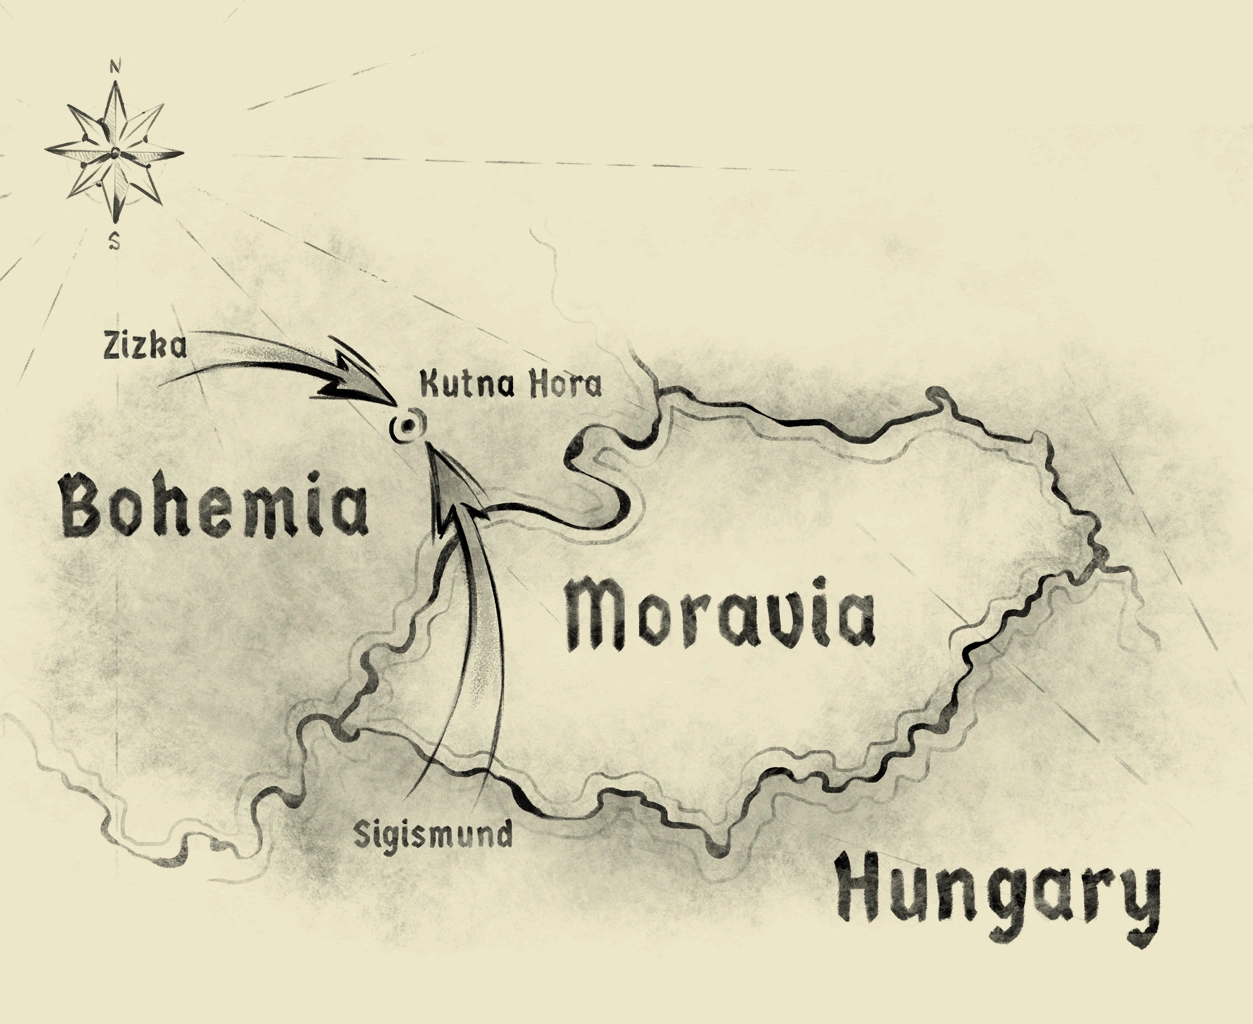 Against AllAchievements
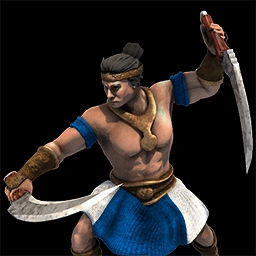 KarambolageAchievementsHun, What Are You Doing?AchievementsSupremely UnexpectedAchievements
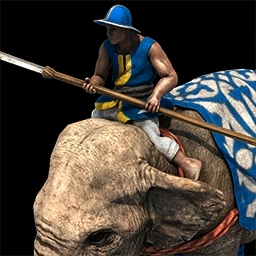 ElephantasticAchievements
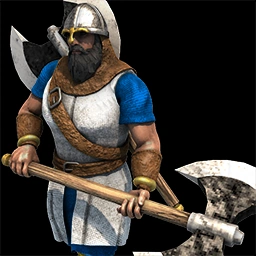 Frankly My Dear...AchievementsFighting From AfarAchievementsToo Lame to TameAchievementsAnyone Order a Pizza?AchievementsUnexpectedAchievements
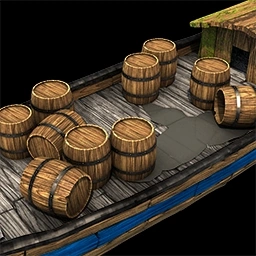 Out with a BangAchievementsNo Suntzu LightAchievementsSushi LoverAchievementsThe Wonder, the Wonder, Noooooo...AchievementsFinal CountdownAchievementsMango ShotsAchievements
 Knocking on Your DoorAchievements90 kg Over 300 MetersAchievementsBull's EyeAchievementsIt's a Treb!AchievementsPleasant PeasantAchievementsOut of Their ElementAchievementsD-Day (D stands for Demo)AchievementsChain ReactionAchievementsKaboomAchievementsWololoAchievementsLosing Your ReligionAchievementsRelic HunterAchievementsHowdy NeighborAchievementsCastle CrusherAchievementsCastle of DoubtAchievementsDark HumorAchievementsGolden SpursAchievementsTour d'ItalieAchievementsRhapsody of the BohemiansAchievementsFast FoodAchievementsKing of the SeasAchievements
 Forged in the Heat of BattleAchievementsFamily FeudalAchievements
 Can I be Frank with You?AchievementsChallenge AcceptedAchievementsGoing for the GoldAchievementsRest in PeaceAchievementsEasy GoingAchievementsWith ModerationAchievementsRough RideAchievementsBarbaric MannersAchievementsProminent PlayerAchievementsAge of EmpiresAchievementsThe King Is Dead, Long Live the King!AchievementsHomelessAchievements
 Bird ShootingAchievementsSheep HoarderAchievementsDark DinnerAchievementsMasterpieceAchievementsMarco PoloAchievementsChile Con CarnageAchievements
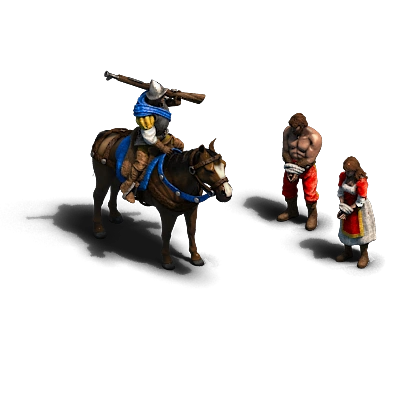 Homeland InsecurityAchievements
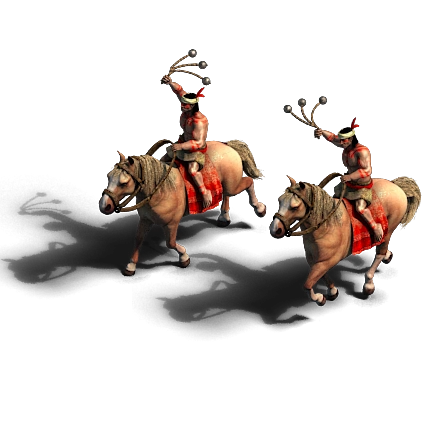 Our Little PoniesAchievementsGolden PathsAchievements
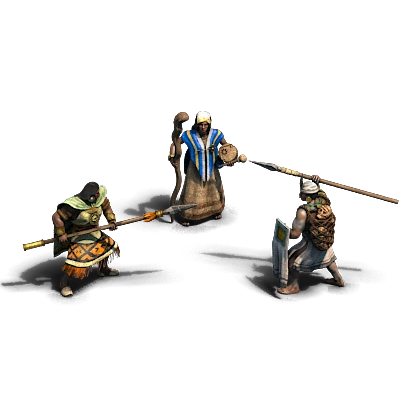 One Does Not Simply Take IracaAchievements
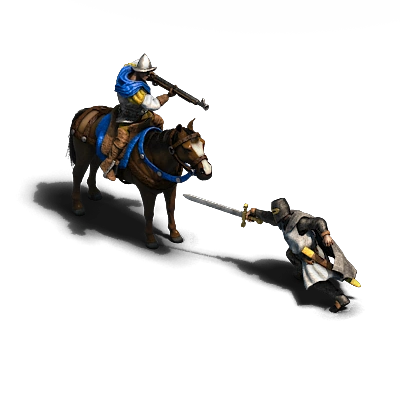 Expedition ImpossibleAchievementsWarden of the JungleAchievementsDynamite DeluxeAchievementsTupi or Not TupiAchievementsMapuche VictoryAchievementsMuisca VictoryAchievementsTupi VictoryAchievements
 Surveillance NetworkAchievements
 The Hero's JourneyAchievements
 The Stuff of LegendAchievements
 Gettin' the Gang Back TogetherAchievements
 Horned Helmet TyrantAchievements
 Leave Magnus Alone!!Achievements
 I'm Your God NowAchievements
 Seven Feet of English GroundAchievementsGet Out Of My Swamp!Achievements
 HoardradaAchievementsSaxons VictoryAchievementsVarangians VictoryAchievementsDanes VictoryAchievements
 Murder for HireAchievementsAztec VictoryAchievementsBerber VictoryAchievementsBriton VictoryAchievementsBulgarian VictoryAchievementsBurmese VictoryAchievementsByzantine VictoryAchievementsCeltic VictoryAchievementsChinese VictoryAchievementsCuman VictoryAchievementsEthiopian VictoryAchievementsFrankish VictoryAchievementsGothic VictoryAchievementsHunnic VictoryAchievementsInca VictoryAchievementsHindustani VictoryAchievementsItalian VictoryAchievementsJapanese VictoryAchievementsKhmer VictoryAchievementsKorean VictoryAchievementsLithuanian VictoryAchievementsMagyar VictoryAchievementsMalay VictoryAchievementsMalian VictoryAchievementsMayan VictoryAchievementsMongol VictoryAchievementsPersian VictoryAchievementsPortuguese VictoryAchievementsSaracen VictoryAchievementsSlavic VictoryAchievementsSpanish VictoryAchievementsTatar VictoryAchievementsTeutonic VictoryAchievementsTurkish VictoryAchievementsVietnamese VictoryAchievementsViking VictoryAchievements
 Guardian of ScotlandAchievementsIron MaidAchievementsCustodian of the Holy LandAchievementsFor the Horde!AchievementsThe Emperor Strikes BackAchievements
 Huney, I Shrunk the RomansAchievementsEl CampeadorAchievementsEmperor of TenochtitlanAchievementsThe Thicker the Hay, the Easier MowedAchievementsVladislav, Baby Don't Hurt MeAchievementsA Tale of One CityAchievementsRenaissance ManAchievementsThe Blind ArcherAchievements
 Master of the MaghrebAchievementsKing of AfricaAchievements
 Age of DiscoveryAchievementsDestroyer of AxumAchievementsIsland HopperAchievements
 King of Just LawsAchievementsCakkavattiAchievementsRebel with a CauseAchievementsEmpire of the SteppesAchievementsThe Cabbage KingAchievementsYes we Khan!AchievementsBattle BeastAchievementsThe English JustinianAchievements
 The Good, the Bold and the FearlessAchievements
 Haute CultureAchievements
 Bond of BrothersAchievements
 Star of the PolesAchievementsMan of the ChaliceAchievementsThe Persian TigerAchievements
 Like Father, Like SonAchievementsWon't You Take Me By The HandAchievements
 An Offer You Khan’t RefuseAchievementsThe RenovatorAchievements
 No Rest for the WickedAchievementsEye of the TigerAchievements
 No Wonder You WonAchievementsHuna Join Me?AchievementsConstruction CancellationAchievements
 ParinirvanaAchievementsFace My RathaAchievementsNot Just a MilitiaAchievementsWingmanAchievementsBaby BoomerAchievementsBull MarketAchievementsBon VoyageAchievementsPrepare for Boar!AchievementsBurgundian VictoryAchievementsSicilian VictoryAchievementsBohemian VictoryAchievementsPolish VictoryAchievementsCampaign achievementsAchievementsCivilization victory achievementsAchievementsChallenge achievementsAchievements
Cheat codes
21 entries cheese steak jimmy'sCheat codeslumberjackCheat codes
 robin hoodCheat codesrock onCheat codesninjaconnorCheat codesmarcoCheat codespoloCheat codesaegisCheat codesi r winnerCheat codesresignCheat codesblack deathCheat codeswimpywimpywimpyCheat codestorpedo <1–8>Cheat codes
 natural wondersCheat codes!muteCheat codes!nomuteCheat codesnouiCheat codesGoing Above and BeyondCheat codesTech Tech One Two FreeCheat codesmy cpu can handle itCheat codessharing is caringCheat codes
Game systems & reference
210 entries Scale / Chain / Plate armorGame systems
 Unique technologiesGame systems
 Team gameGame systemsRanked ladderGame systemsMultiplayer lobbyGame systems
 Team chatGame systems
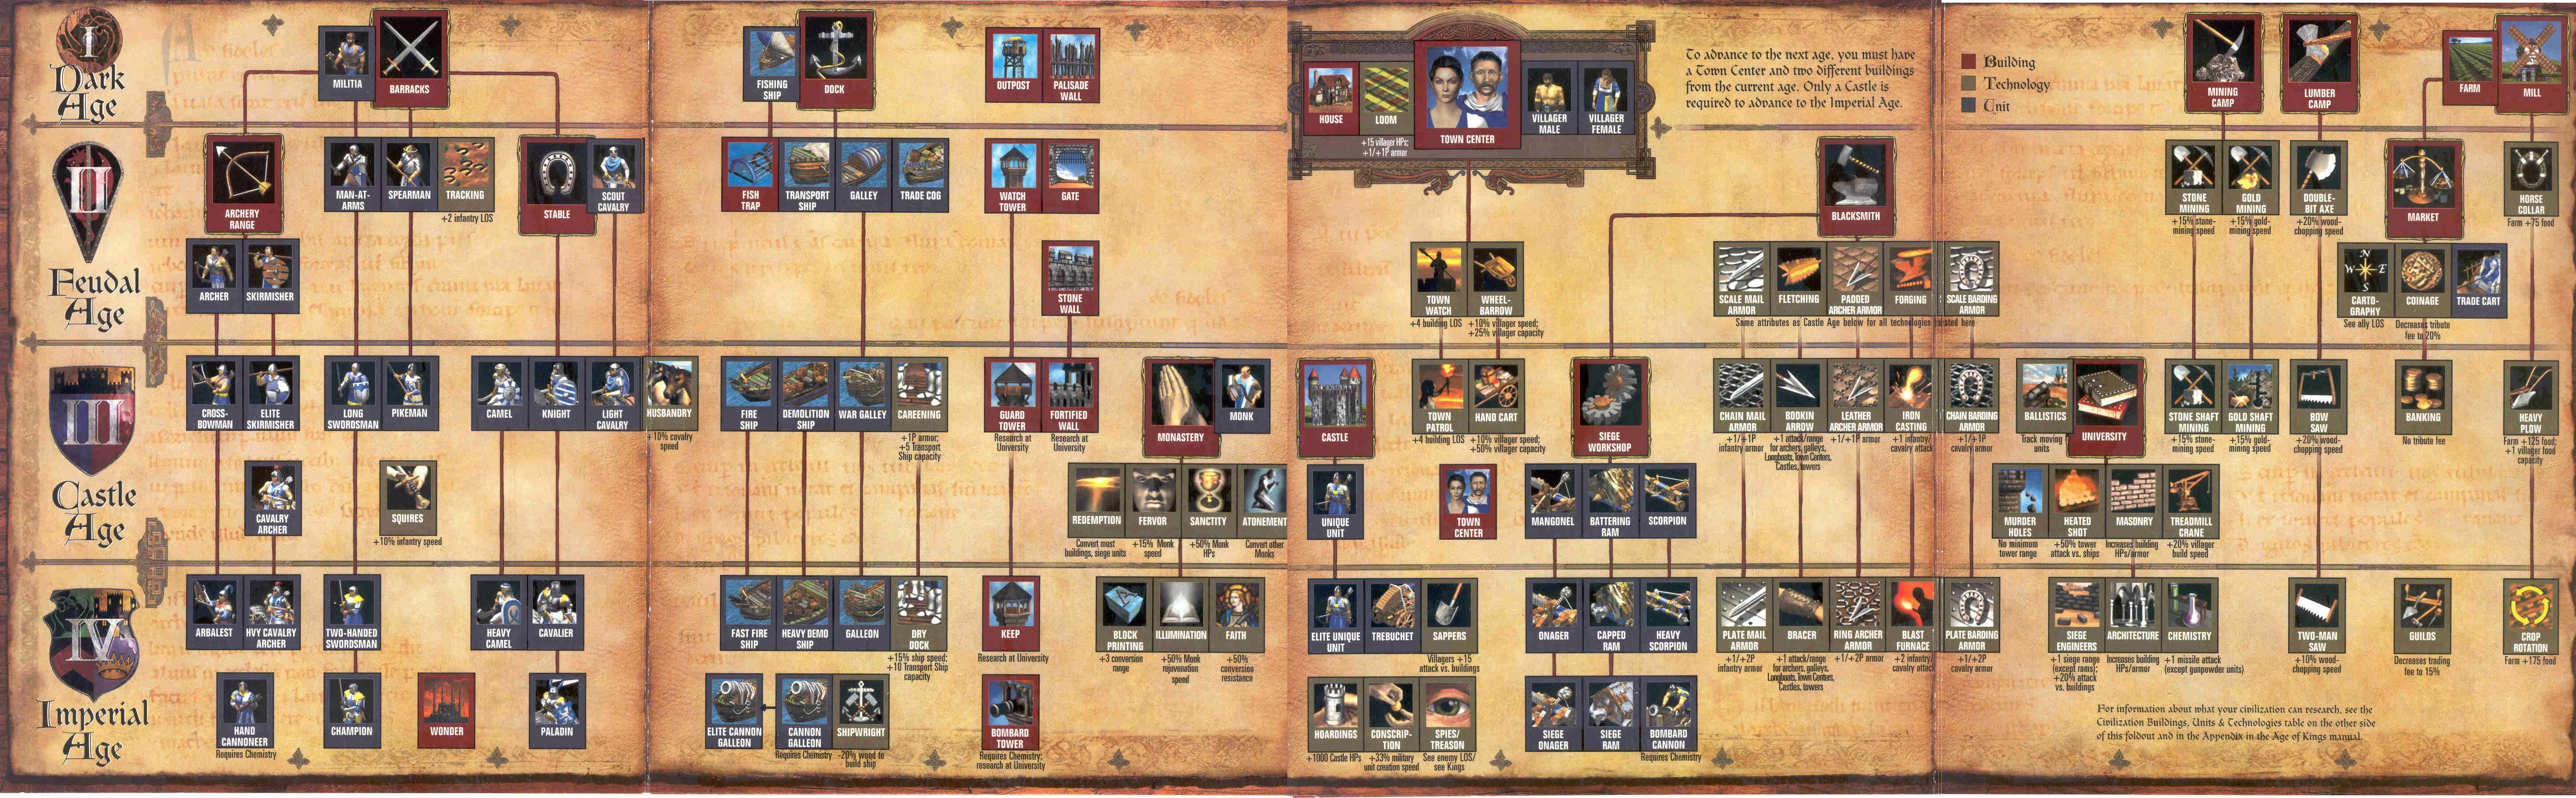 Civilization bonusesGame systemsTechnology treeGame systems
 ResourcesGame systemsTradeGame systems
 Nomad start rulesGame systemsBoar luringGame systemsDeer pushingGame systemsTown BellGame systems
 Military production placementGame systemsEconomic drop-off buildingsGame systemsCheat codesGame systemsTauntsGame systemsCheat-only unitsGame systemsSpectator modeGame systemsCo-op campaignsGame systemsPost-game statisticsGame systems
 Hotkeys & control groupsGame systemsDiplomacyGame systems
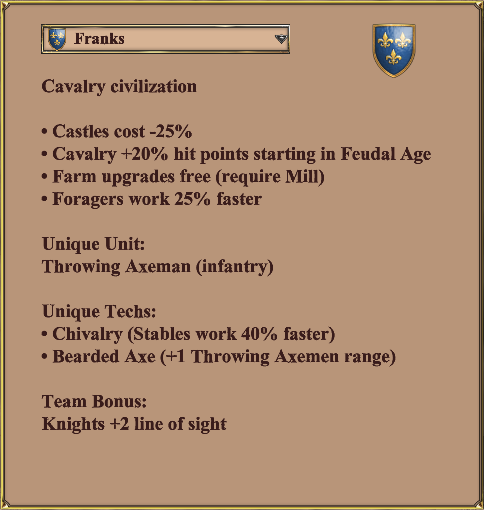 Team bonusGame systemsPopulation spaceGame systems
 FoodGame systems
 WoodGame systemsGoldGame systems
 StoneGame systemsHuntable animalsGame systems
 Herdable animalsGame systemsBerry BushesGame systems
 Fish resourcesGame systems
 Forests and woodlinesGame systemsVillager gatheringGame systemsTown Center idle timeGame systemsIdle VillagerGame systemsVillager task queueGame systemsMilitary production queueGame systemsFarm reseedingGame systemsResource drop-off pointsGame systemsMarket pricesGame systems
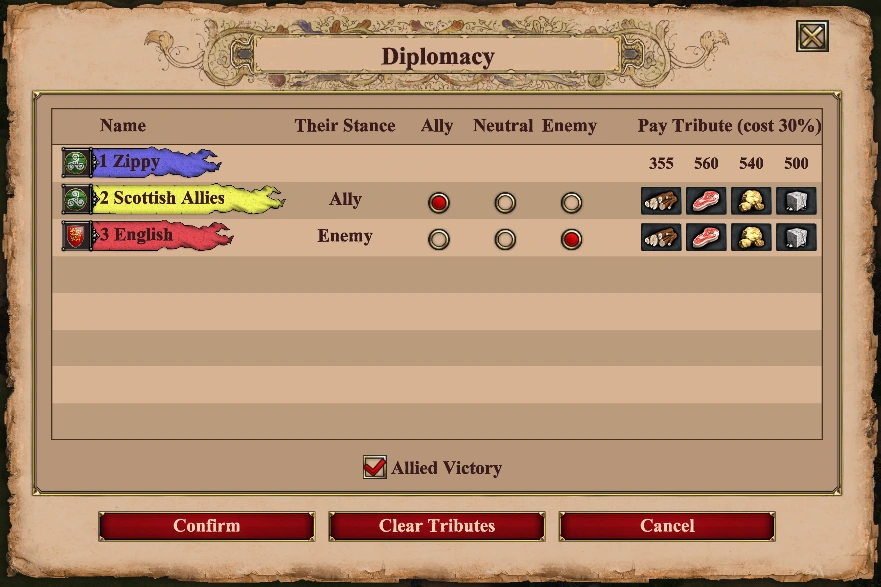 TributeGame systems
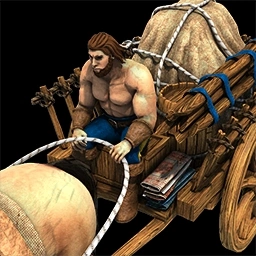 Trade routesGame systems
 GarrisonGame systemsLine of sightGame systemsElevation bonusGame systems
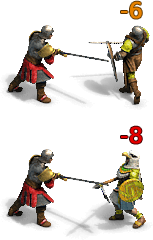 Attack and armor classesGame systemsHit pointsGame systemsAttackGame systemsMelee armorGame systemsPierce armorGame systemsBonus damageGame systems
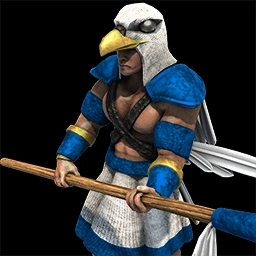 Armor class: Shock infantryArmor classesAttack rangeGame systemsMinimum rangeGame systemsReload timeGame systemsAccuracyGame systemsSplash damageGame systemsFrame delayGame systemsUnit countersGame systemsFocus fireGame systemsKitingGame systemsHit-and-runGame systemsRaidingGame systems
 Siege pushGame systemsMonk conversionGame systemsUnit formationsGame systems
 Runaway/escape movementGame systemsPathfindingGame systemsUnit stancesGame systemsAttack moveGame systemsPatrolGame systems
 RepairGame systemsBuilding foundationsGame systemsBuilding line of sightGame systemsGarrison fireGame systemsBuilding attackGame systems
 Production buildingsGame systemsTown Center roleGame systemsCastle roleGame systemsTower roleGame systemsGatesGame systemsAge advancementGame systems
 Dark AgeGame systems
 Feudal AgeGame systemsCastle AgeGame systems
 Imperial AgeGame systems
 Town CenterGame systems
 WonderGame systemsStarting AgeGame systemsEnding AgeGame systemsStarting resourcesGame systemsReveal mapGame systemsMap sizeGame systems
 Treaty lengthGame systemsHandicapGame systemsLock TeamsGame systemsTeam TogetherGame systemsTeam PositionsGame systemsShared ExplorationGame systemsLock SpeedGame systemsAllow CheatsGame systemsFull Tech TreeGame systemsTurbo ModeGame systemsRecord GameGame systemsLobby voice chatGame systemsText-to-speech and speech-to-chatGame systems
 Trade Cog cargo optionsGame systems
 Hulk-line naval countersGame systems
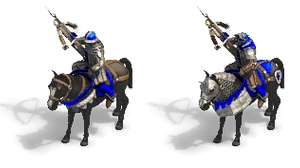 Mounted Crossbowman roster changeGame systemsVikings reworkGame systems
 The Viking Sagas campaign structureGame systemsUpdated Historical BattlesGame systemsViking Sagas regional rosterGame systemsArtificial intelligenceGame systemsStand Ground PatrolGame systemsFormation reworkGame systemsVillager pathfinding improvementsGame systemsChronicles rulesetGame systemsChronicles AgesGame systems
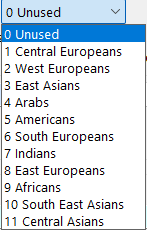 Chronicles architecture setsGame systemsChronicles naval productionGame systems
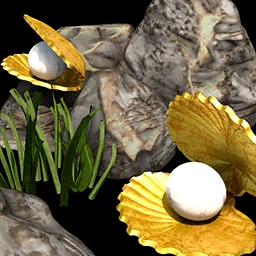 OystersGame systems
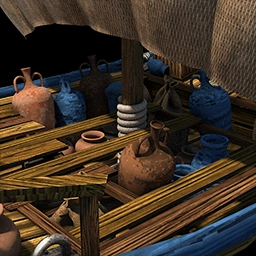 Merchant Ship tradeGame systemsAcademyGame systemsFortGame systemsChronicles unique technology choicesGame systems
 Achaemenid Town Center upgradesGame systems
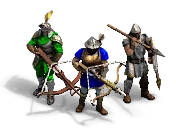 Athenian PoliciesGame systemsMacedonian Recruitment DoctrinesGame systemsSpartan Polemarch technologiesGame systems
 Puru Fort emplacementsGame systems
 Thracian Fort and Tower supportGame systems
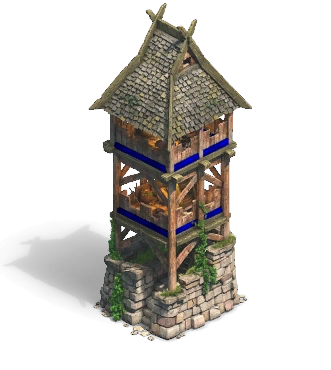 Scandinavian architectureGame systems
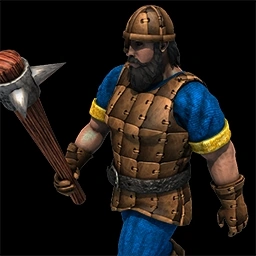 Armor class: InfantryArmor classes
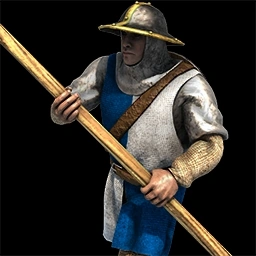 Armor class: SpearmanArmor classes
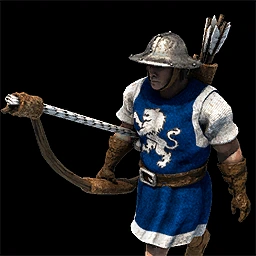 Armor class: Unique unitArmor classes
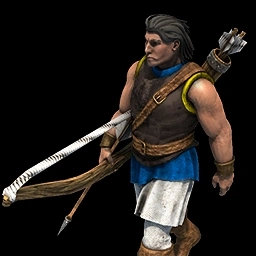 Armor class: ArcherArmor classes
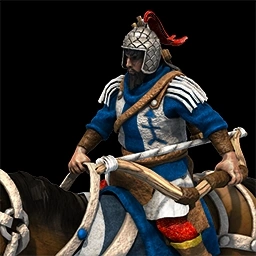 Armor class: CavalryArmor classesArmor class: Cavalry archerArmor classes
 Armor class: Gunpowder unitArmor classes
 Armor class: Camel UnitsArmor classesArmor class: Elephant UnitsArmor classesArmor class: ShipArmor classes
 Armor class: Capital ShipsArmor classes
 Armor class: MonkArmor classesArmor class: Siege weaponArmor classesArmor class: RamArmor classes
 Armor class: Standard buildingArmor classes
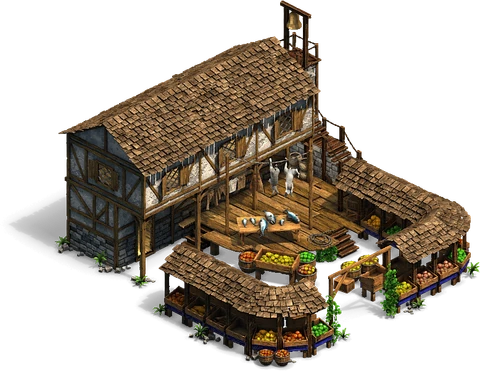 Armor class: All BuildingsArmor classes
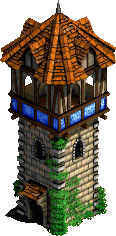 Armor class: Stone DefenseArmor classes
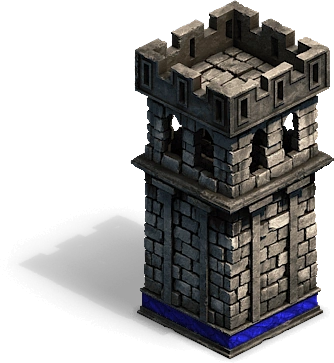 Armor class: Wall and gateArmor classes
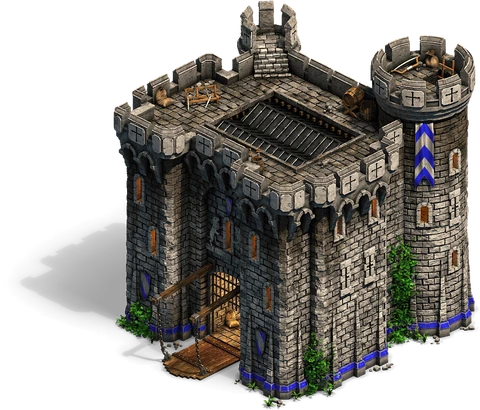 Armor class: CastleArmor classesArmor class: CondottieroArmor classes
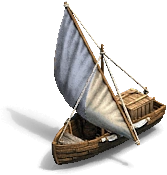 Armor class: Fishing ShipArmor classes
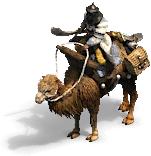 Armor class: MamelukeArmor classes
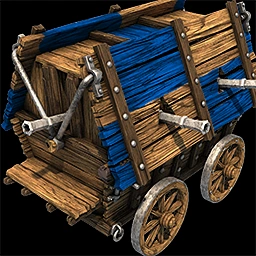 Armor class: Heavy siegeArmor classes
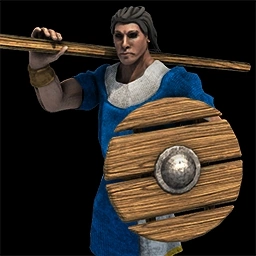 Armor class: SkirmisherArmor classesArmor class: Heroes & KingsArmor classesArmor class: Long-range warshipArmor classes
 Armor class: Fire shipArmor classesCivilizationsGame referenceAnimals and wildlifeGame referenceBuildingsGame reference
 Birds on mapsGame reference
 Ranged infantryGame reference
 Infantry unitsGame reference
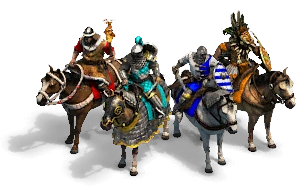 Cavalry unitsGame reference
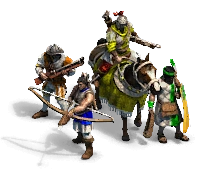 Archer unitsGame reference
 Heroes and kingsGame reference
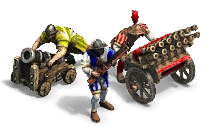 Gunpowder unitsGame referenceArchitecture setsGame reference
 Mounted archersGame referenceFoot archersGame reference
 CampaignsGame reference
 Mounted unitsGame reference
 Unit abilitiesGame reference
 Regional buildingsGame reference
 Regional assetsGame reference
 HuntingGame referenceUnitsGame reference
 Unique unitsGame reference
 Technology and researchGame referenceSiege weaponsGame reference
 Unique upgradesGame referenceRegional unitsGame reference
 Unit typesGame referenceSiege unitsGame reference
 Projectile duplicationGame systems
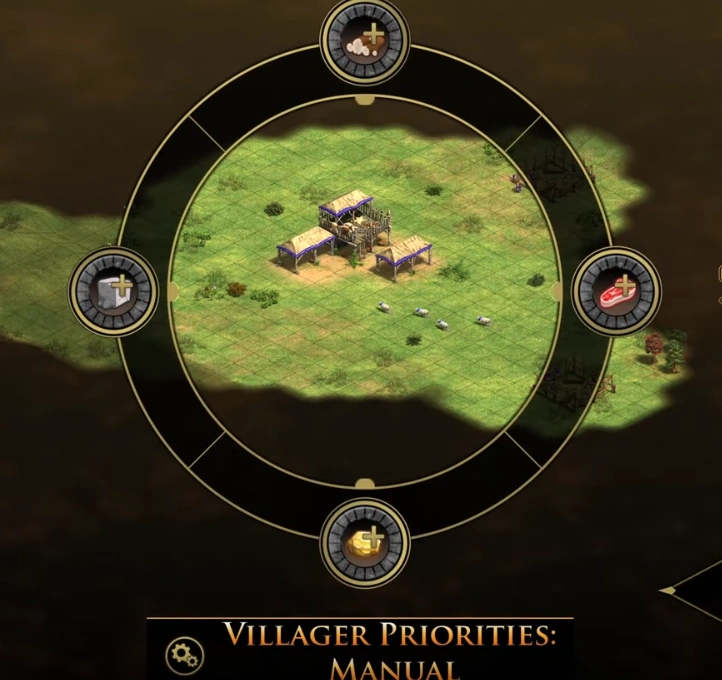 Villager PriorityGame systems
 Trash unitGame systemsAlaric (Campaign overview)Game systemsBattles of the ConquerorsGame systems
 Battles of the ForgottenGame systems
 El Dorado (The Forgotten)Game systems
 The Art of WarGame systemsVictors and Vanquished (campaign)Game systemsAge of Empires II (alpha)Game systemsAge of Empires II historyGame systems
 Age of Empires II soundtrackGame systems
 Age of Empires II upgradesGame systems
 Technology availability gridGame systems
 Age of Empires II shipsGame systemsSnareGame systems
 Indians (legacy civilization)Game systems
 Indians (legacy technology tree)Game systemsNative American civilizations in Age IIGame systemsAge of Empires II trivia indexGame systems
Maps & terrain
209 entries RelicsGame systemsTerrain & elevationGame systemsScoutingGame systemsSheep scoutingGame systemsMap controlGame systemsWallingGame systemsChoke pointsGame systemsExpansionGame systemsMap generationGame systemsRandom map scriptsGame systems
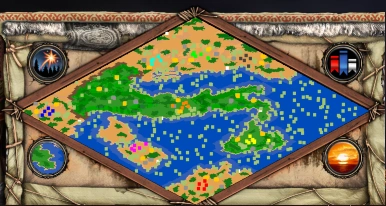 Map stylesGame systemsOpen and closed mapsGame systemsNomad startsGame systemsMigration mapsGame systemsMap resource distributionGame systemsFog of warGame systemsMap settingsGame systemsRandom map changes 185872Updates
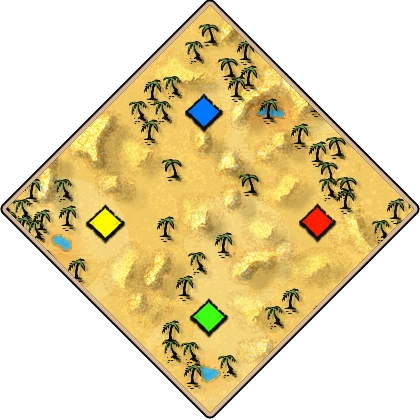 ArabiaMaps
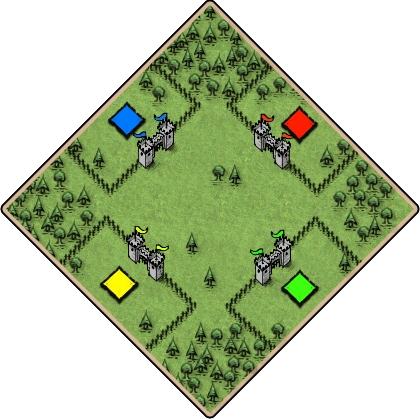 ArenaMaps
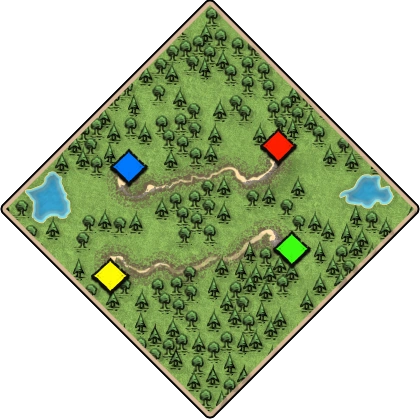 Black ForestMaps
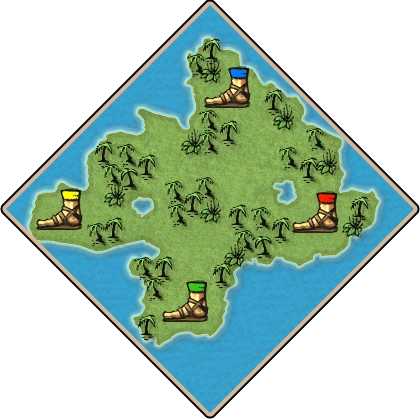 NomadMaps
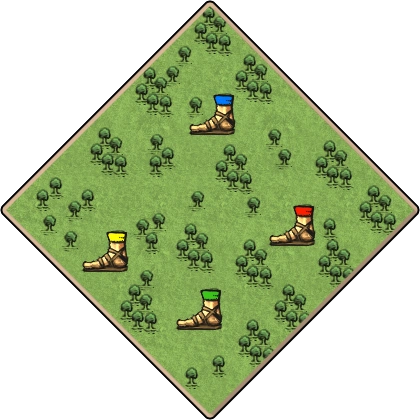 Land NomadMaps
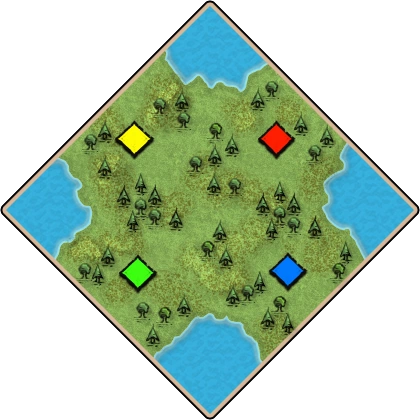 Four LakesMaps
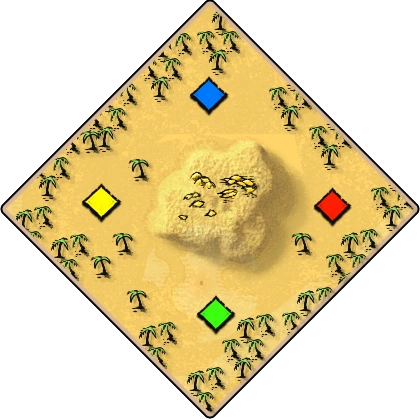 Gold RushMaps
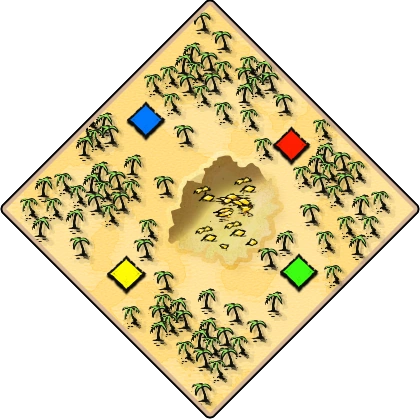 Golden PitMaps
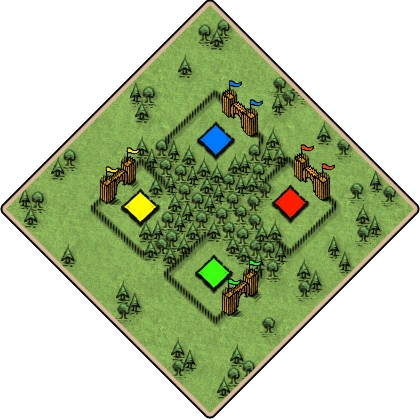 HideoutMaps
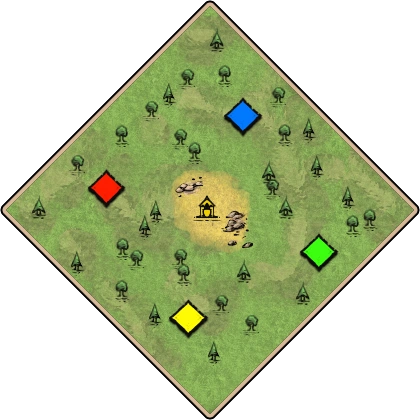 RunestonesMaps
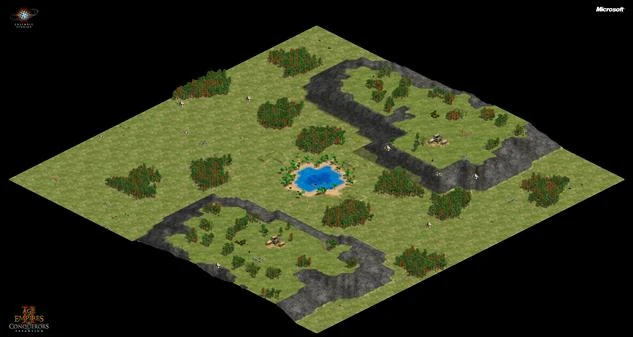 AcropolisMaps
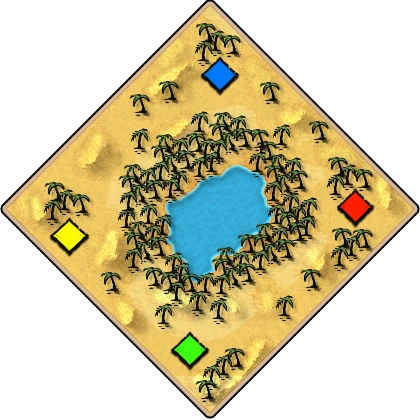 OasisMaps
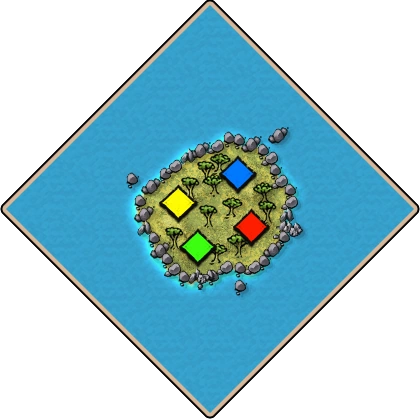 SocotraMaps
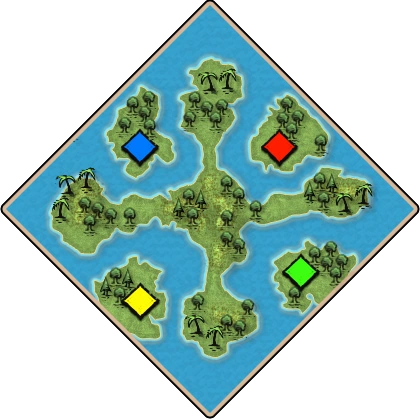 MigrationMaps
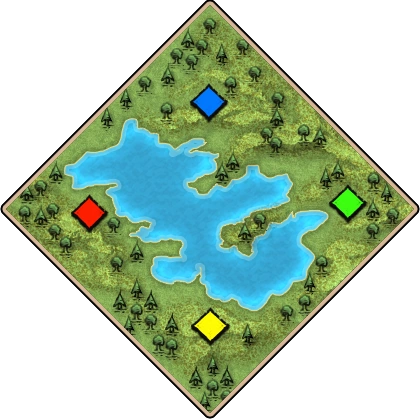 BalticMaps
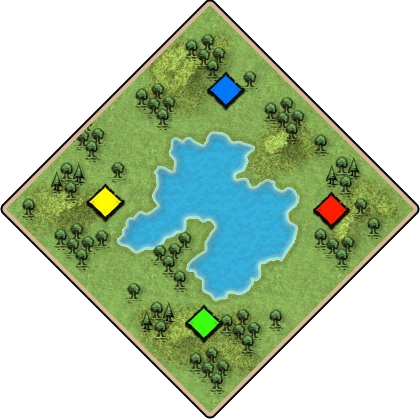 MediterraneanMaps
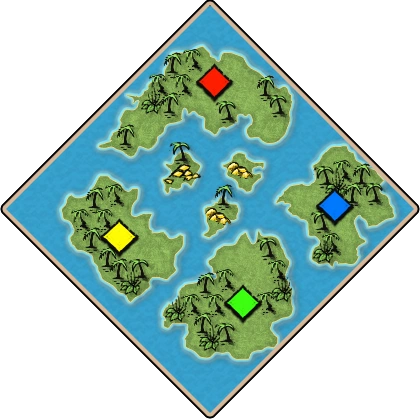 IslandsMaps
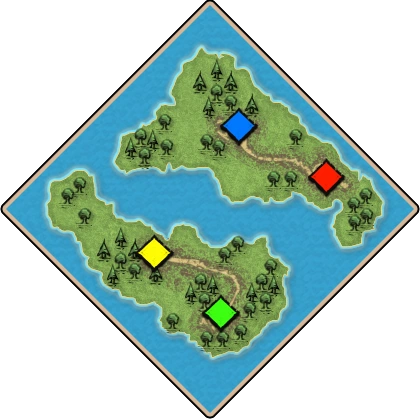 Team IslandsMaps
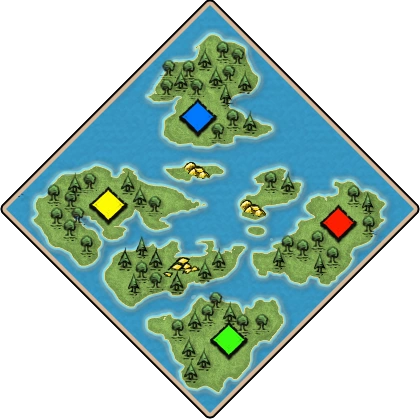 ArchipelagoMaps
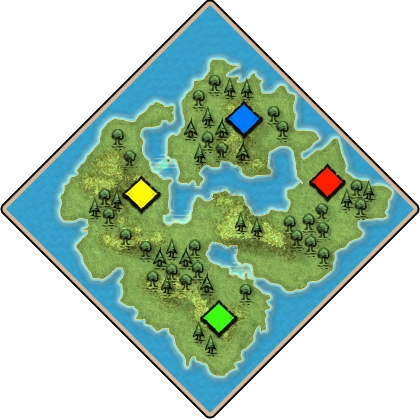 ContinentalMaps
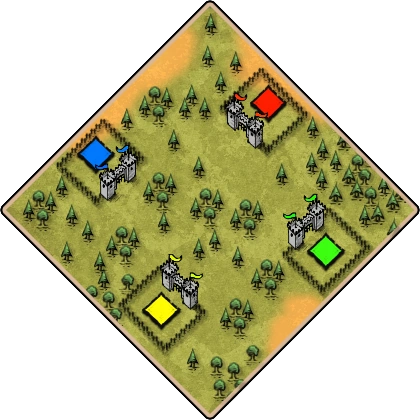 FortressMaps
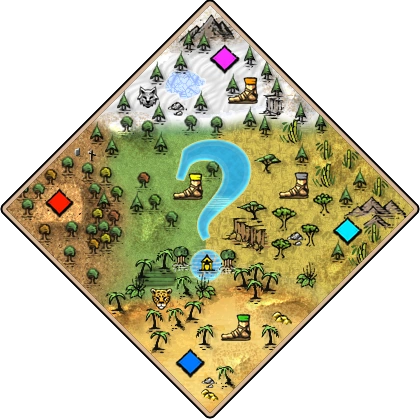 MegaRandomMaps
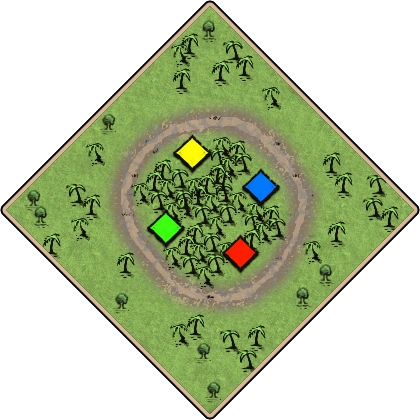 EnclosedMaps
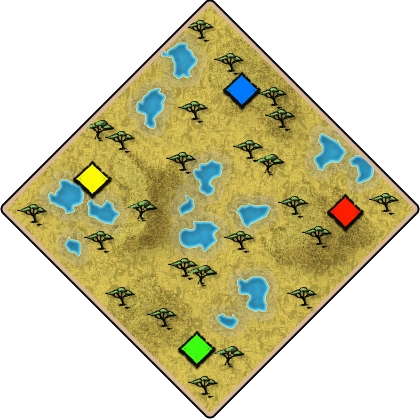 SerengetiMaps
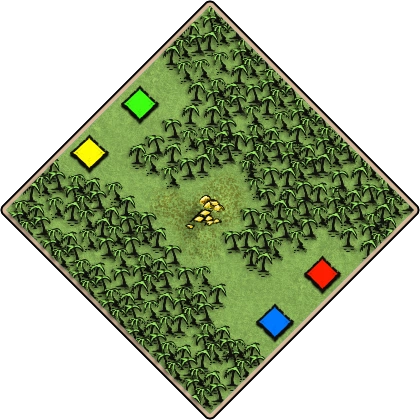 Amazon TunnelMaps
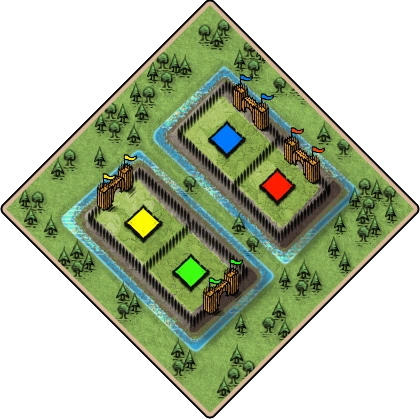 Hill FortMaps
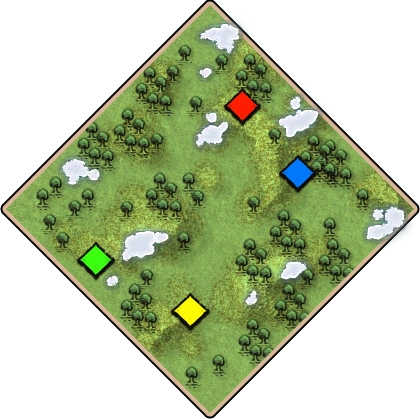 LombardiaMaps
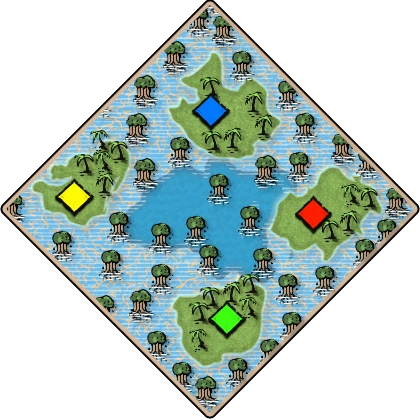 Bog IslandsMaps
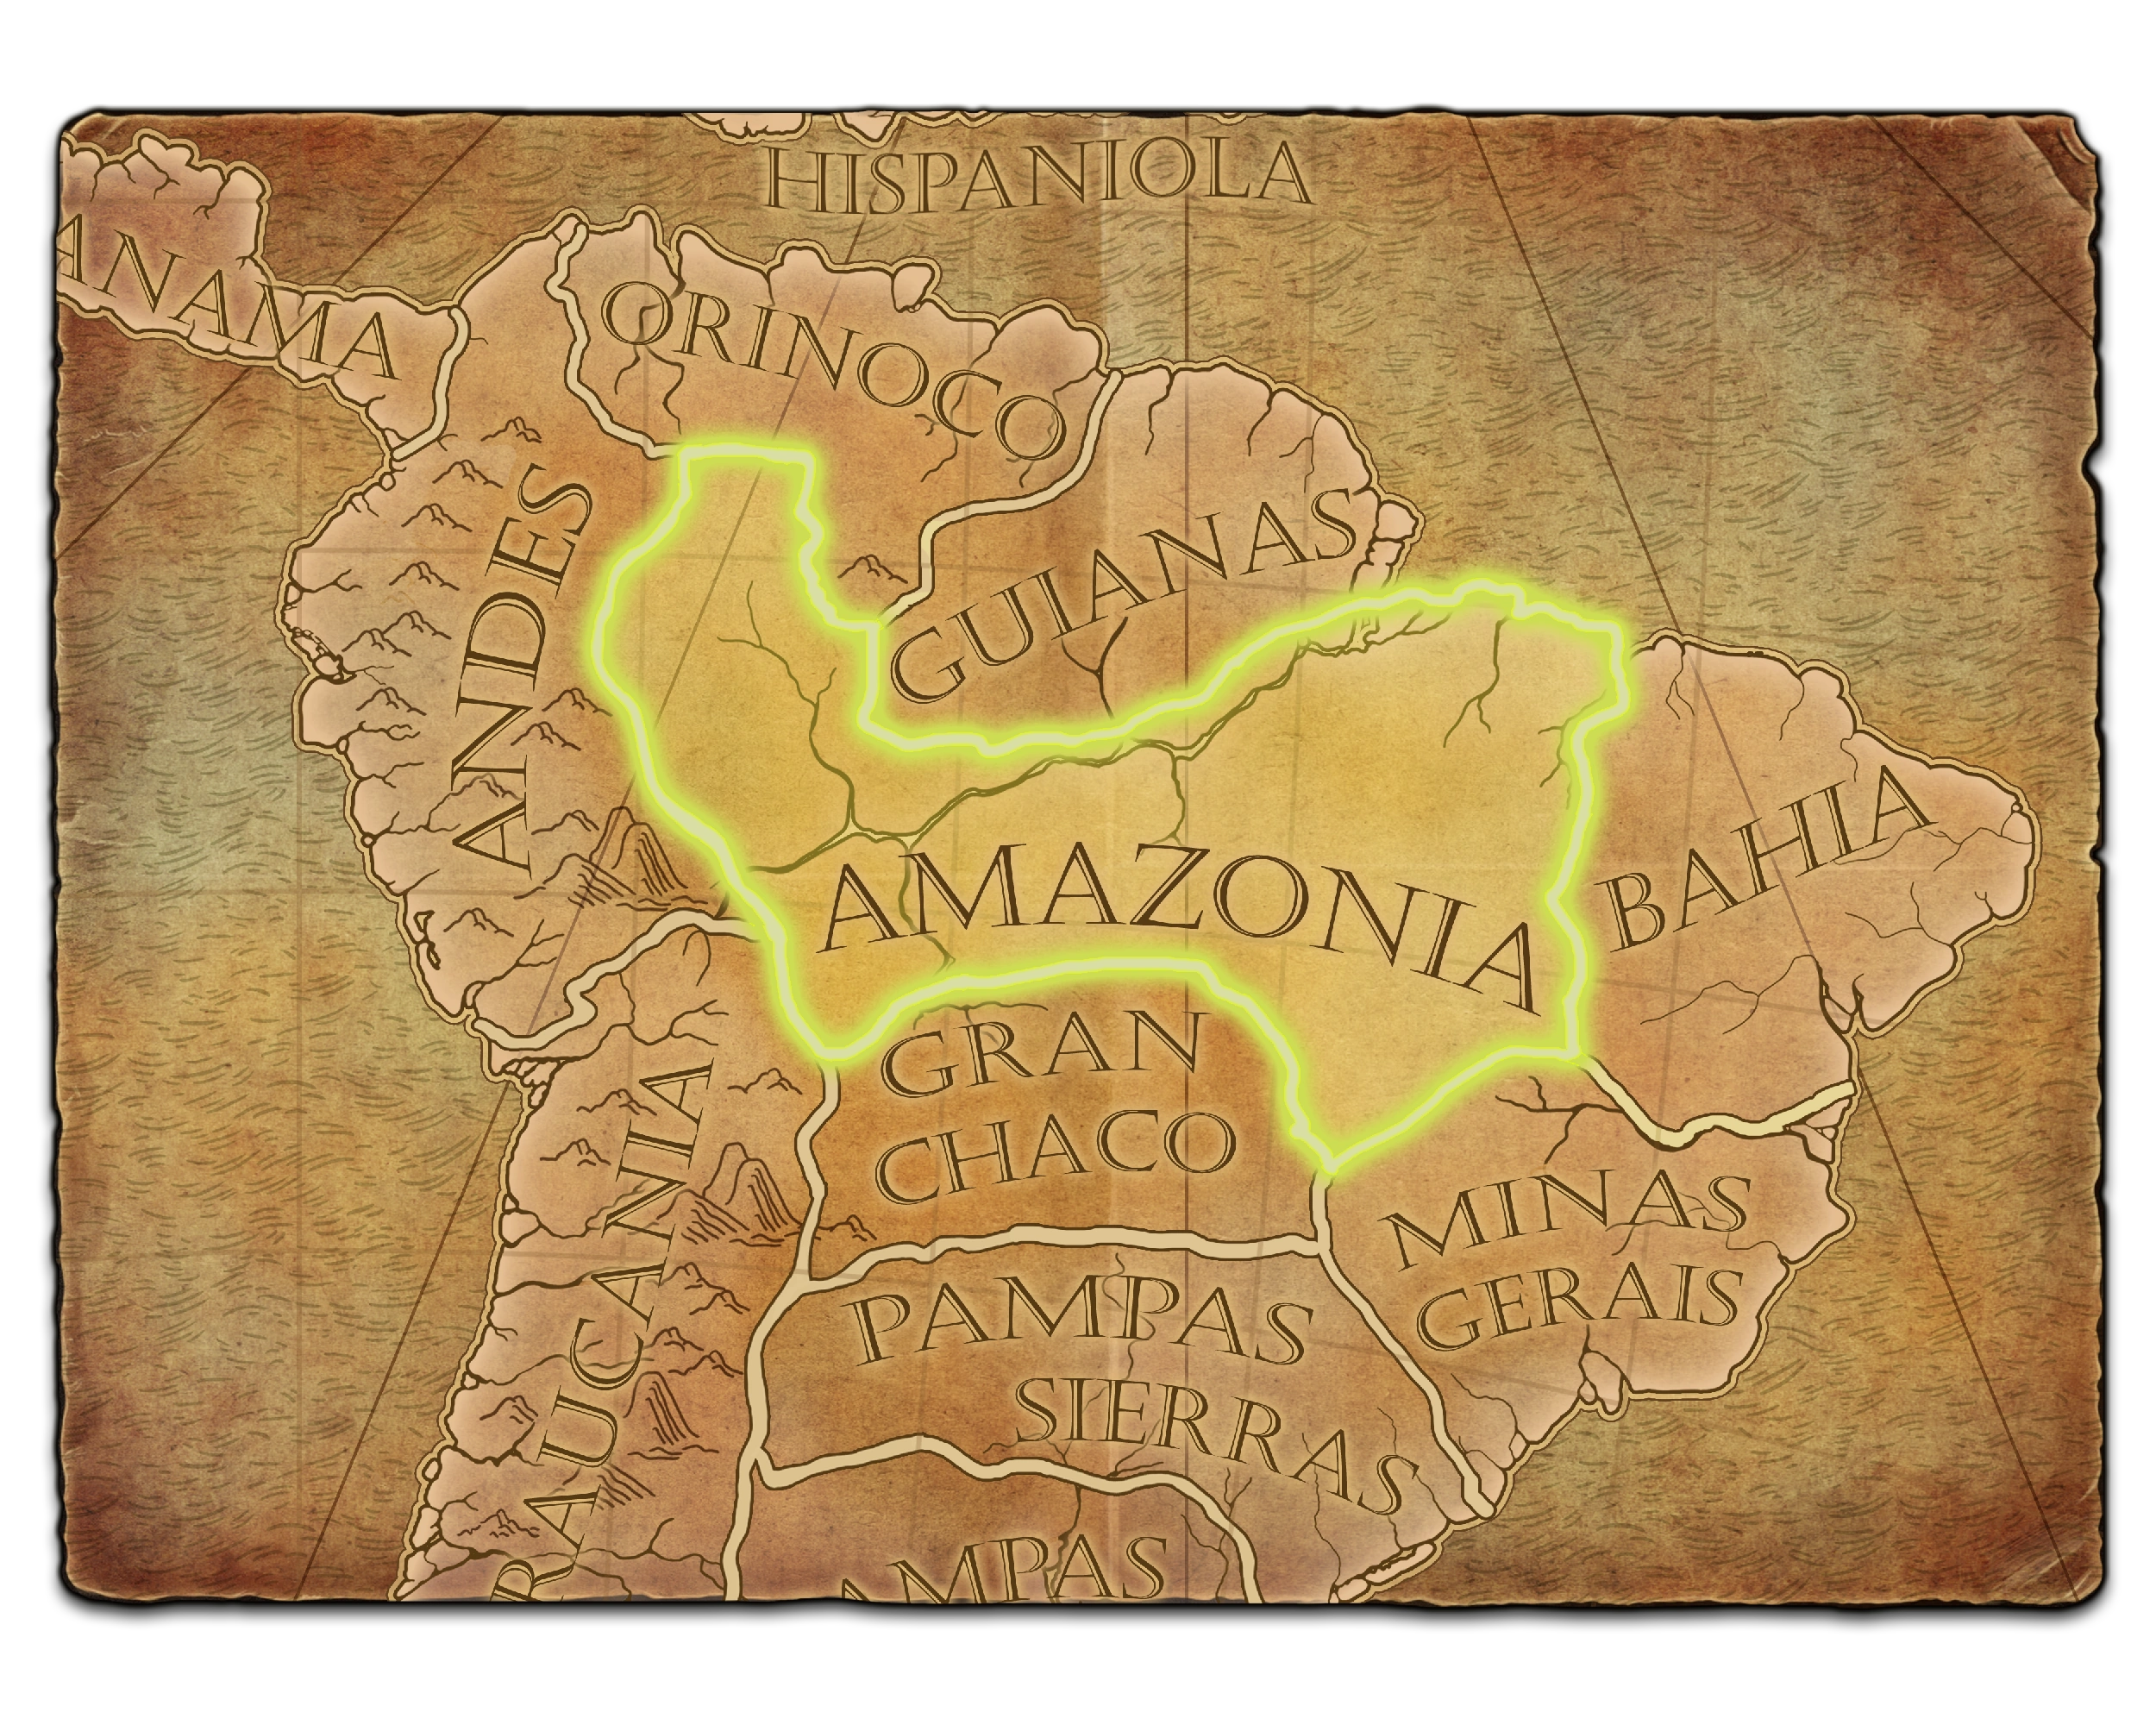 AmazoniaMaps
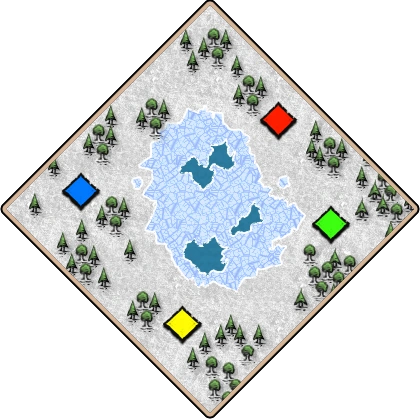 Ghost LakeMaps
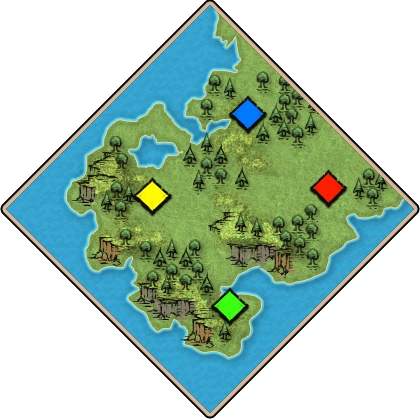 CoastalMaps
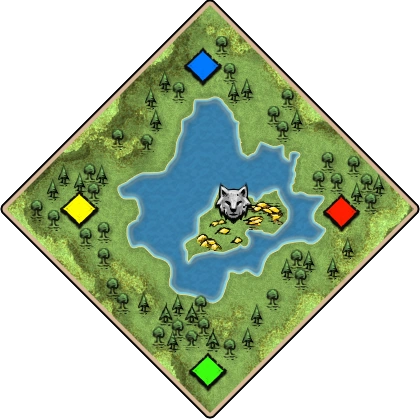 Crater LakeMaps
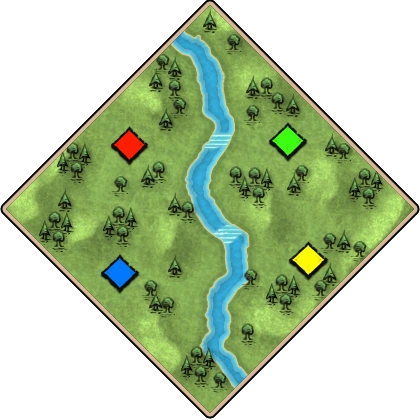 HighlandMaps
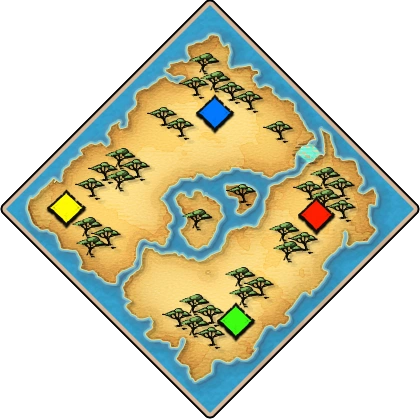 RiversMaps
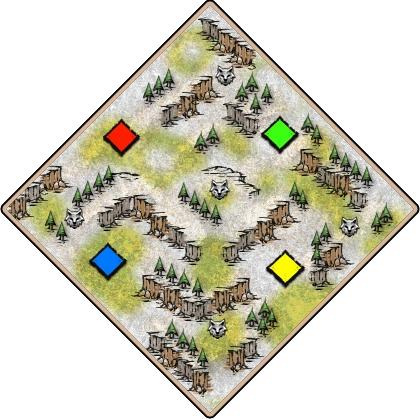 MongoliaMaps
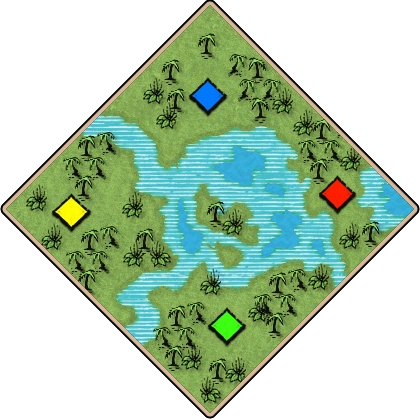 Salt MarshMaps
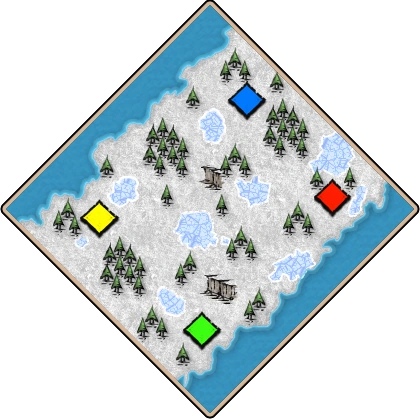 ScandinaviaMaps
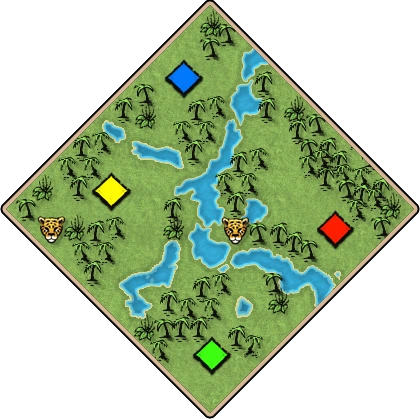 YucatánMaps
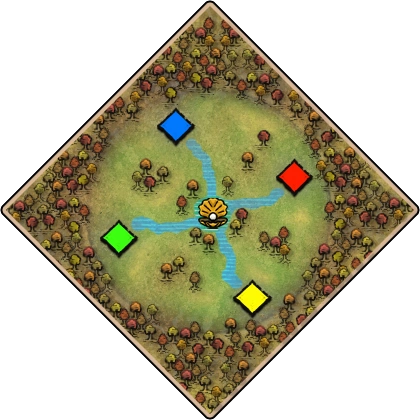 CanalsMaps
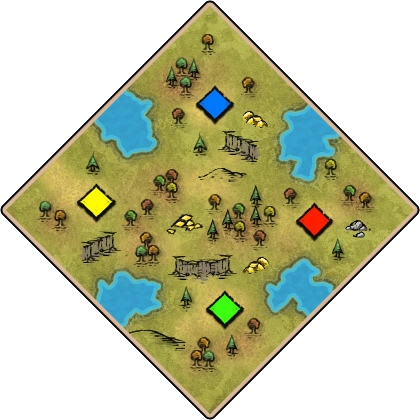 CapriciousMaps
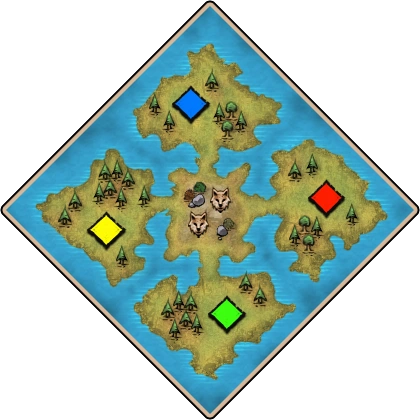 DingosMaps
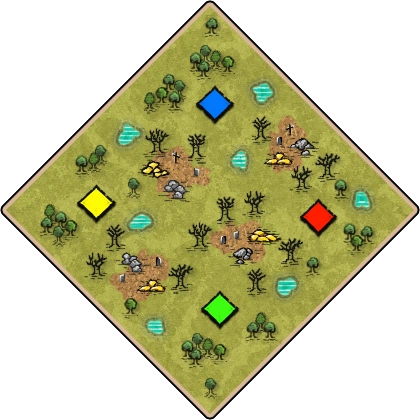 GraveyardsMaps
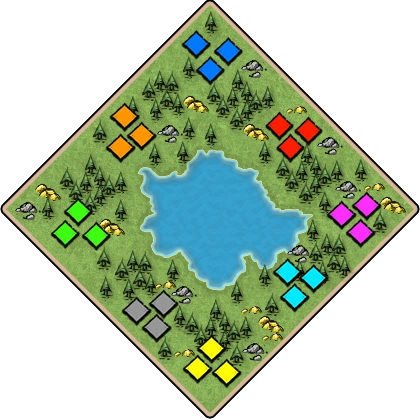 MetropolisMaps
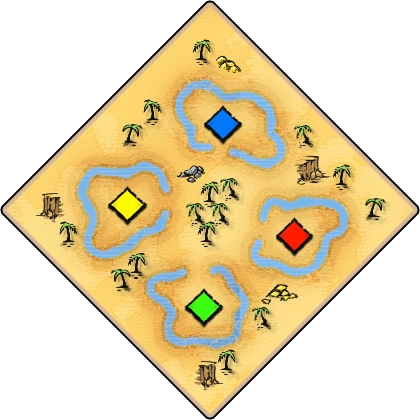 MoatsMaps
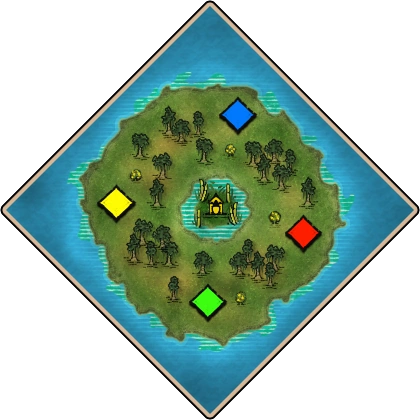 Paradise IslandMaps
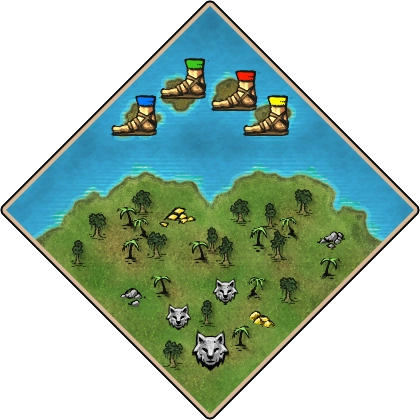 PilgrimsMaps
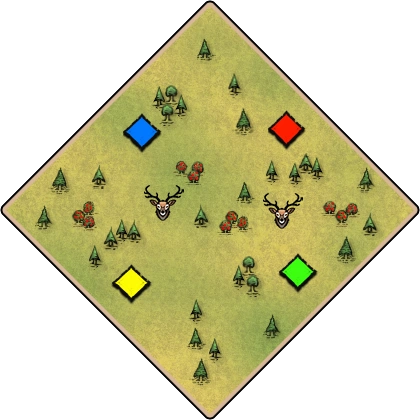 PrairieMaps
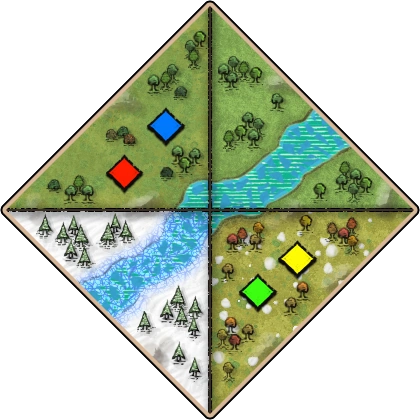 SeasonsMaps
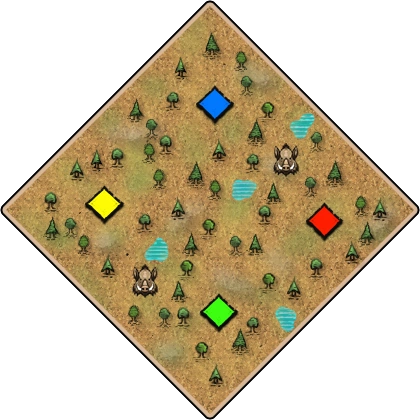 Sherwood ForestMaps
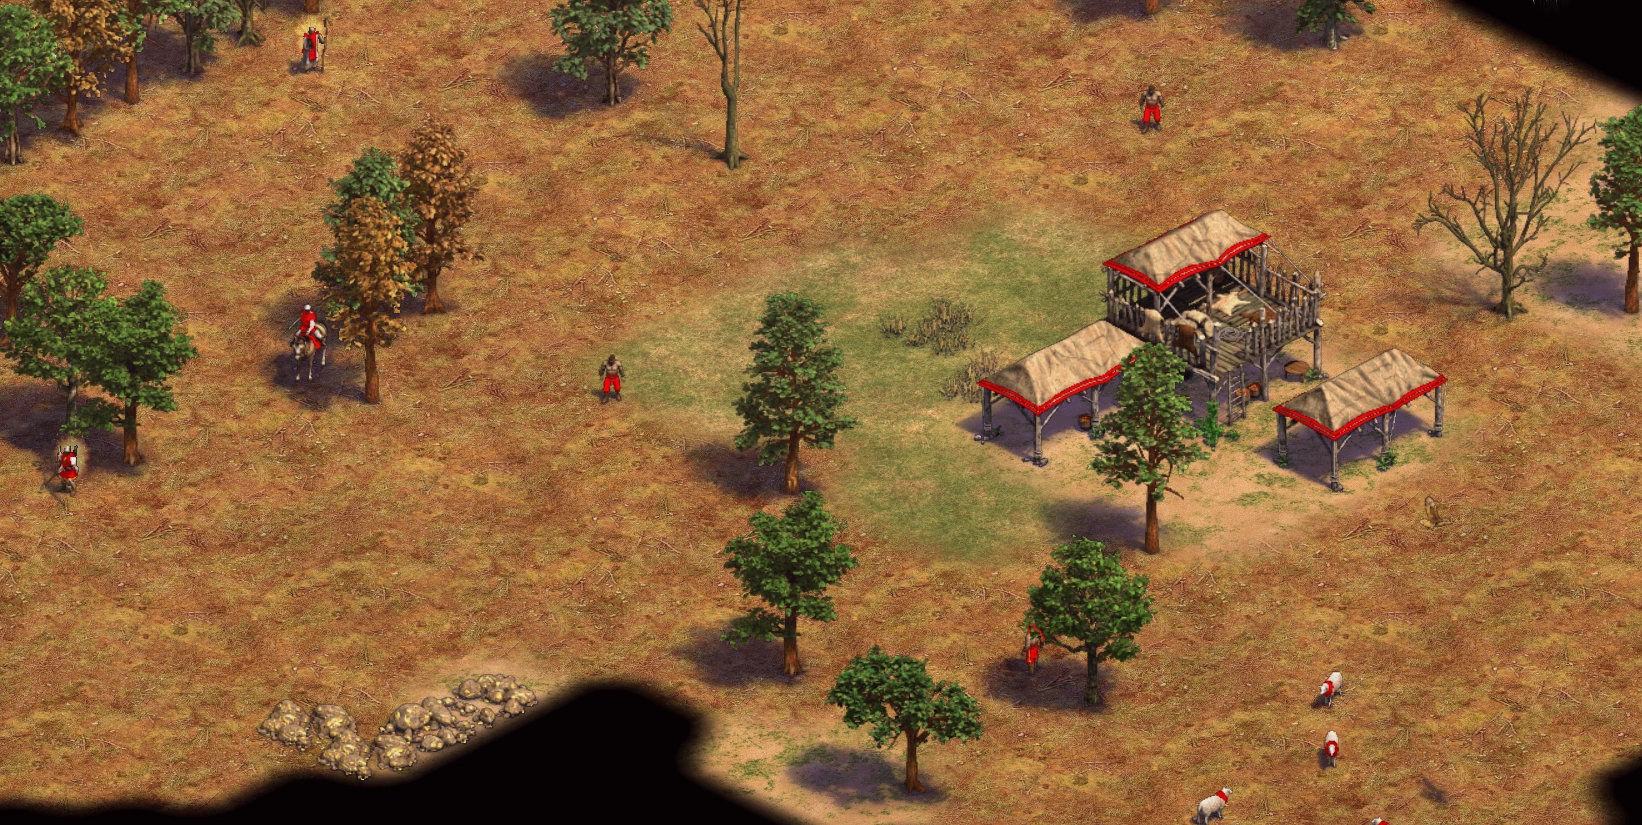 Sherwood HeroesMaps
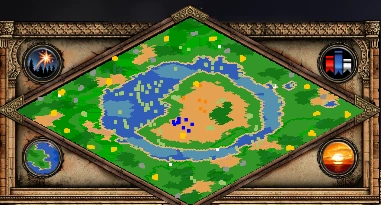 ShipwreckMaps
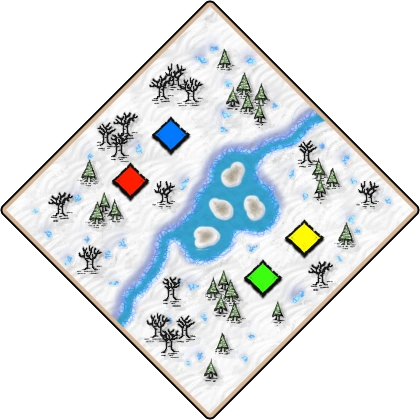 Team GlaciersMaps
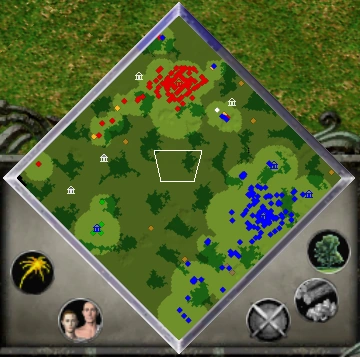 The UnknownMaps
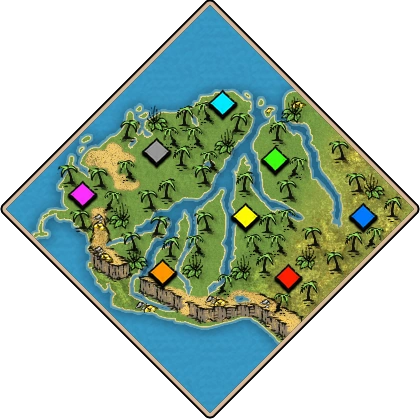 AmazonMaps
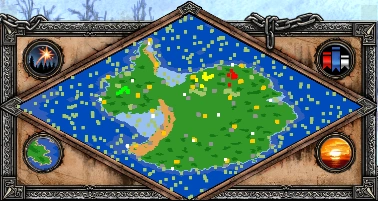 AntarcticaMaps
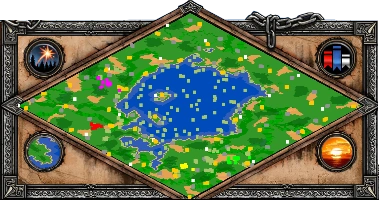 Aral SeaMaps
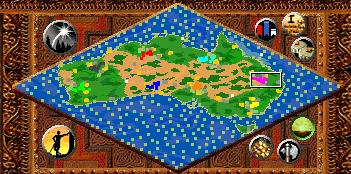 AustraliaMaps
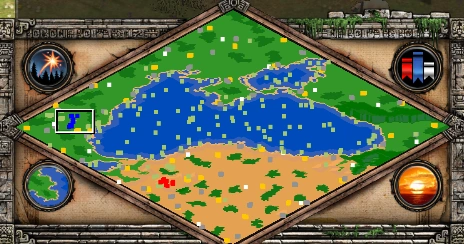 Black SeaMaps
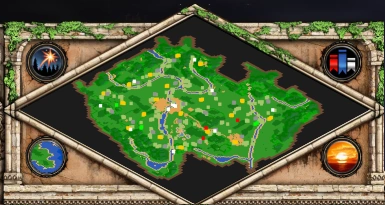 BohemiaMaps
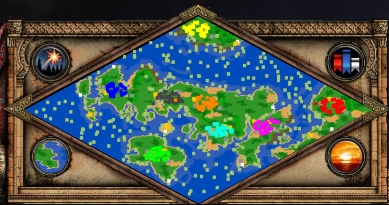 BritainMaps
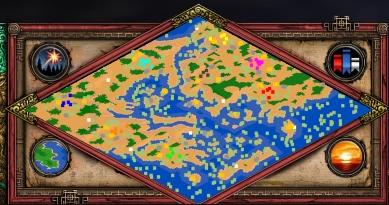 ByzantiumMaps
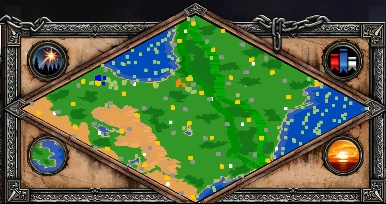 CaucasusMaps
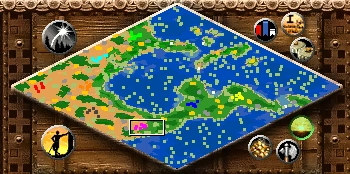 Central AmericaMaps
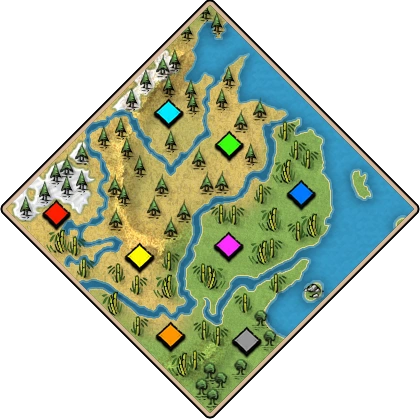 ChinaMaps
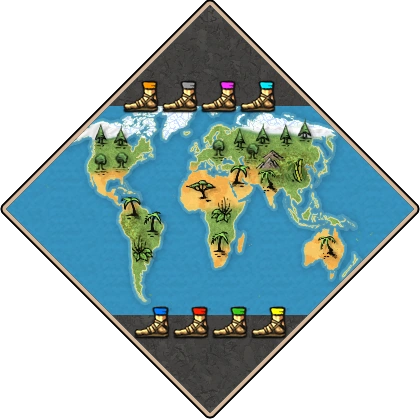 EarthMaps
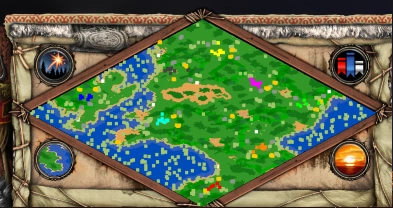 FranceMaps
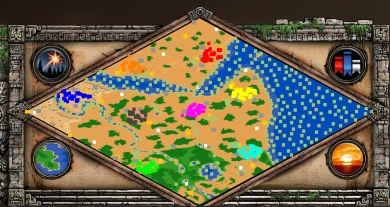 Horn of AfricaMaps
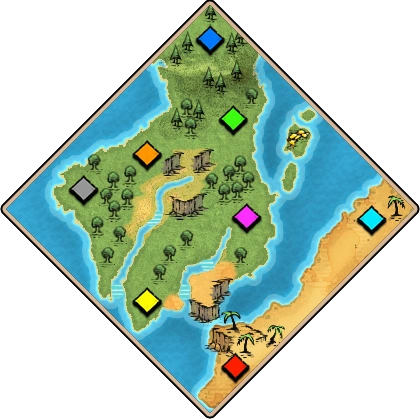 IberiaMaps
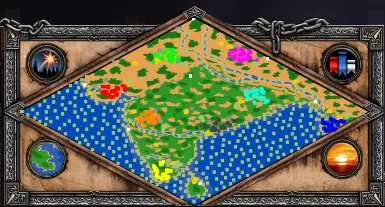 IndiaMaps
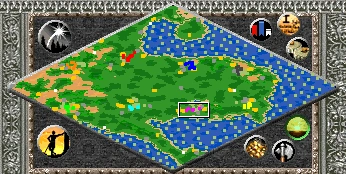 IndochinaMaps
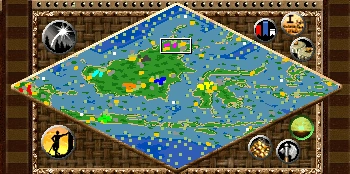 IndonesiaMaps
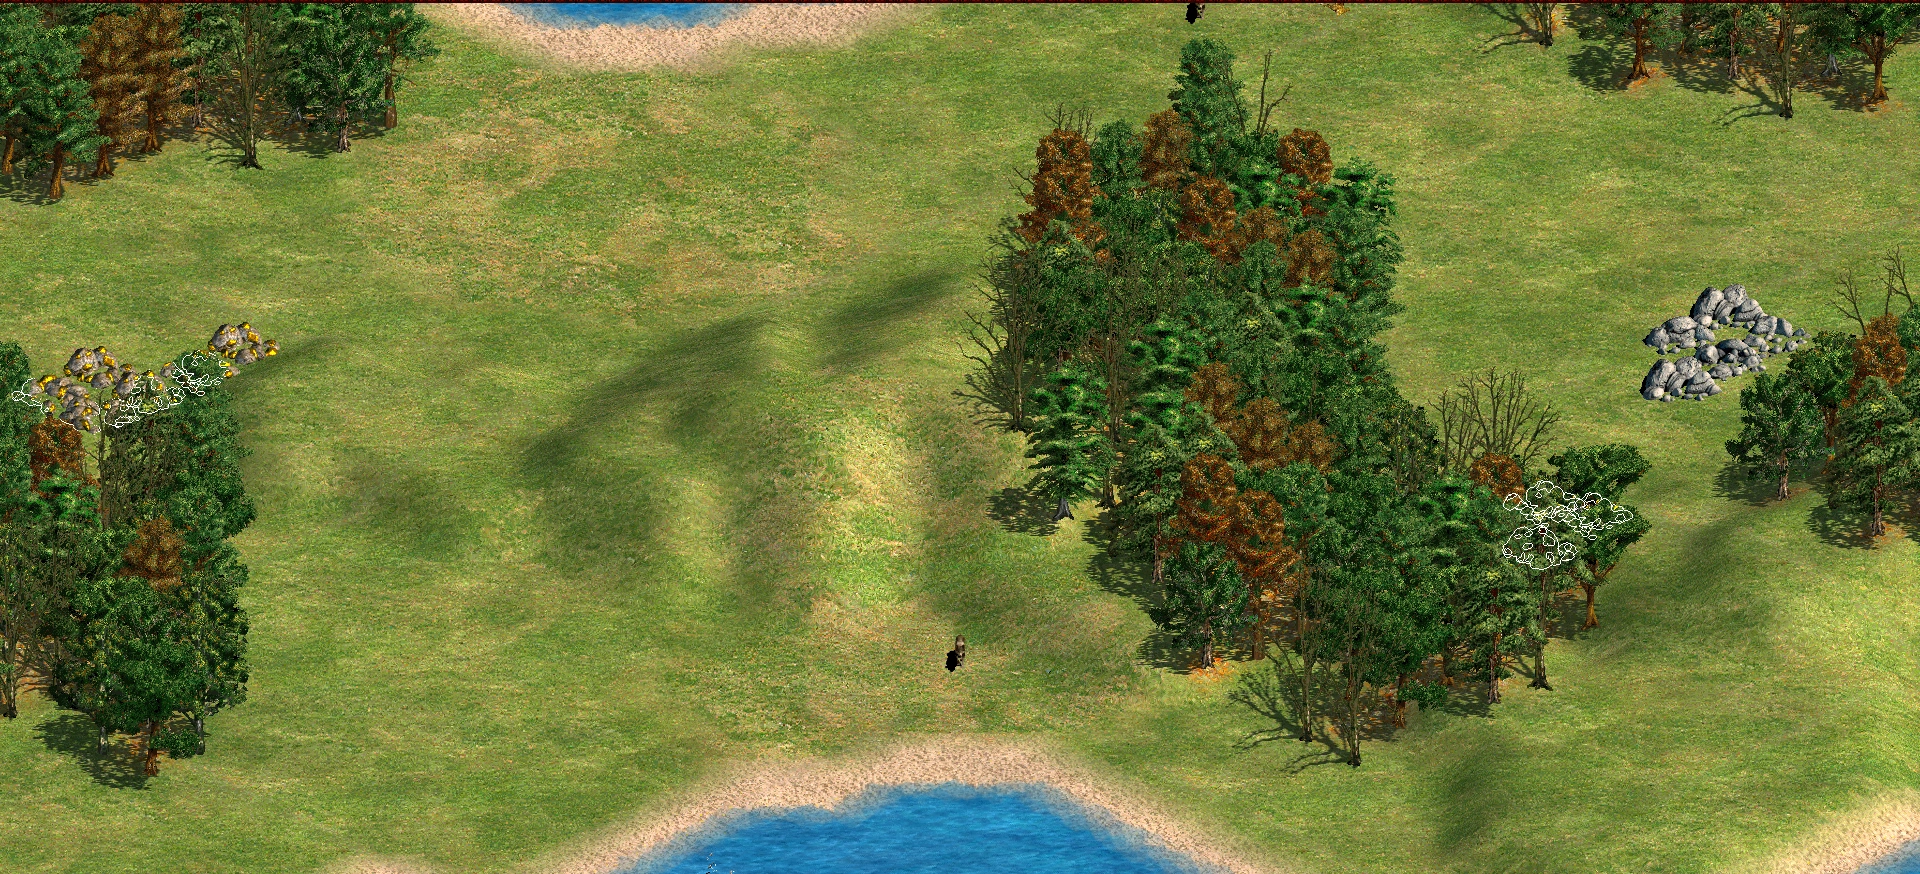 ItalyMaps
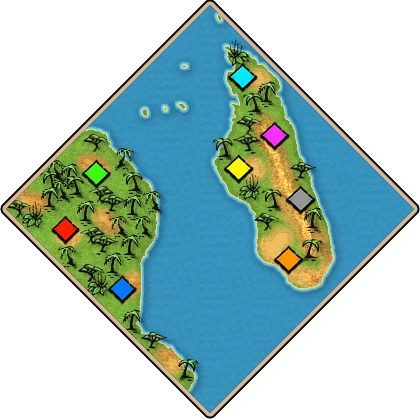 MadagascarMaps
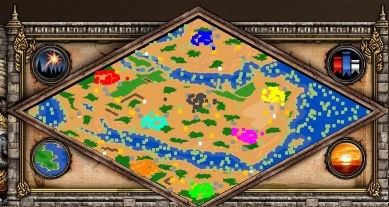 MideastMaps
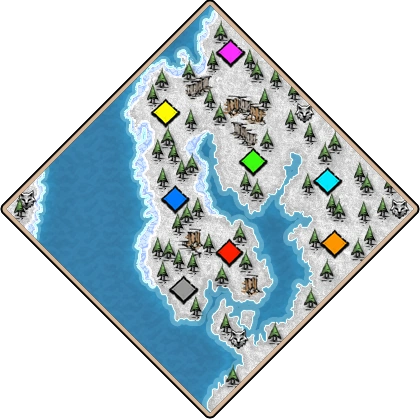 Norse LandsMaps
 PhilippinesMaps
 Sea of Japan (East Sea)Maps
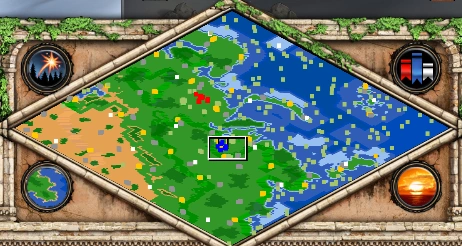 SiberiaMaps
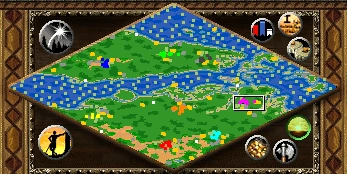 Strait of MalaccaMaps
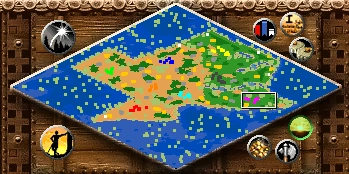 TexasMaps
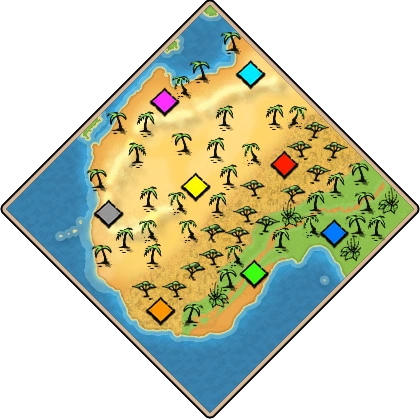 West AfricaMaps
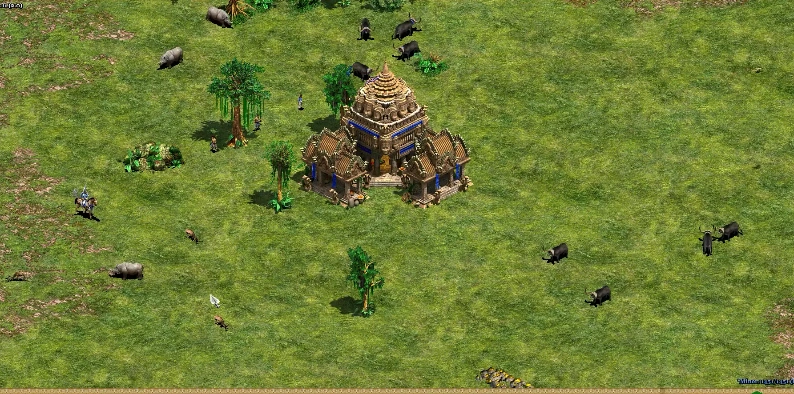 Border StonesMaps
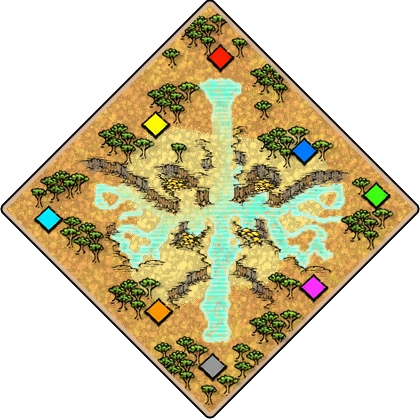 CanyonsMaps
 Far OutMaps
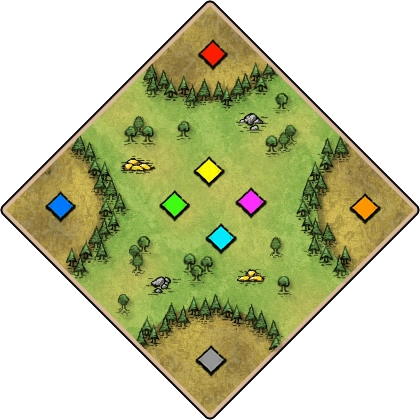 Forest BreachMaps
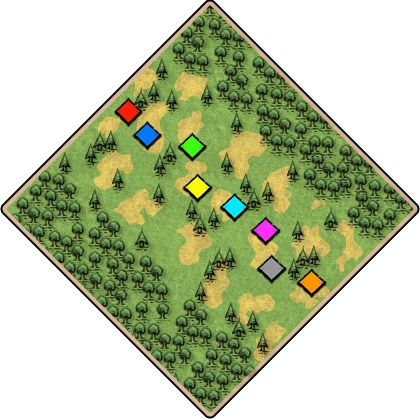 Front LineMaps
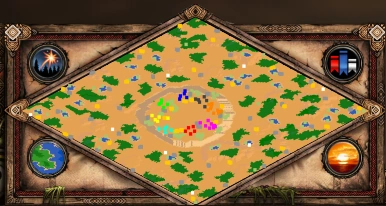 Inner CircleMaps
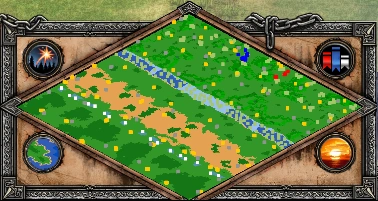 Journey SouthMaps
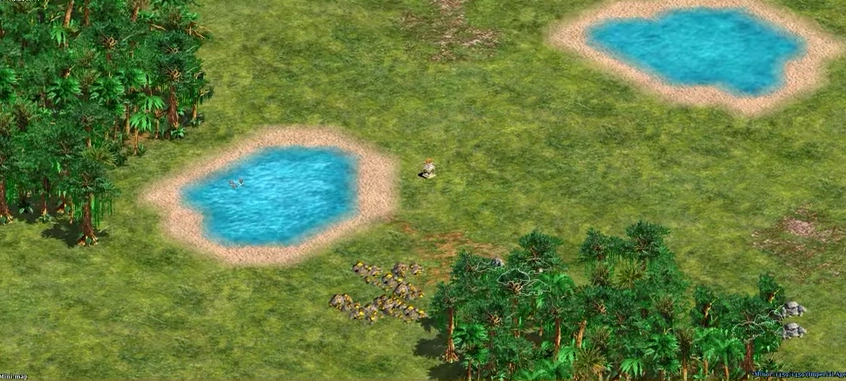 Jungle LanesMaps
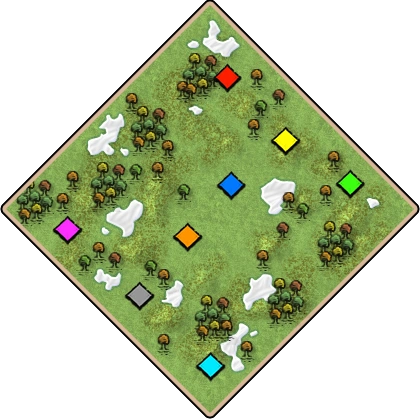 Open PlainsMaps
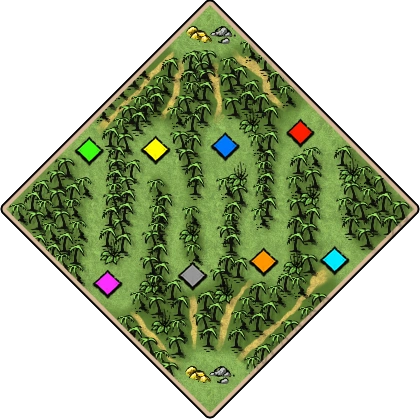 Snake ForestMaps
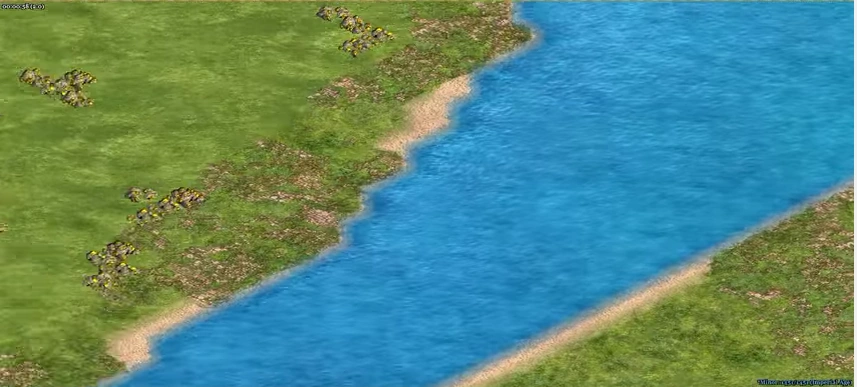 Holy LineMaps
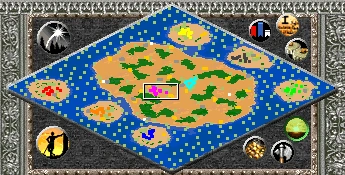 MotherlandMaps
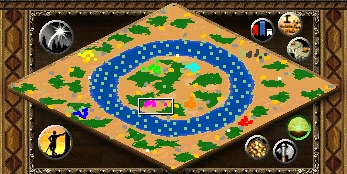 Ring of WaterMaps
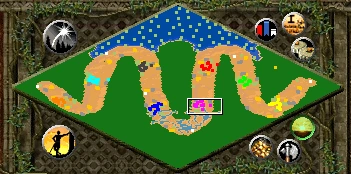 SnakepitMaps
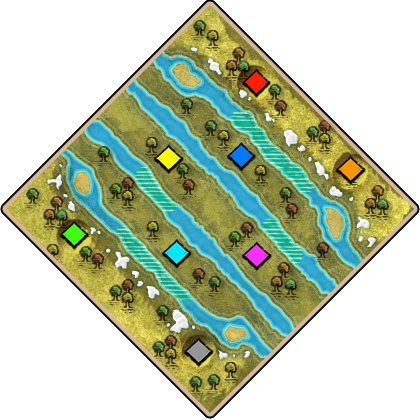 Sprawling StreamsMaps
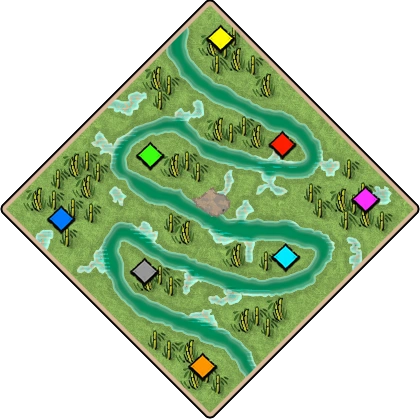 Swirling RiverMaps
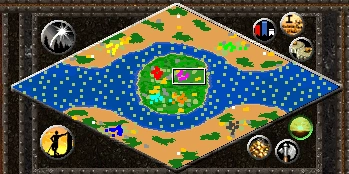 The EyeMaps
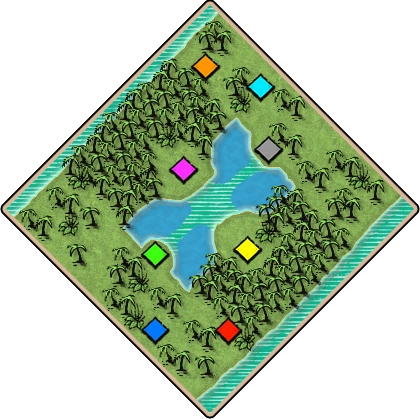 Twin ForestsMaps
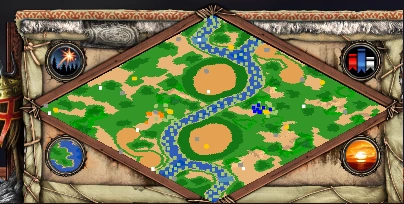 Yin YangMaps
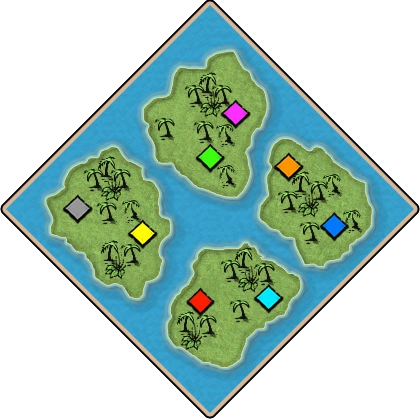 Enemy ArchipelagoMaps
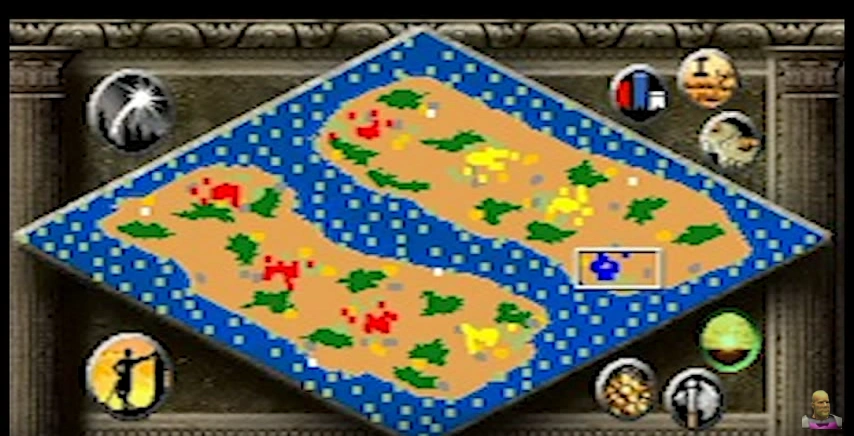 Enemy IslandsMaps
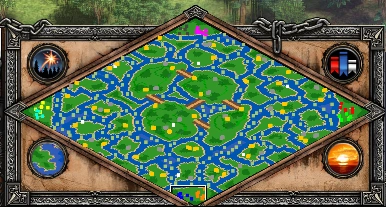 Jungle IslandsMaps
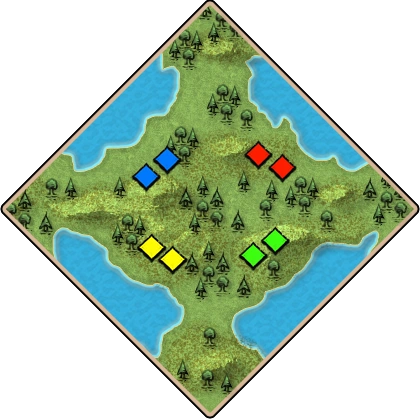 BudapestMaps
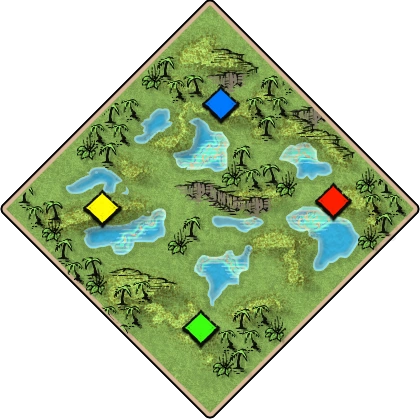 CenotesMaps
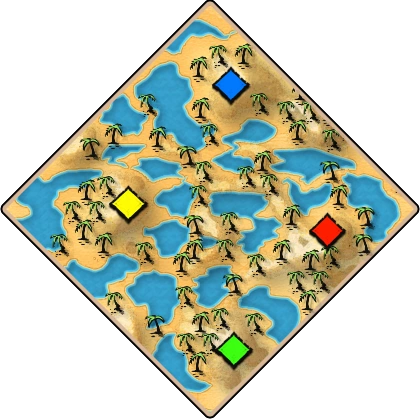 City of LakesMaps
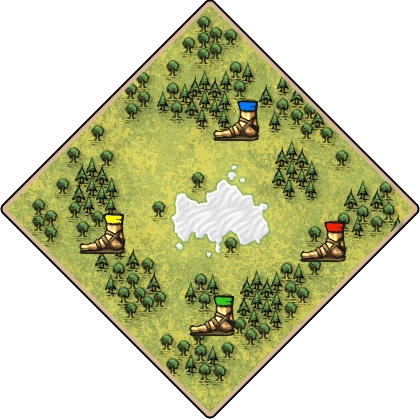 SteppeMaps
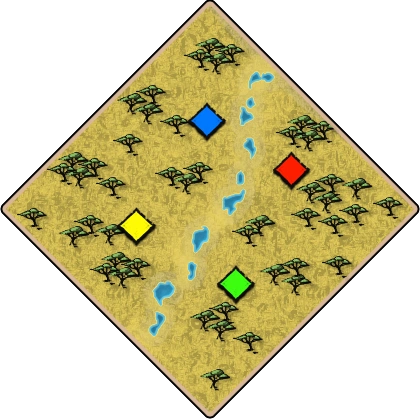 ValleyMaps
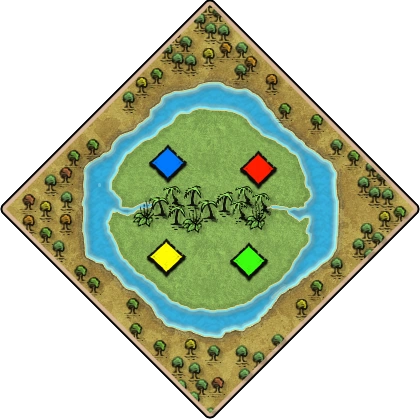 HamburgerMaps
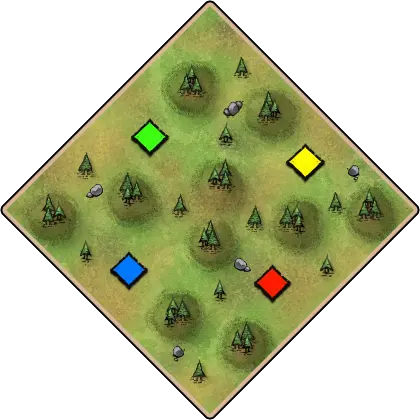 CrownwoodMaps
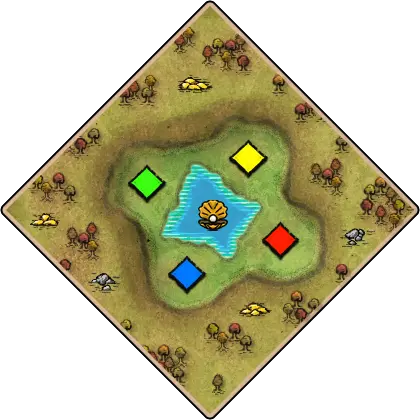 Dorothea QuarryMaps
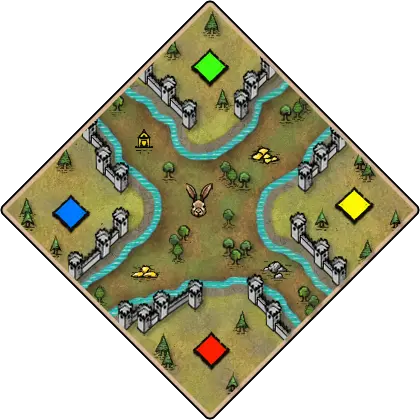 GlacisMaps
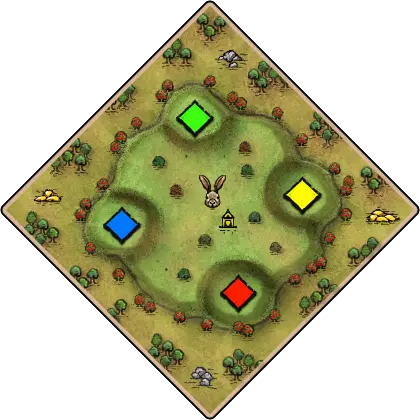 HengeholdMaps
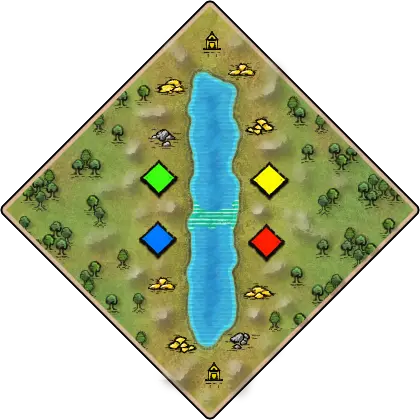 Loch NessMaps
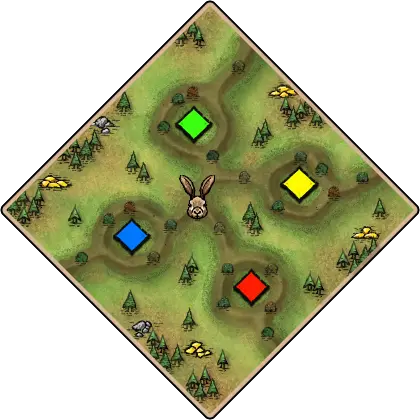 RampartMaps
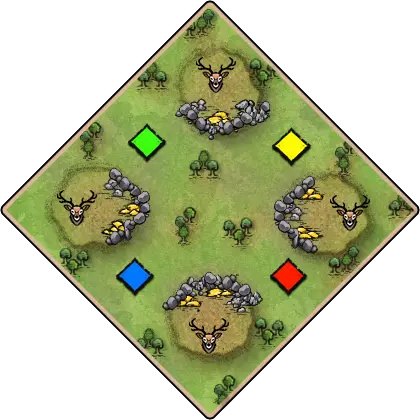 StonefrontMaps
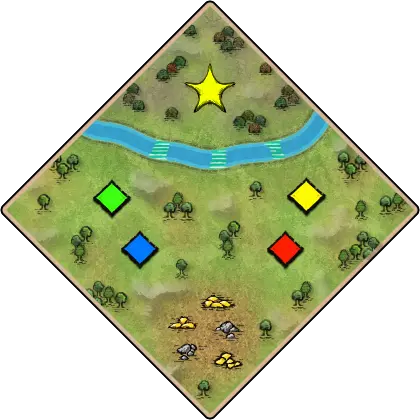 ThamesMaps
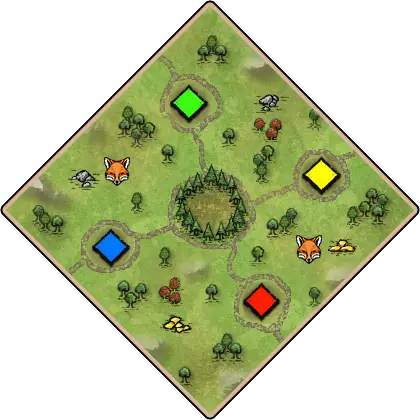 VulpineMaps
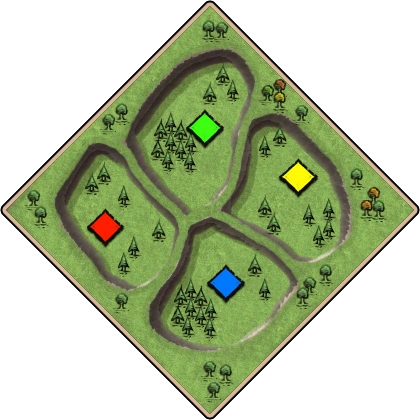 AcclivityMaps
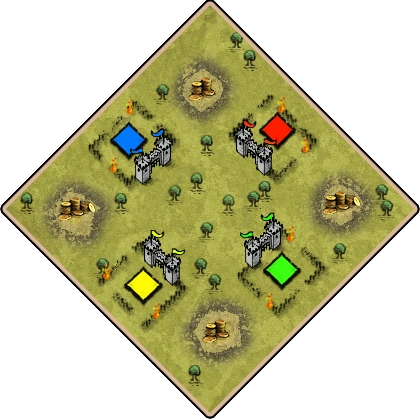 AftermathMaps
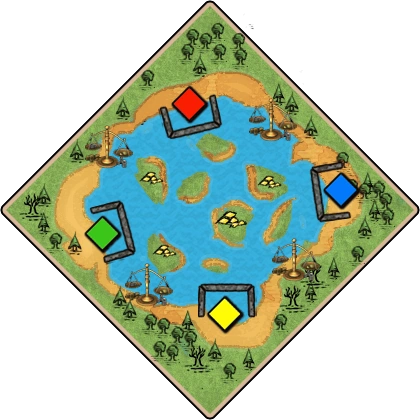 AquarenaMaps
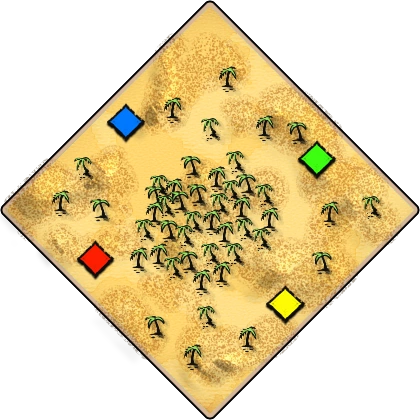 AtacamaMaps
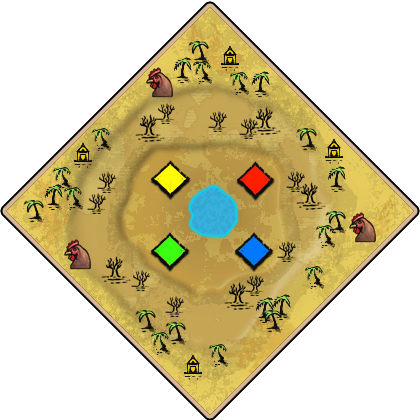 Border DisputeMaps
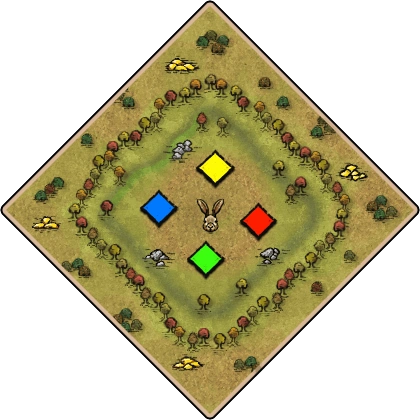 Chaos PitMaps
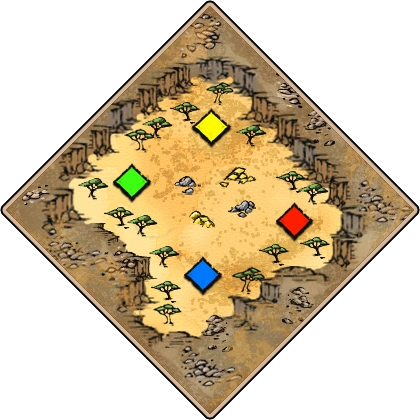 CliffboundMaps
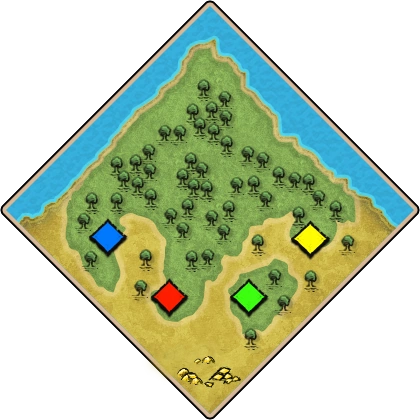 Coastal ForestMaps
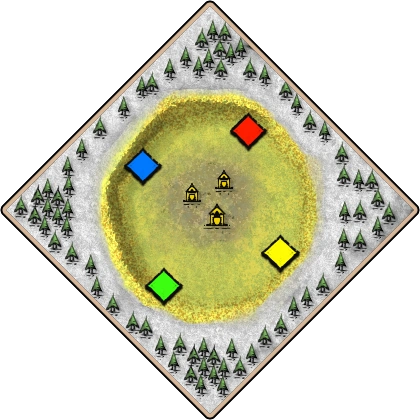 CraterMaps
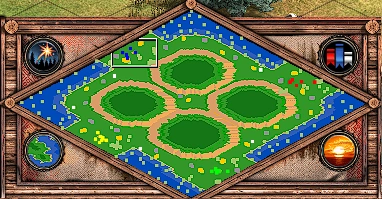 CrossroadsMaps
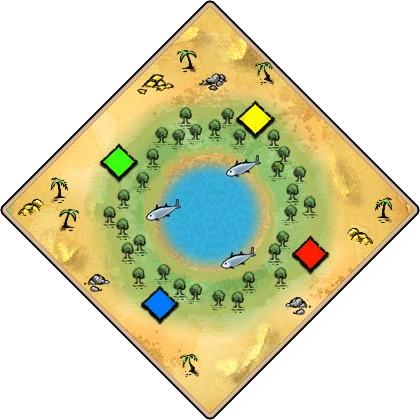 DunespringsMaps
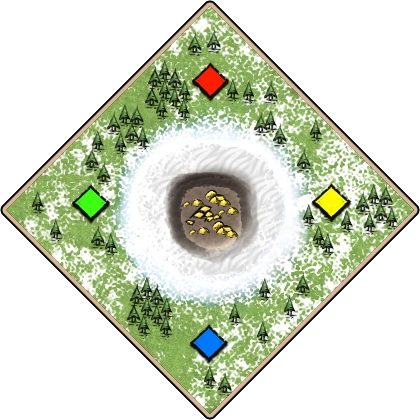 EruptionMaps
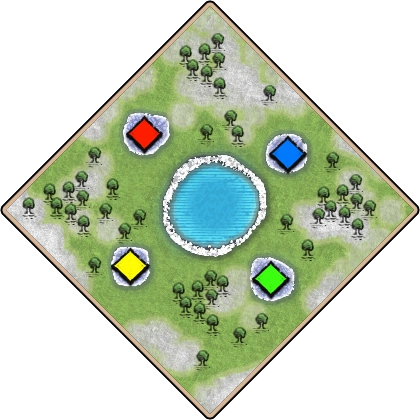 Frigid LakeMaps
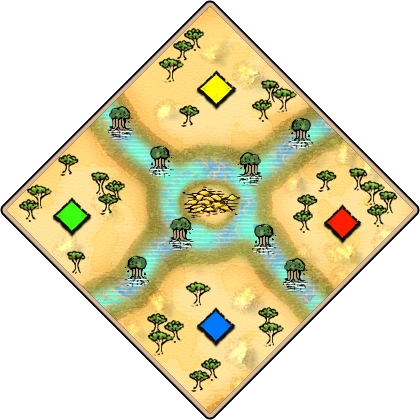 Golden StreamMaps
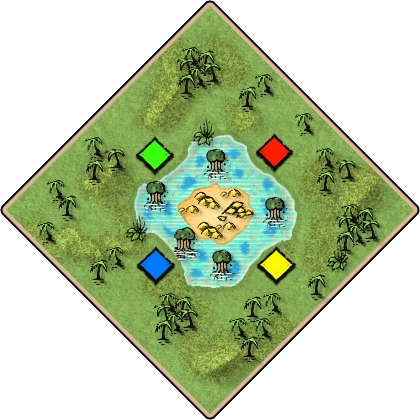 Golden SwampMaps
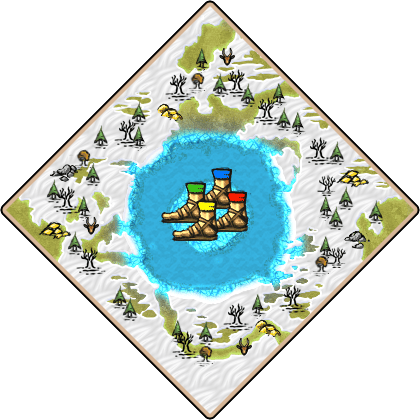 GraupelMaps
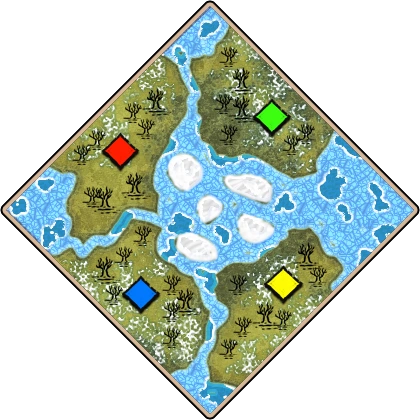 GreenlandMaps
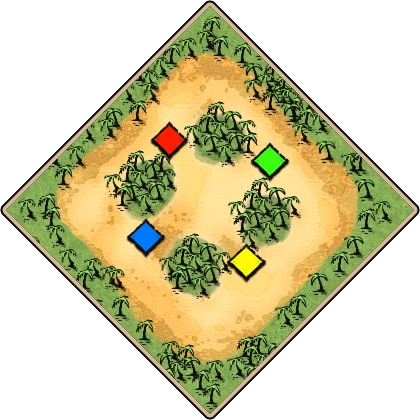 HaboobMaps
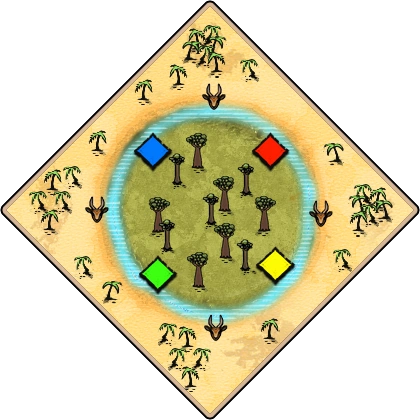 Hollow WoodlandsMaps
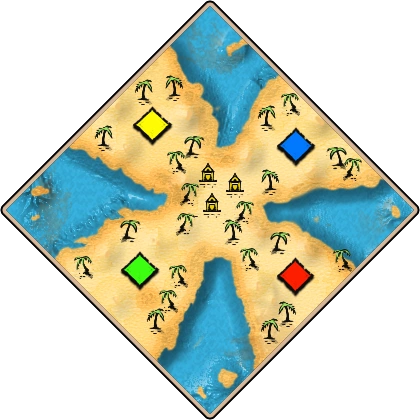 IsthmusMaps
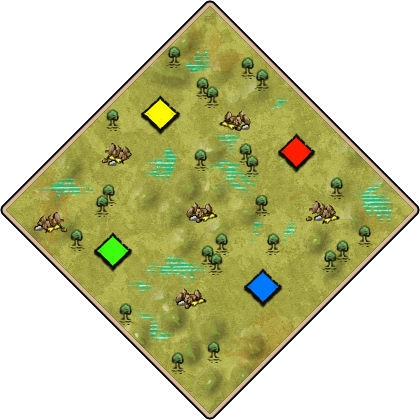 KarstsMaps
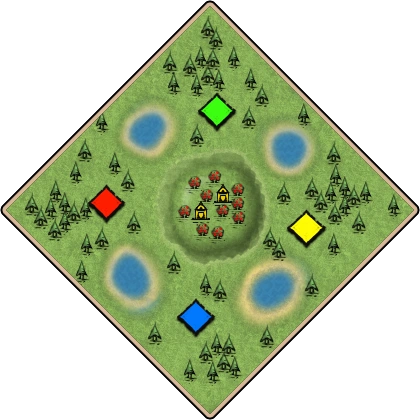 KawasanMaps
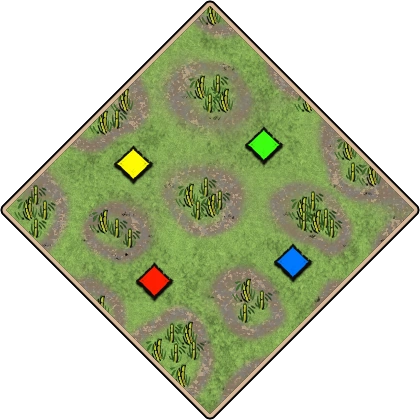 Land MadnessMaps
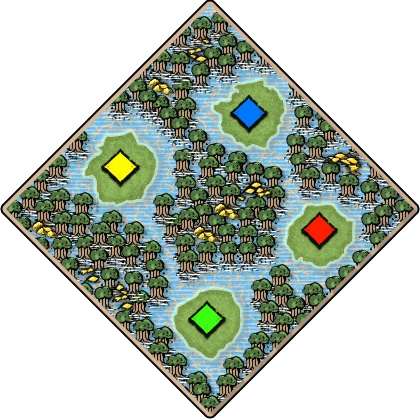 Mangrove JungleMaps
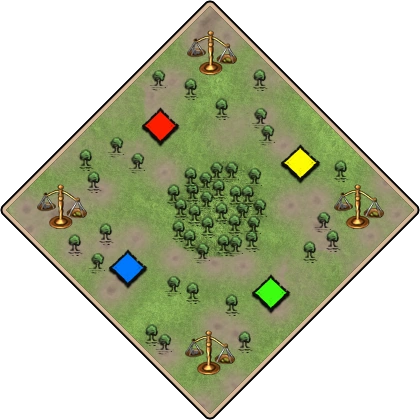 MarketplaceMaps
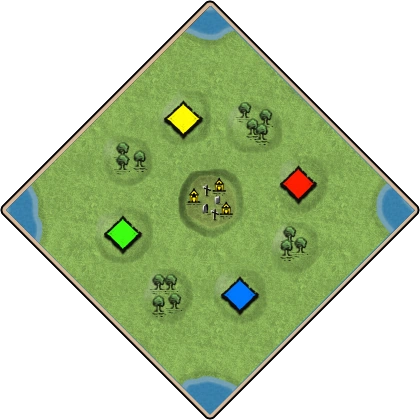 MeadowMaps
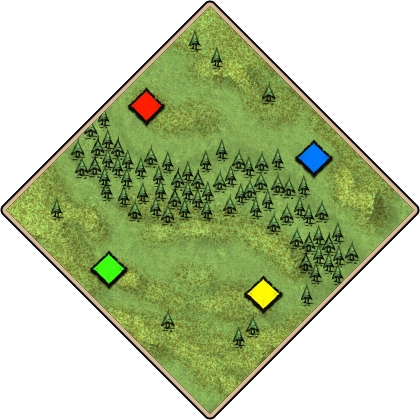 MichiMaps
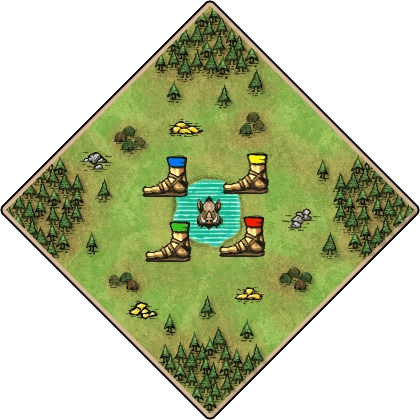 MiredMaps
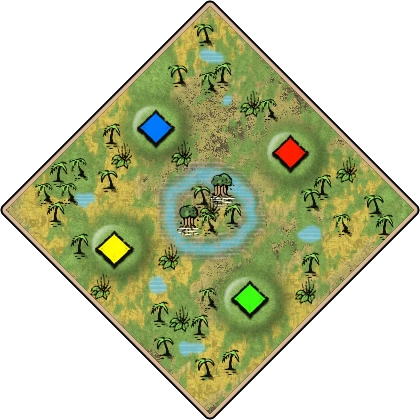 MorassMaps
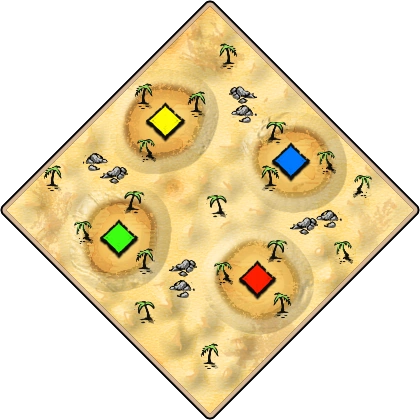 Mountain DunesMaps
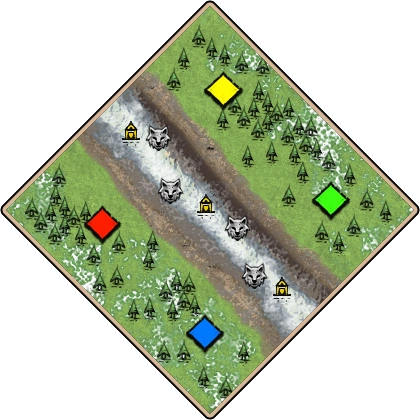 Mountain RangeMaps
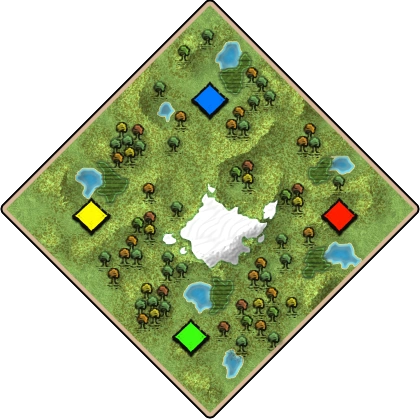 Mountain RidgeMaps
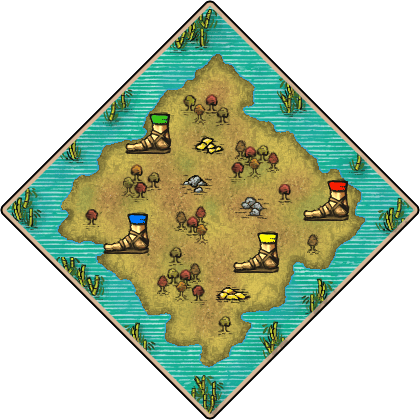 MurkwoodMaps
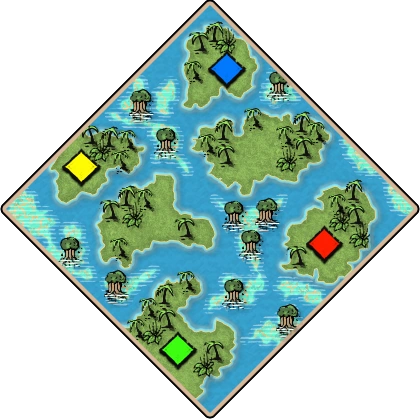 Pacific IslandsMaps
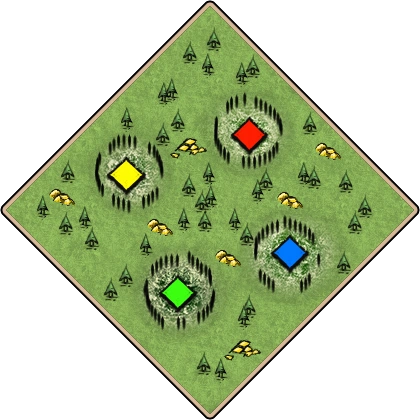 Ring FortressMaps
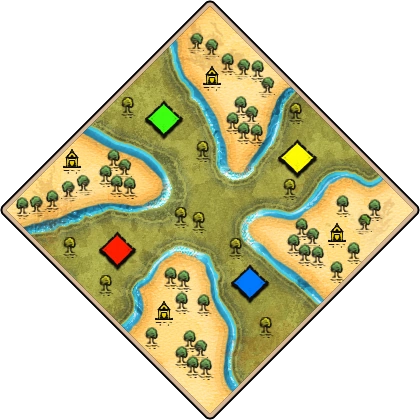 River DivideMaps
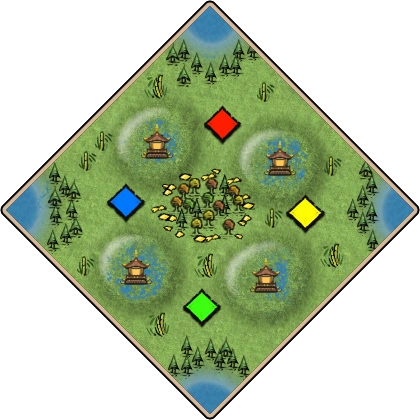 Sacred SpringsMaps
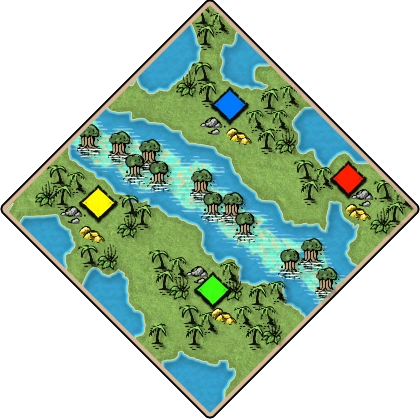 SandbankMaps
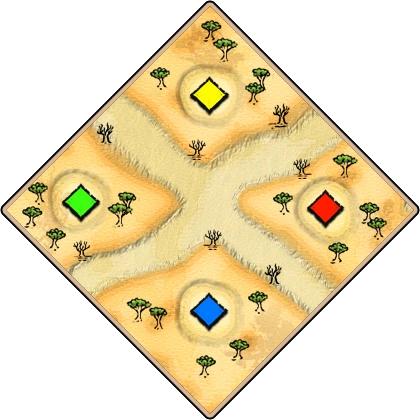 SandriftMaps
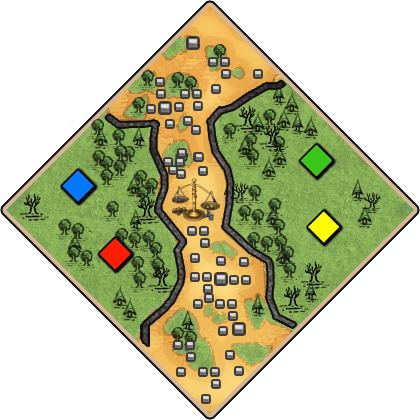 SardisMaps
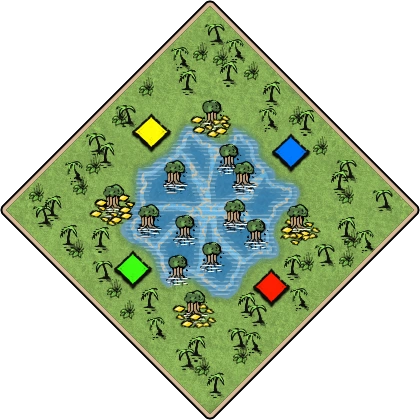 ShoalsMaps
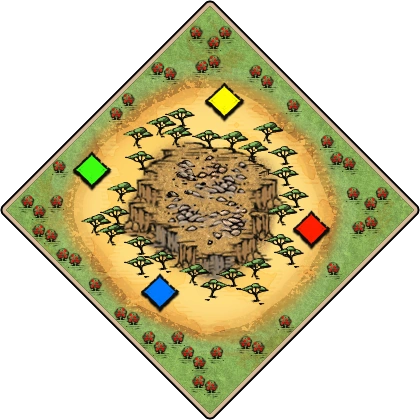 ShrublandMaps
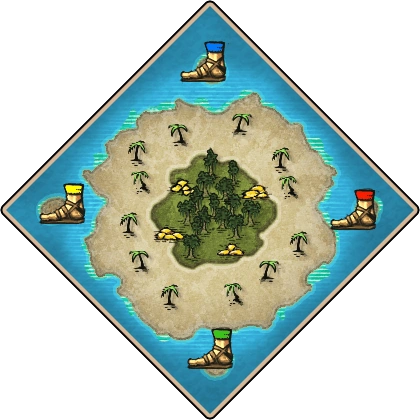 StrandedMaps
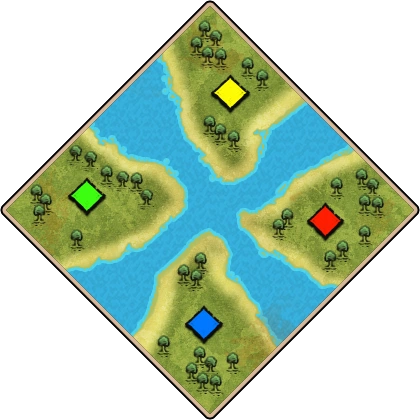 The PassageMaps
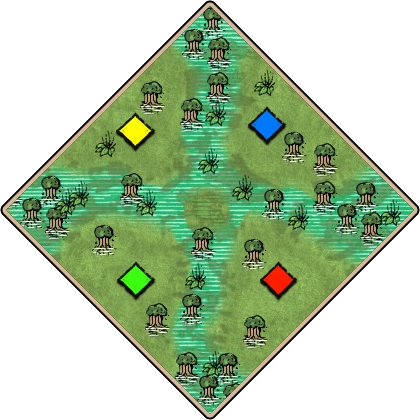 WadeMaps
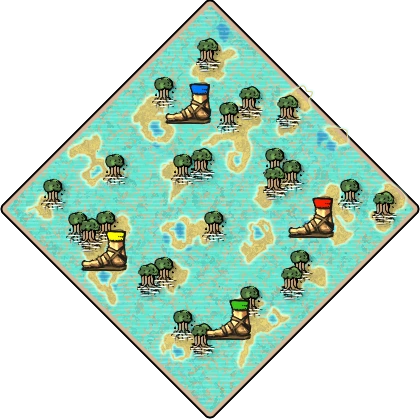 Water NomadMaps
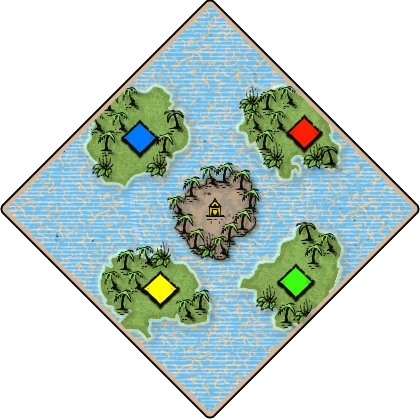 CtR MonsoonMaps
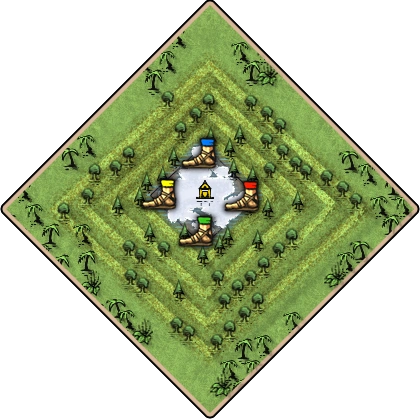 CtR Pyramid DescentMaps
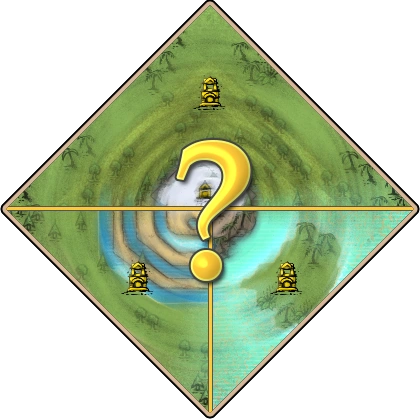 CtR RandomMaps
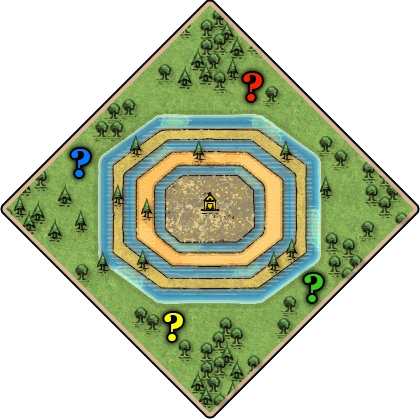 CtR SpiralMaps
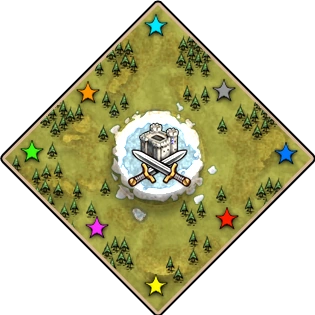 BR Battle On IceMaps
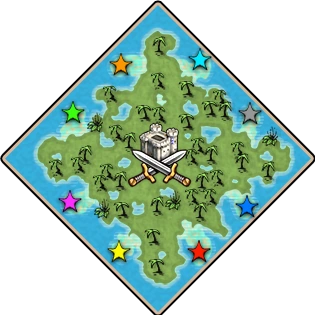 BR El DoradoMaps
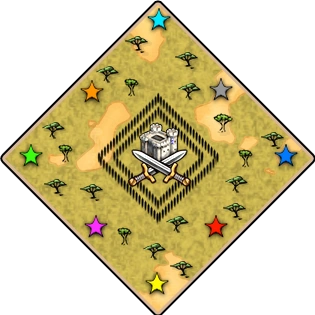 BR Fall of AxumMaps
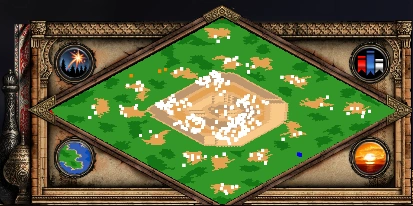 BR Fall of RomeMaps
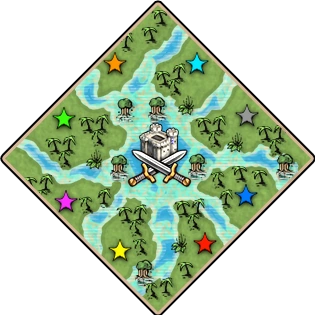 BR Majapahit EmpireMaps
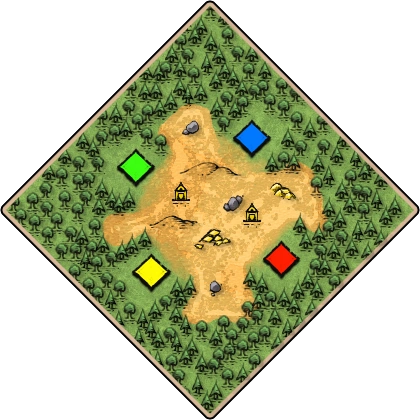 GladeMaps
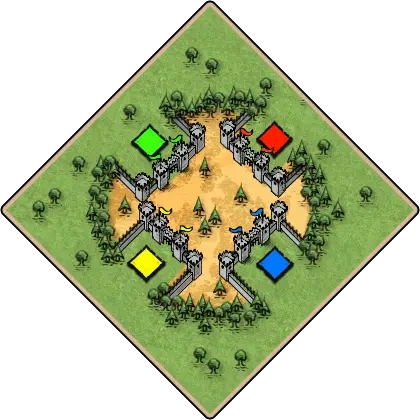 Fortified ClearingMaps
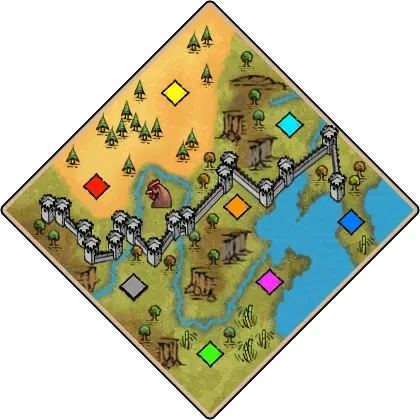 Great WallMaps
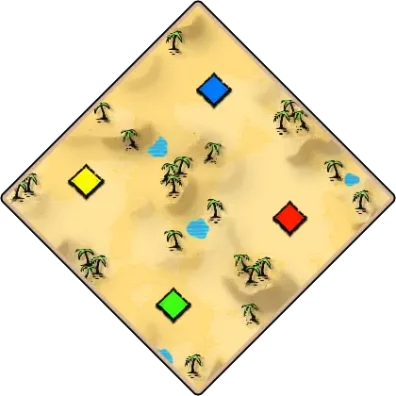 Arabian DesertMaps
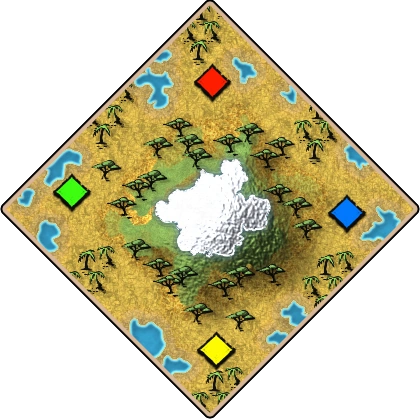 KilimanjaroMaps
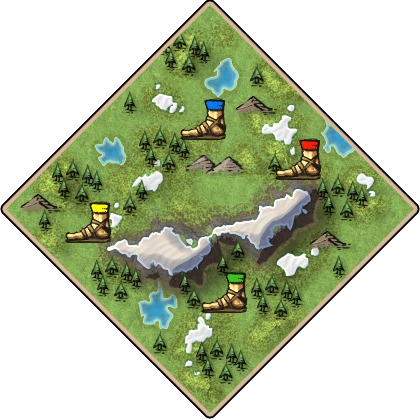 Mountain PassMaps
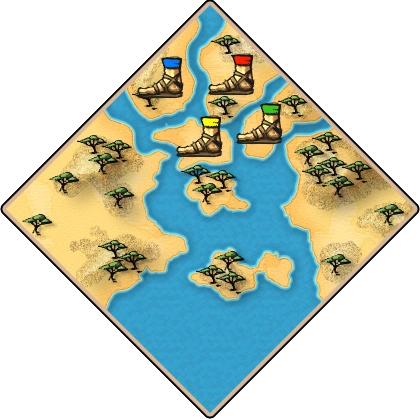 Nile DeltaMaps
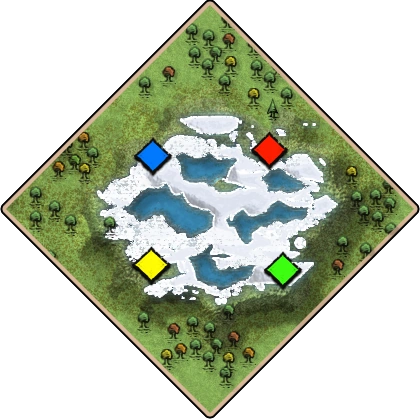 Alpine LakesMaps
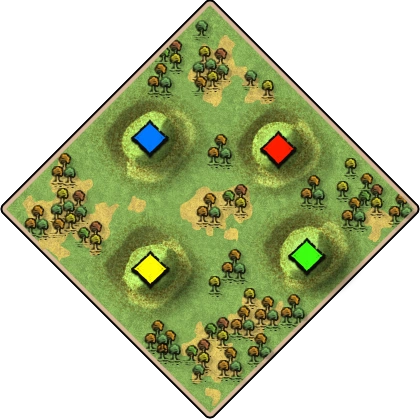 RavinesMaps
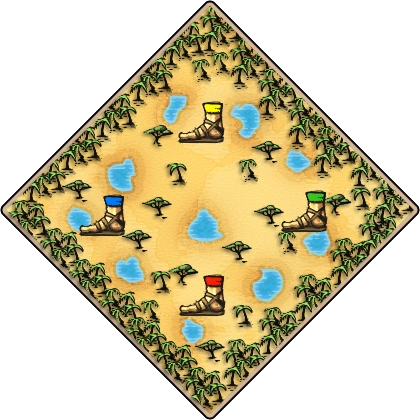 African ClearingMaps
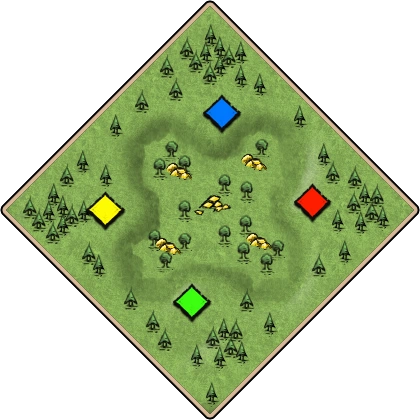 LowlandMaps
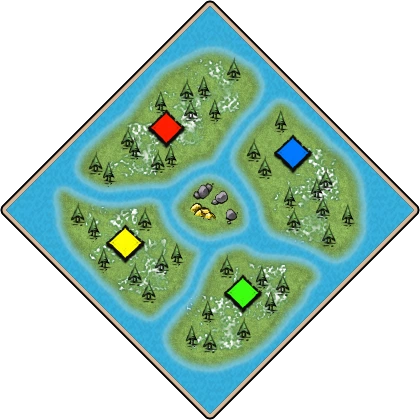 Northern IslesMaps
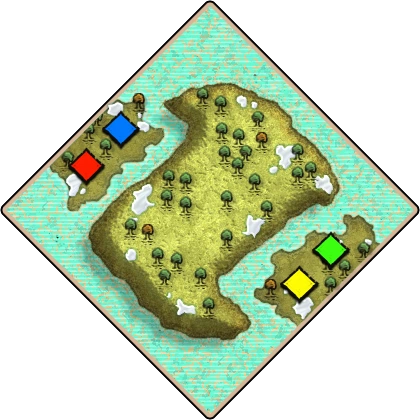 Seize The MountainMaps
 Team MoatsMaps
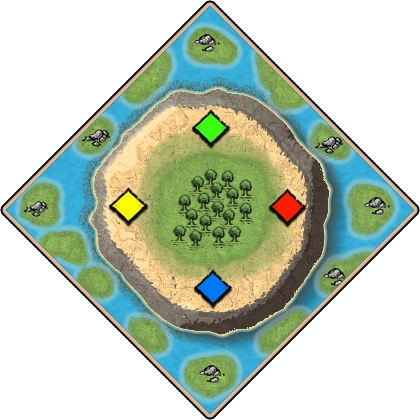 Volcanic IslandMaps
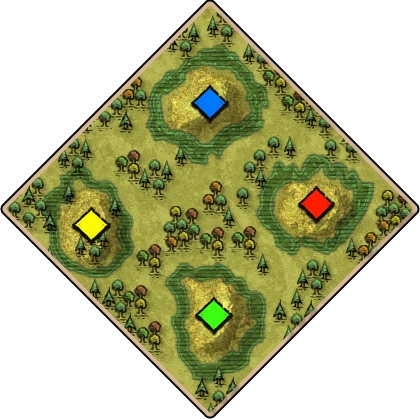 BoglandMaps
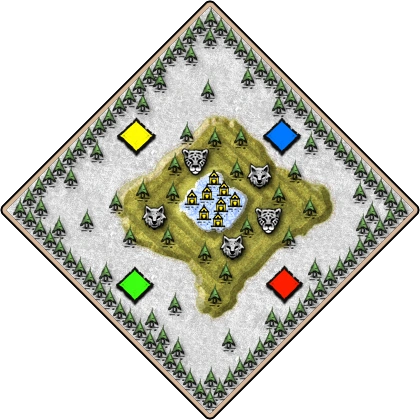 Wolf HillMapsReal WorldMaps
Strategies & plans
756 entriesWater controlNaval strategiesFishing boomNaval strategiesAmphibious landingNaval strategiesFleet compositionNaval strategies Coastal siegeNaval strategiesNaval raidingNaval strategiesScout rushBattle strategiesArcher rushBattle strategiesMen-at-Arms rushBattle strategiesDrushBattle strategiesFast CastleBattle strategies
 Tower rushBattle strategiesFast ImperialBattle strategies
 Fast FeudalBattle strategies
 BoomingBattle strategiesForward baseBattle strategies
 Castle dropBattle strategies
 Relic controlBattle strategies
 Trash warBattle strategiesArmy compositionBattle strategiesScouting the opponentBattle strategiesCounter transitionBattle strategiesResource balancingBattle strategiesMultitaskingBattle strategies
 Defending against early pressureBattle strategiesTiming attackBattle strategies
 Armenians StrategyCivilization strategies
 Aztecs StrategyCivilization strategies
 Bengalis StrategyCivilization strategies
 Berbers StrategyCivilization strategies
 Bohemians StrategyCivilization strategies
 Britons StrategyCivilization strategies
 Bulgarians StrategyCivilization strategies
 Burgundians StrategyCivilization strategiesArmenians Technology TreeCivilization tech treesAztecs Technology TreeCivilization tech treesBengalis Technology TreeCivilization tech treesBerbers Technology TreeCivilization tech treesBohemians Technology TreeCivilization tech treesBritons Technology TreeCivilization tech treesBulgarians Technology TreeCivilization tech treesBurgundians Technology TreeCivilization tech trees
 Burmese Technology TreeCivilization tech trees
 Byzantines Technology TreeCivilization tech trees
 Celts Technology TreeCivilization tech trees
 Chinese Technology TreeCivilization tech trees
 Cumans Technology TreeCivilization tech trees
 Dravidians Technology TreeCivilization tech trees
 Ethiopians Technology TreeCivilization tech trees
 Franks Technology TreeCivilization tech trees
 Georgians Technology TreeCivilization tech trees
 Goths Technology TreeCivilization tech trees
 Gurjaras Technology TreeCivilization tech treesHindustanis Technology TreeCivilization tech trees
 Huns Technology TreeCivilization tech trees
 Incas Technology TreeCivilization tech trees
 Italians Technology TreeCivilization tech trees
 Japanese Technology TreeCivilization tech trees
 Jurchens Technology TreeCivilization tech trees
 Khitans Technology TreeCivilization tech trees
 Khmer Technology TreeCivilization tech trees
 Koreans Technology TreeCivilization tech trees
 Lithuanians Technology TreeCivilization tech trees
 Magyars Technology TreeCivilization tech trees
 Malay Technology TreeCivilization tech trees
 Malians Technology TreeCivilization tech trees
 Mapuche Technology TreeCivilization tech trees
 Maya Technology TreeCivilization tech trees
 Mongols Technology TreeCivilization tech trees
 Muisca Technology TreeCivilization tech trees
 Persians Technology TreeCivilization tech trees
 Poles Technology TreeCivilization tech trees
 Portuguese Technology TreeCivilization tech trees
 Romans Technology TreeCivilization tech trees
 Saracens Technology TreeCivilization tech trees
 Sicilians Technology TreeCivilization tech trees
 Slavs Technology TreeCivilization tech trees
 Spanish Technology TreeCivilization tech trees
 Tatars Technology TreeCivilization tech trees
 Teutons Technology TreeCivilization tech trees
 Turks Technology TreeCivilization tech trees
 Tupi Technology TreeCivilization tech trees
 Vietnamese Technology TreeCivilization tech trees
 Vikings Technology TreeCivilization tech trees
 Wei Technology TreeCivilization tech trees
 Wu Technology TreeCivilization tech trees
 Shu Technology TreeCivilization tech trees
 Danes Technology TreeCivilization tech trees
 Saxons Technology TreeCivilization tech trees
 Varangians Technology TreeCivilization tech treesBurmese StrategyCivilization plansByzantines StrategyCivilization plansCelts StrategyCivilization plansChinese StrategyCivilization plansCumans StrategyCivilization plansDanes StrategyCivilization plansDravidians StrategyCivilization plansEthiopians StrategyCivilization plansFranks StrategyCivilization plansGeorgians StrategyCivilization plansGoths StrategyCivilization plansGurjaras StrategyCivilization plansHindustanis StrategyCivilization plansHuns StrategyCivilization plansIncas StrategyCivilization plansItalians StrategyCivilization plansJapanese StrategyCivilization plansJurchens StrategyCivilization plansKhitans StrategyCivilization plansKhmer StrategyCivilization plansKoreans StrategyCivilization plansLithuanians StrategyCivilization plansMagyars StrategyCivilization plansMalay StrategyCivilization plansMalians StrategyCivilization plansMapuche StrategyCivilization plansMaya StrategyCivilization plansMongols StrategyCivilization plansMuisca StrategyCivilization plansPersians StrategyCivilization plansPoles StrategyCivilization plansPortuguese StrategyCivilization plansRomans StrategyCivilization plansSaracens StrategyCivilization plansSaxons StrategyCivilization plansShu StrategyCivilization plansSicilians StrategyCivilization plansSlavs StrategyCivilization plansSpanish StrategyCivilization plansTatars StrategyCivilization plansTeutons StrategyCivilization plansTupi StrategyCivilization plansTurks StrategyCivilization plansVarangians StrategyCivilization plansVietnamese StrategyCivilization plansWei StrategyCivilization plansWu StrategyCivilization plansVikings StrategyCivilization plansKnight rushBattle strategies
 Crossbow timingBattle strategiesScout-to-Knight transitionBattle strategiesMen-at-Arms into ArchersBattle strategiesDrush into Fast CastleBattle strategiesFast Castle MonksBattle strategiesFast Castle Unique UnitBattle strategiesDouble Archery RangeBattle strategiesFeudal Spearman openingBattle strategiesContinuous Villager productionBattle strategies
 Economic upgrade timingBattle strategies
 Transitioning to FarmsBattle strategies
 Woodline and production planningBattle strategiesMarket resource balancingBattle strategiesKeeping production activeBattle strategiesSkirmisher defenseBattle strategiesSpearman screen against cavalryBattle strategiesProtecting a ranged armyBattle strategiesSiege-supported pushBattle strategiesMonk battlefield supportBattle strategiesRaiding exposed economyBattle strategiesSmall-wall decisionsBattle strategiesScouting loopBattle strategies
 Securing contested goldBattle strategiesHills and choke pointsBattle strategiesDefending against forward towersBattle strategiesCastle placement for map controlBattle strategiesTrade route planningBattle strategiesLate-game gold conservationBattle strategies
 Trebuchet timing and protectionBattle strategiesCastle Age expansion timingBattle strategiesChoosing the next Age-upBattle strategiesCounter-unit transitionBattle strategiesForward base logisticsBattle strategiesRelic control and recoveryBattle strategies
 Holding a defensive siege lineBattle strategiesPost-fight regroupingBattle strategiesProtecting forward VillagersBattle strategiesImperial Age unit upgradesBattle strategiesLate-game production rotationBattle strategiesMap-control scouting postsBattle strategiesBreaking a fortified positionBattle strategiesChoosing when to disengageBattle strategiesCastle drop follow-throughBattle strategiesPopulation-space planningBattle strategiesBalancing map expansion and defenseBattle strategiesCoordinating team-game pressureBattle strategiesRebuilding after a failed pushBattle strategiesArcher rush follow-throughBattle strategiesScout rush follow-throughBattle strategiesFast Castle follow-throughBattle strategiesFeudal walling and repairsBattle strategiesProtecting gold and stone minersBattle strategiesChoosing a raid routeBattle strategiesSecuring hills before siegeBattle strategiesRebuilding production after a raidBattle strategies
 Evaluating costly engagementsBattle strategiesEngaging under a CastleBattle strategiesTrebuchet target priorityBattle strategiesTransitioning after water controlBattle strategiesBuild-order discipline and adaptationBattle strategiesBoom safely into a large armyBattle strategiesDefending Villagers during rushesBattle strategiesPicking targets for early raidsBattle strategies
 Arena map strategyBattle strategiesBlack Forest map strategyBattle strategiesGold Rush map strategyBattle strategiesMigration map strategyBattle strategiesIslands map strategyBattle strategiesArabia map strategyBattle strategiesNomad map settlement strategyBattle strategiesLand Nomad settlement strategyBattle strategiesWater Nomad map strategyBattle strategiesFour Lakes map strategyBattle strategiesTeam Islands map strategyBattle strategiesArchipelago map strategyBattle strategiesGolden Pit map strategyBattle strategiesGolden Swamp map strategyBattle strategies
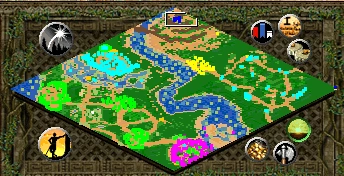 Villager Priority for resource shiftsBattle strategiesFood sequencing and safe Boar luresBattle strategiesLand Battle counter-and-terrain drillBattle strategiesNaval Battle ship-matchup drillBattle strategies
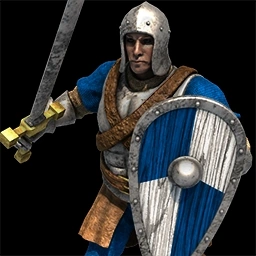 Choosing an opening planBattle strategies
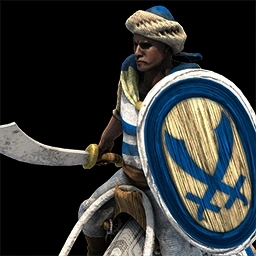 Cavalier flanking and frontline planUnit strategies
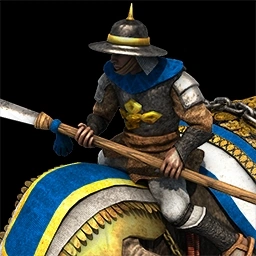 Elite Battle Elephant late-game massUnit strategies
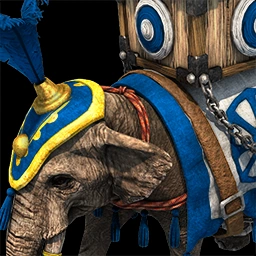 Elite Elephant Archer population-efficiency planUnit strategies
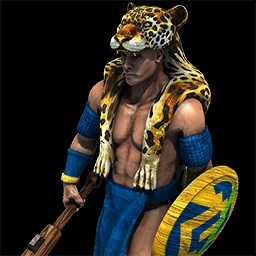 Jaguar Warrior anti-infantry switchUnit strategiesKeshik raid and gold-sustain planUnit strategiesMangonel escort and ground-fire planUnit strategiesScorpion formation support planUnit strategiesSlinger anti-infantry and ram defenseUnit strategies
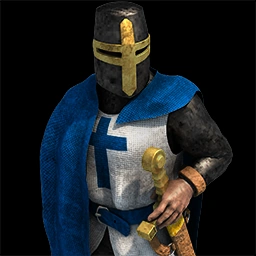 Mameluke range-kiting formationUnit strategiesSerjeant Donjon foothold planUnit strategies
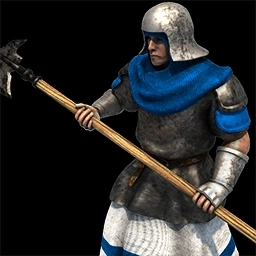 Halberdier cavalry-stop lineUnit strategiesTurtle Ship fleet-anchor planUnit strategiesWar Wagon ranged-frontline planUnit strategiesObuch armor-stripping infantry pressureUnit strategiesPaladin decisive-charge planUnit strategies
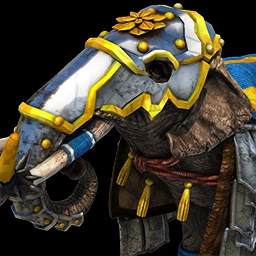 Siege Elephant protected-building pushUnit strategies
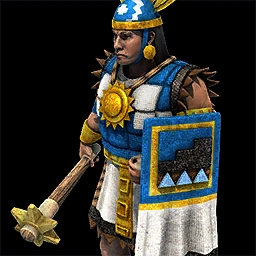 Elite Champi Warrior late-game switchUnit strategiesGenoese Crossbowman cavalry-screen planUnit strategies
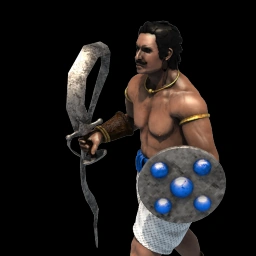 Urumi Swordsman burst-and-reset planUnit strategiesTiger Cavalry archer-hunt planUnit strategies
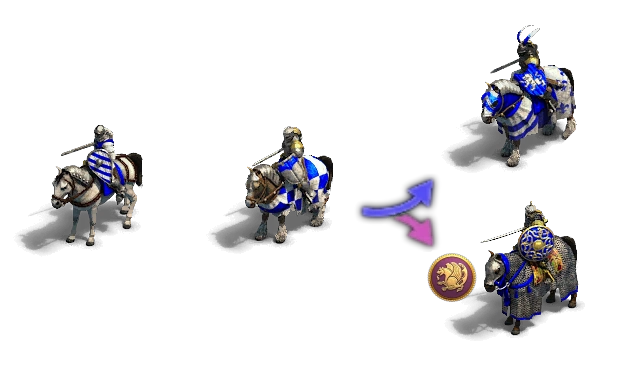 Boyar armored-flank planUnit strategiesCamel Archer cavalry-screen planUnit strategiesChakram Thrower line-fire planUnit strategiesChampi Warrior Castle Age transitionUnit strategiesHeavy Camel Rider cavalry-counter patrolUnit strategiesHand Cannoneer infantry-punish volleyUnit strategiesHuskarl archer-raiding routeUnit strategiesKarambit Warrior swarm-and-flank planUnit strategies
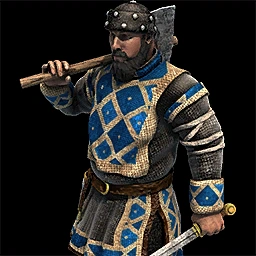 Warrior Priest healing-cycle supportUnit strategiesWinged Hussar late-game raid rotationUnit strategiesCoustillier charge-and-retreat planUnit strategies
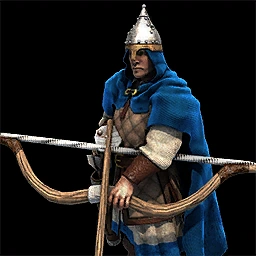 Composite Bowman armor-bypass firing lineUnit strategiesEagle Scout vision-and-raid planUnit strategiesGrenadier protected-volley planUnit strategies
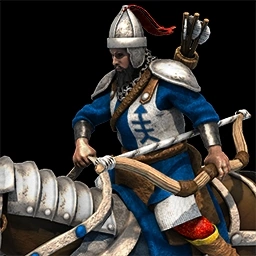 Heavy Cavalry Archer kiting formationUnit strategiesIron Pagoda heavy-cavalry coreUnit strategiesMonaspa grouped-cavalry strikeUnit strategies
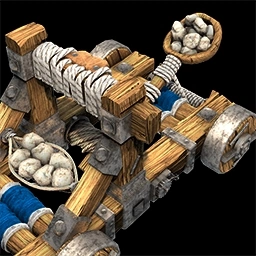 Siege Onager screened firing planUnit strategiesTeutonic Knight choke-point frontlineUnit strategies
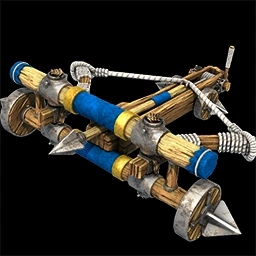 Heavy Scorpion protected-lane planUnit strategies
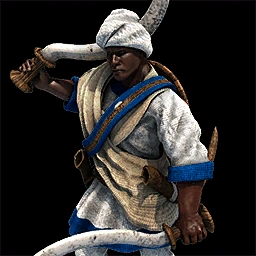 Shotel Warrior fast-raid routeUnit strategies
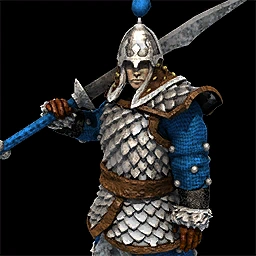 Liao Dao melee-engagement planUnit strategies
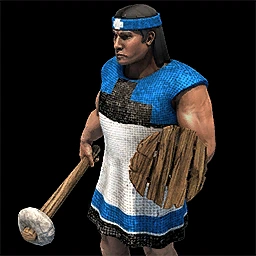 Champi Runner scouting raidUnit strategies
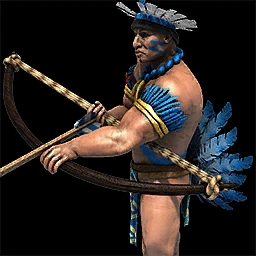 Blackwood Archer massed-volley planUnit strategies
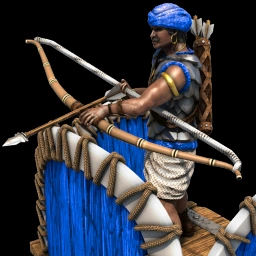 Ratha mode-switching formationUnit strategiesXianbei Raider charged-volley ambushUnit strategies
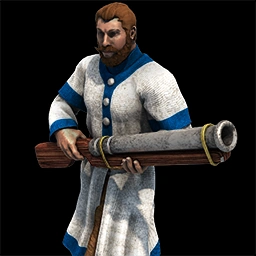 Janissary close-range volley planUnit strategies
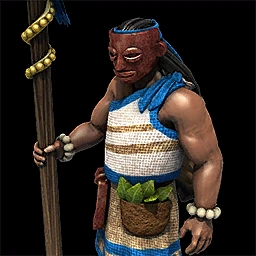 Temple Guard sustained-melee planUnit strategiesBombard Cannon counter-siege deploymentUnit strategiesFire Lancer charged anti-cavalry screenUnit strategiesLongbowman range-and-wall defenseUnit strategies
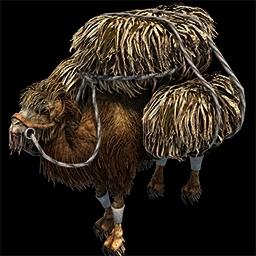 Flaming Camel mounted-army ambushUnit strategiesWar Chariot mode-switching planUnit strategies
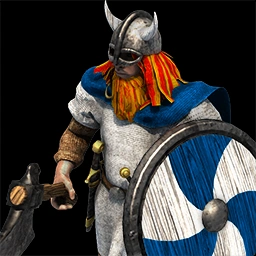 Berserk attrition-and-recovery planUnit strategies
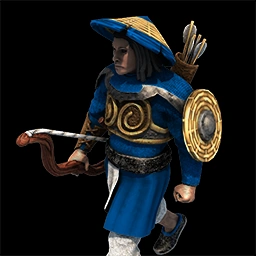 Rattan Archer anti-ranged screenUnit strategiesSamurai unique-unit interceptionUnit strategiesArambai close-range hit-and-runUnit strategiesKona wounded-target cavalry strikeUnit strategies
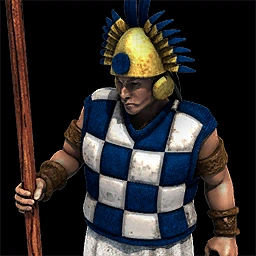 Kamayuk layered spear formationUnit strategies
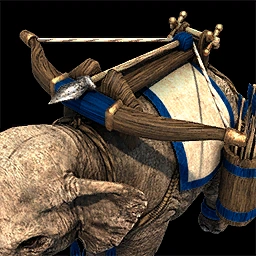 Ballista Elephant escorted-fire planUnit strategiesScout Cavalry vision-and-pressure loopUnit strategiesCrossbowman mass-upgrade timingUnit strategiesConquistador mobile-gunpowder strikeUnit strategies
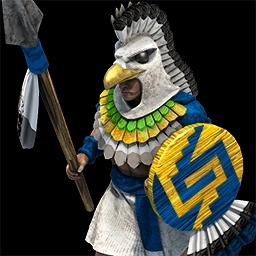 Elite Eagle Warrior siege-and-monk raidUnit strategiesGhulam anti-archer breakthroughUnit strategies
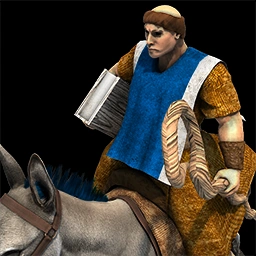 Missionary mounted-healing supportUnit strategies
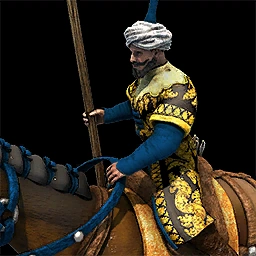 Qizilbash Warrior raiding rotationUnit strategies
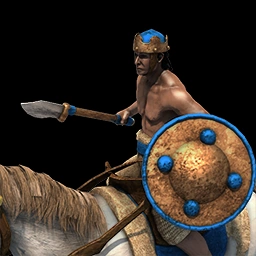 Shrivamsha Rider projectile-dodge diveUnit strategies
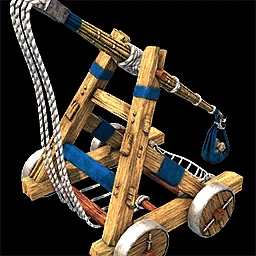 Traction Trebuchet long-range siege planUnit strategies
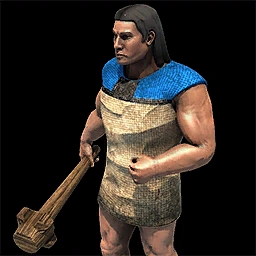 Champi Scout outpost-and-vision planUnit strategies
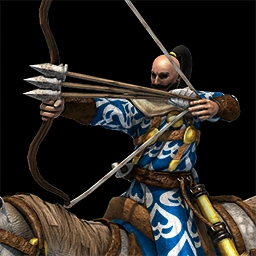 Kipchak massed-raid formationUnit strategies
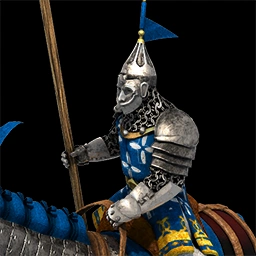 Elite Steppe Lancer mass-and-upgrade planUnit strategies
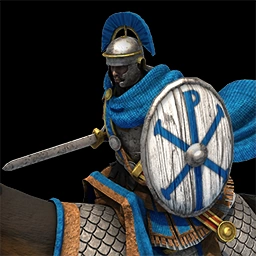 Centurion durable-frontline timingUnit strategies
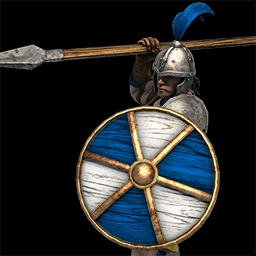 Imperial Skirmisher archer-counter reserveUnit strategiesHussite Wagon ranged-cover formationUnit strategiesGbeto hit-and-run infantry raidUnit strategies
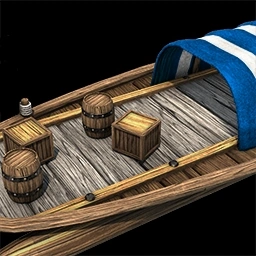 Demolition Raft clustered-fleet strikeUnit strategiesDromon coastal-siege escortUnit strategies
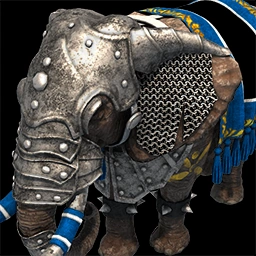 War Elephant breakthrough massUnit strategiesThirisadai fleet-core deploymentUnit strategiesOrgan Gun cone-volley positioningUnit strategies
 Militia Dark Age disruption planUnit strategiesMagyar Huszar siege-hunt patrolUnit strategies
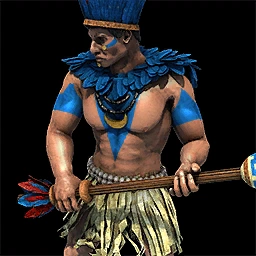 Ibirapema Warrior sweeping-frontline planUnit strategiesJian Swordsman anti-archer recovery lineUnit strategiesMangudai mobile-siege cleanupUnit strategiesMonk conversion-and-relic cycleUnit strategiesSavar heavy-cavalry timingUnit strategiesArcher Feudal raid formationUnit strategiesCaravel line-damage fleet massUnit strategiesCavalry Archer kiting economyUnit strategiesBattering Ram escorted breachUnit strategiesKnight Castle Age power-window planUnit strategiesCamel Scout Dark Age information routeUnit strategiesDemolition Ship fleet-cluster strikeUnit strategiesCamel Rider cavalry-intercept screenUnit strategies
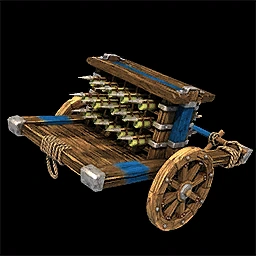 Rocket Cart armor-bypass firing lineUnit strategies
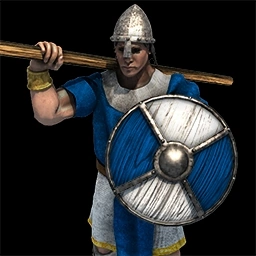 Elite Skirmisher anti-archer upgrade timingUnit strategiesPlumed Archer mobile-kiting routeUnit strategies
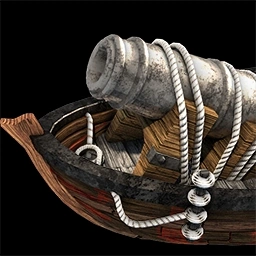 Cannon Galleon coastal-siege screenUnit strategies
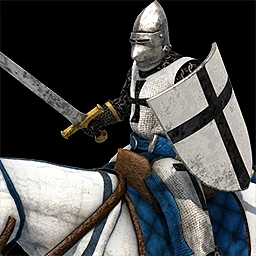 Crusader Knight limited-mass breakthroughUnit strategies
 Eagle Warrior monk-and-siege raidUnit strategies
 Heavy Rocket Cart armored-volley lineUnit strategiesLight Cavalry monk-and-siege sweepUnit strategiesMan-at-Arms early pressure timingUnit strategiesTarkan building-raiding routeUnit strategiesGuecha Warrior mobile archer counterUnit strategies
 Mounted Trebuchet siege-interception planUnit strategiesChu Ko Nu screened volley massUnit strategiesFire Ship close-water engagementUnit strategiesPetard breach-and-withdraw planUnit strategies
 Elite Cannon Galleon coastal siege lineUnit strategies
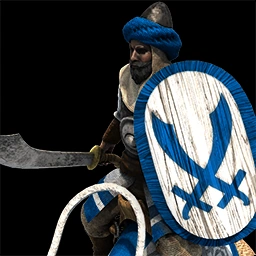 Imperial Camel Rider mounted-counter reserveUnit strategies
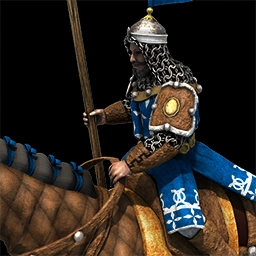 Steppe Lancer reach-and-raid groupUnit strategiesThrowing Axeman backline supportUnit strategies
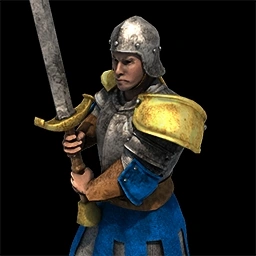 Two-Handed Swordsman early-Imperial answerUnit strategiesWhite Feather Guard anti-cavalry escortUnit strategies
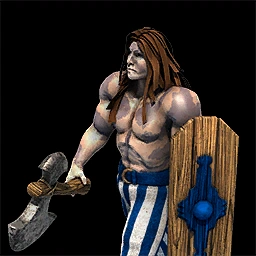 Woad Raider fast-infantry flankUnit strategies
 Xolotl Warrior converted-cavalry flankUnit strategiesFire Galley early-water pressureUnit strategiesHoufnice artillery-breakthrough planUnit strategiesSkirmisher archer-counter placementUnit strategiesVarangian Guard sustained-frontline planUnit strategiesTransport Ship feint-and-landing planUnit strategiesPikeman cavalry-screen upgradeUnit strategiesWar Galley water-control timingUnit strategiesOnager escort and ground-fire planUnit strategies
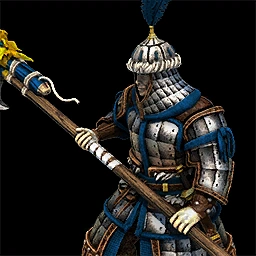 Elite Fire Lancer charged-line attackUnit strategies
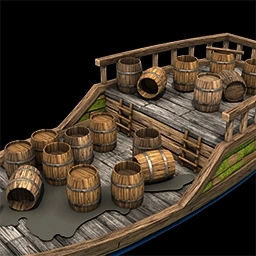 Heavy Demolition Ship fleet-cluster detonationUnit strategies
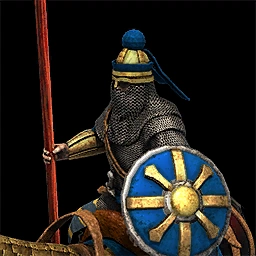 Sogdian Cataphract archer-hunt routeUnit strategiesGalleon massed-water-control planUnit strategies
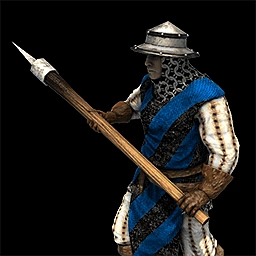 Flemish Militia decisive-surge planUnit strategies
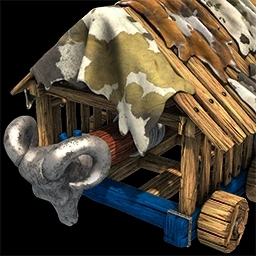 Capped Ram escorted-building pushUnit strategiesGenitour anti-archer cavalry screenUnit strategies
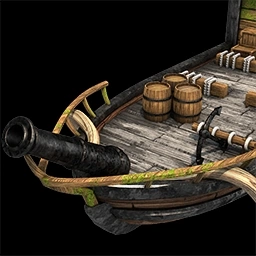 Fast Fire Ship close-fleet upgradeUnit strategiesSiege Ram gold-free structure pushUnit strategies
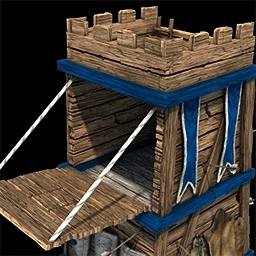 Siege Tower single-wall bypassUnit strategiesGalley fleet-mass openingUnit strategies
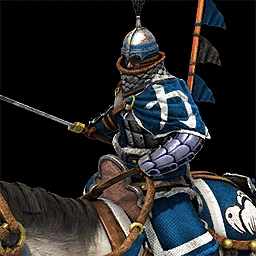 Hei Guang Cavalry protected-flank planUnit strategiesDragon Ship close-range fleet screenUnit strategies
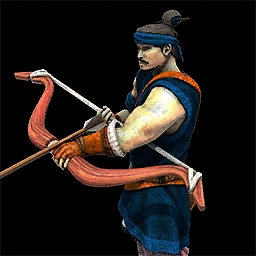 Fire Archer fortified-shore pressureUnit strategies
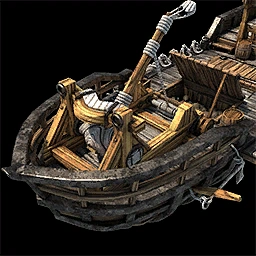 Catapult Galleon early-Imperial bombardmentUnit strategies
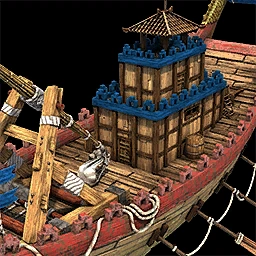 Lou Chuan mode-switching coastal siegeUnit strategiesHulk fire-ship defense patrolUnit strategiesMountain Pass settlement-and-route planMap strategiesNile Delta relocation-and-landing planMap strategiesAfrican Clearing hunt-and-shore economyMap strategiesLowland valley-expansion defenseMap strategiesNorthern Isles central-island controlMap strategiesKilimanjaro high-ground resource raceMap strategiesArabian Desert exposed-economy defenseMap strategiesTeam Moats entrance-and-expansion planMap strategiesSeize The Mountain island-crossing planMap strategiesVolcanic Island shared-forest controlMap strategiesGreat Wall terrain-and-route strategyMap strategiesArbalester formation and kiting planUnit strategiesBattle Elephant breakthrough planUnit strategies
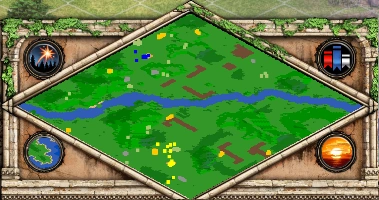 Cataphract anti-infantry deploymentUnit strategiesHussar raid and monk-screen planUnit strategiesKonnik mixed-counter pressureUnit strategies
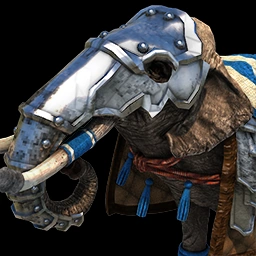 Armored Elephant building-pressure planUnit strategiesCondottiero gunpowder-counter deploymentUnit strategiesBolas Rider snare-and-volley planUnit strategies
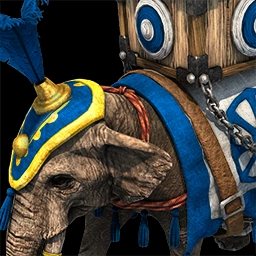 Elephant Archer durable-fire supportUnit strategiesLeitis armor-breaking cavalry strikeUnit strategiesFinehair raiding-and-research planBattle strategies
 The Great Escape mobile-escort planBattle strategies
 The Mountain Siege layered-defense planBattle strategies
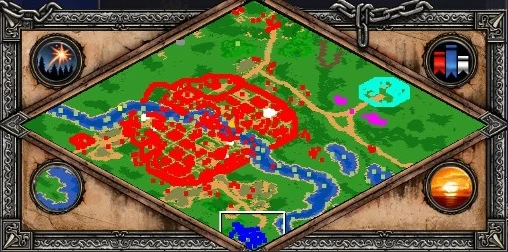 The Siege of Paris refugee-corridor planBattle strategies
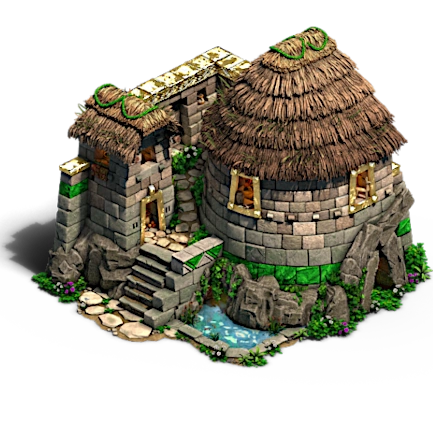 Borderlands alliance-opening planBattle strategiesInto China Great Wall campaign planBattle strategiesIronside Wonder-race survival planBattle strategiesOf Turncoats and Traitors two-phase defenseBattle strategies
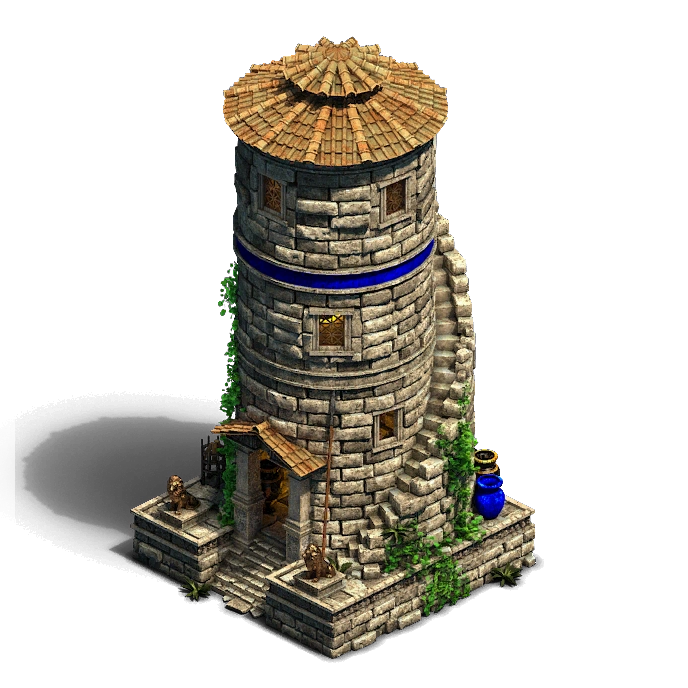 Constantine XI siege-survival planBattle strategies
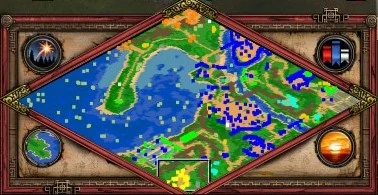 The Battle at Hanoi guerrilla planBattle strategies
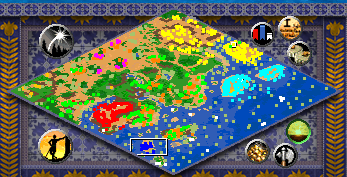 Ruins of Empires rebel-route planBattle strategies
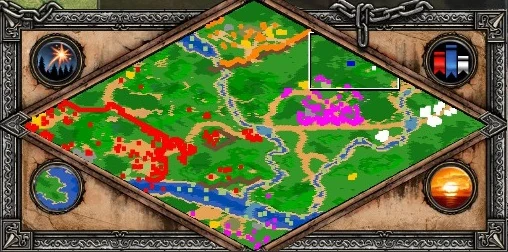 A Perfect Martyr objective-first planBattle strategies
 The Old Tiger temple-defense planBattle strategiesGold Rush Wolf RushBattle strategies
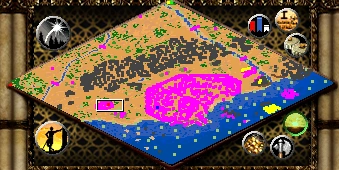 The Great Siege (HD Edition) tactical planBattle strategies
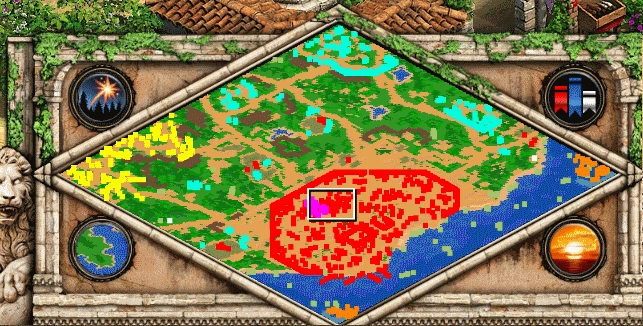 The Onrushing Tide scenario planBattle strategiesSeljuk horse-herd expansion planBattle strategiesKomnenos coup and imperial control planBattle strategies
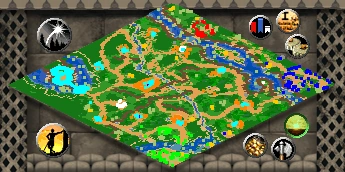 The Story of Our Founders village-and-tower planBattle strategiesTemujin trigger-managed campaign planBattle strategiesIn the Shadow of the Throne safe openingBattle strategies
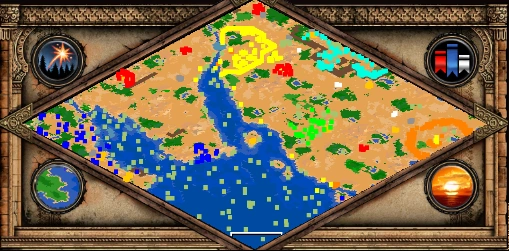 Lord of Arabia trade-route defense planBattle strategiesDos Pilas allegiance and defense planBattle strategiesThe Fall of Rome Wonder-timer assault planBattle strategies
 Servant of the Crown escape-and-fortify planBattle strategiesSacred Waters Rajendra timing planBattle strategies
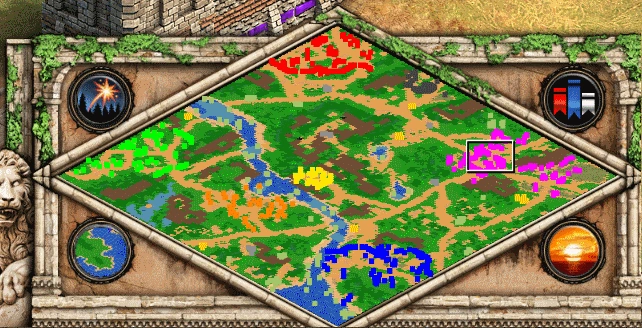 The Best Laid Plans river-control openingBattle strategies
 Slaying the Vritra island foothold planBattle strategies
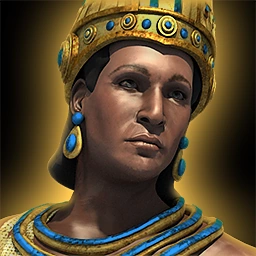 Rising Star prestige-and-voyage planBattle strategiesA Fallen Crown timed objective planBattle strategies
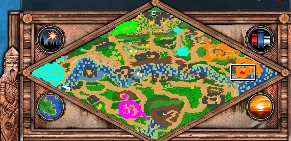 The Return of the Dragon Bran approach planBattle strategiesA Man of God long-defense economy planBattle strategies
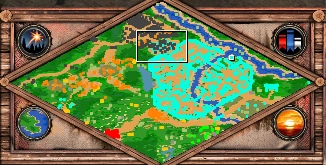 The Siege of Vilnius night-cycle defense planBattle strategies
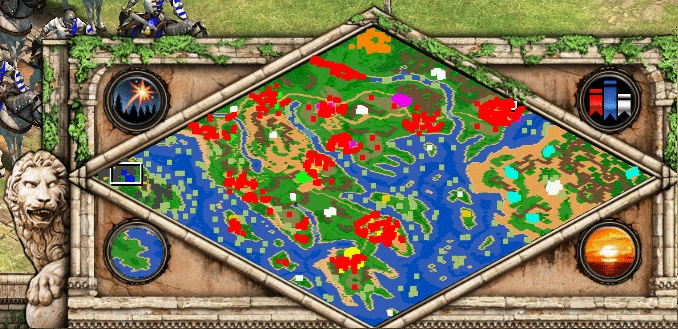 Bohemond and the Emperor recruit-before-explore planBattle strategies
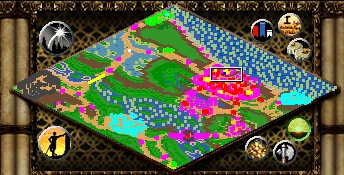 The Rebellion of Melus (HD Edition) escort-and-escape planBattle strategies
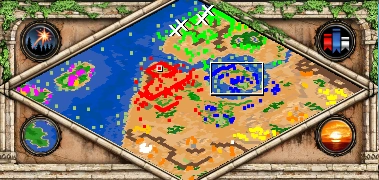 Lion of Africa Emir-and-navy planBattle strategies
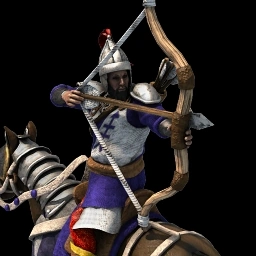 Parthian Tactics mounted-archer timingTechnology strategiesWootz Steel target-selection planTechnology strategiesCrenellations Castle-network defenseTechnology strategiesHussite Reforms late-game Monk economyTechnology strategiesMing Guang Armor cavalry-role planTechnology strategiesTower Shields ranged-resistance transitionTechnology strategiesFlemish Revolution decisive-timing planTechnology strategiesCurare poison-volley disciplineTechnology strategiesStirrups cavalry-upgrade sequencingTechnology strategies
 Herbal Medicine recovery windowsTechnology strategiesBukhara river-trade and cavalry planBattle strategiesExodus refugee-timing defense planBattle strategiesGuiscard Arrives captured-base openingBattle strategies
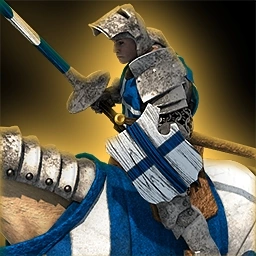 Razzia relic-and-retreat planBattle strategiesRobert support-or-conquest decision planBattle strategies
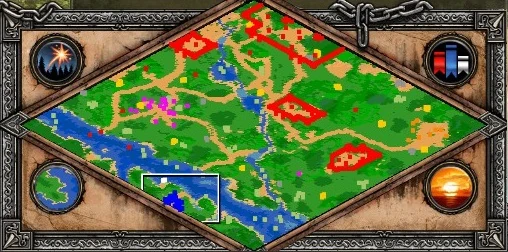 The Cleansing of the Loire fast foothold planBattle strategies
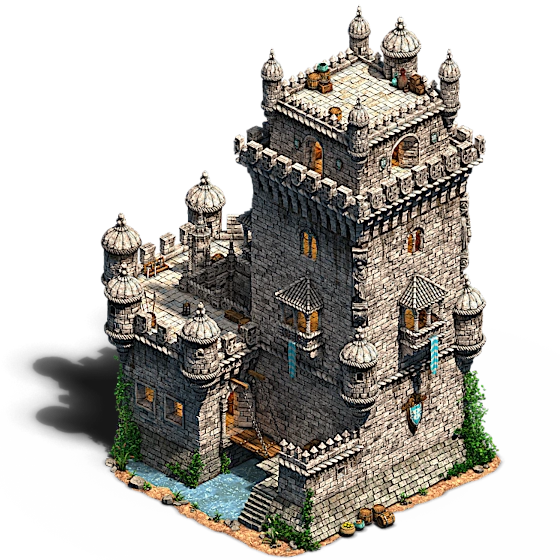 The Battle of Rio de Janeiro Wonder defenseBattle strategies
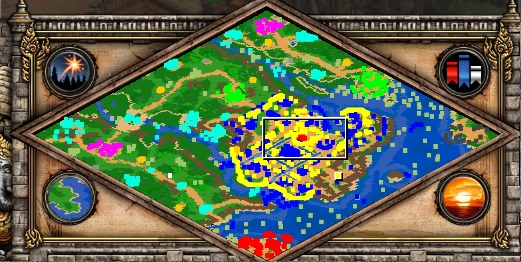 The Pasunda Bubat Tragedy trigger-and-siege planBattle strategiesThe Warrior Who Fed the Wolves attrition planBattle strategies
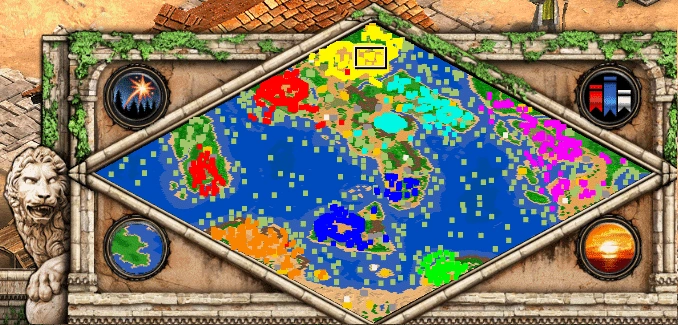 Wonder of the World island-defense planBattle strategiesIronclad siege-survival supportTechnology strategiesShinkichon Rocket Cart transitionTechnology strategiesSilk Armor mounted-ranged power spikeTechnology strategiesBagains anti-trash infantry planTechnology strategiesOrthodoxy Monk-frontline supportTechnology strategiesMedical Corps elephant-sustain planTechnology strategies
 Paper Money late-gold planningTechnology strategies
 Obsidian Arrows archer-siege partnershipTechnology strategiesComitatenses Roman unit-production timingTechnology strategiesPavise archer-armor upgrade timingTechnology strategiesChieftains Viking melee-force planTechnology strategies
 Chivalry stable-production timingTechnology strategiesSupremacy forward-worker protectionTechnology strategiesInquisition conversion-window planTechnology strategiesCuman Mercenaries allied raid planTechnology strategiesRoyal Heirs camel-and-Shotel matchup planTechnology strategiesRecurve Bow mounted-archer range transitionTechnology strategiesKasbah Castle-production team timingTechnology strategies
 Bogsveigar archer-upgrade endgame planTechnology strategiesClerical Recruitment siege-conversion planTechnology strategies
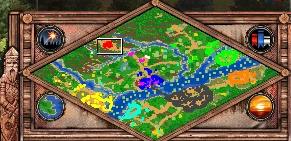 The Breath of the Dragon Giurgiu defenseBattle strategies
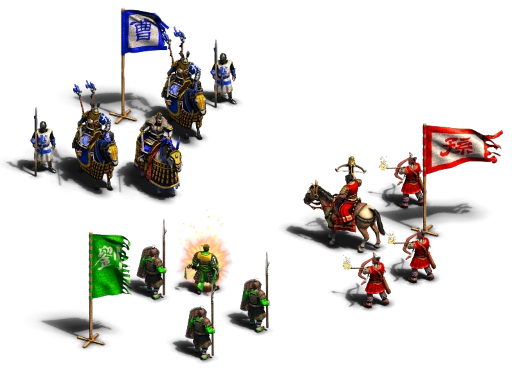 The Battle of Red Cliffs (Liu Bei) wind-timer planBattle strategiesWar of Brothers unit-role road planBattle strategiesGaiseric mobile-town survival planBattle strategies
 A New Home Bulgarian liberation planBattle strategiesCyprus Limassol-first defense planBattle strategies
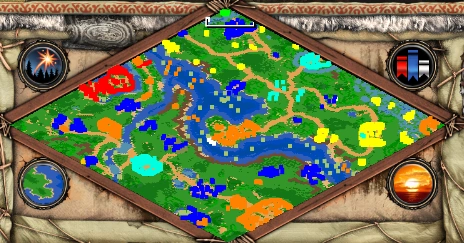 Blood for Blood trigger-safe expeditionBattle strategies
 France Antarctique timed Castle recoveryBattle strategies
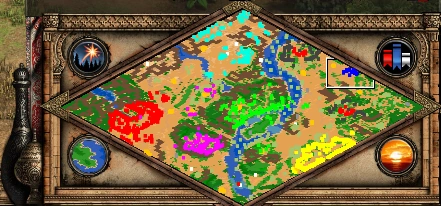 Born of Fire Town Center triage planBattle strategies
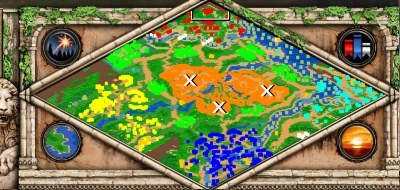 The Protectorate Monaspa expansion planBattle strategiesHolcans Eagle-frontline protectionTechnology strategies
 Double-Bit Axe early economy timingTechnology strategiesHauberk late cavalry durability planTechnology strategiesCitadels Persian Castle-line planTechnology strategiesDetinets stone-saving expansion planTechnology strategies
 Eupseong Korean tower-range defenseTechnology strategiesKamandaran Persian Crossbow transitionTechnology strategiesRocketry Chinese siege-focus planTechnology strategiesWarwolf Trebuchet counter-fire planTechnology strategiesYeomen Briton range-investment planTechnology strategies
 Where the One-Eyed Man is King escape-and-base planBattle strategiesWelcome Home six-tower assault planBattle strategiesThe Moon Rises three-Castle defense planBattle strategies
 The Royal Peacock escape-route planBattle strategiesThe Catalaunian Fields rapid-town defenseBattle strategiesJihad! Wonder-deadline economy planBattle strategies
 The Giant Falls Castle-first counterattackBattle strategiesShimazu gold-preservation naval economyBattle strategiesGods of Death and Terror village-delay planBattle strategies
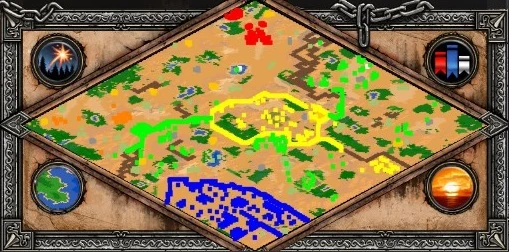 The Emperor Sleeping cart-and-relic routeBattle strategiesFirst Crusade Town-Center power spikeTechnology strategiesLoom villager-risk timingTechnology strategiesThunderclap Bombs siege-dive deterrenceTechnology strategiesStronghold Celt Castle-control planTechnology strategiesTusk Swords Khmer elephant timingTechnology strategiesWagenburg Tactics mobile-gunpowder planTechnology strategiesDruzhina Slavic infantry-mass timingTechnology strategiesGreek Fire Byzantine shoreline pressureTechnology strategiesPerfusion Goth production-surge planTechnology strategiesDevotion conversion-resistance responseTechnology strategiesNoryang Point layered naval defenseBattle strategies
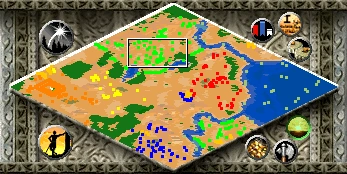 The Horns of Hattin relic-escort planBattle strategiesNirvanapada opening siege planBattle strategies
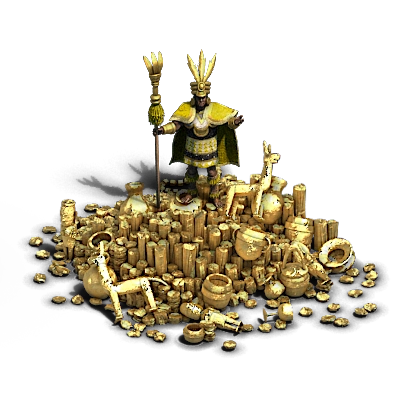 Son of the Sun sequential-threat planBattle strategiesRagnar island-and-kingdom expansionBattle strategiesPope and Antipope convert-to-economy openingBattle strategies
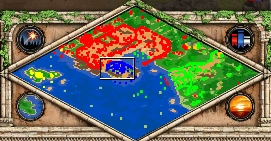 Estado da India resource-conversion planBattle strategiesKyoto transport-and-district assaultBattle strategiesThe One-Eyed Wanderer village-income planBattle strategiesBlood on the River Bank trade-post openingBattle strategiesOrdo Cavalry hit-and-recover timingTechnology strategiesSupplies militia-line cost break-evenTechnology strategiesCilician Fleet Armenian water-control planTechnology strategiesGrand Trunk Road gold-income planTechnology strategiesChemistry gunpowder-versus-range timingTechnology strategiesHowdah Burmese elephant armor planTechnology strategiesSzlachta Privileges Knight-cost timingTechnology strategiesMadrasah Monk-rush recovery planTechnology strategiesManipur Cavalry anti-archer supportTechnology strategiesSteppe Husbandry Cuman production surgeTechnology strategiesKshatriyas food-efficient army planTechnology strategies
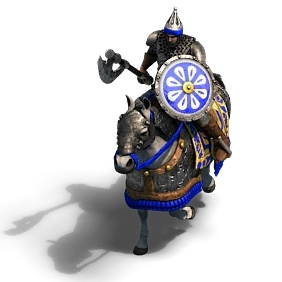 Mstislav relic-funded campaign tempoBattle strategiesOtto loyalty-first Italian defenseBattle strategies
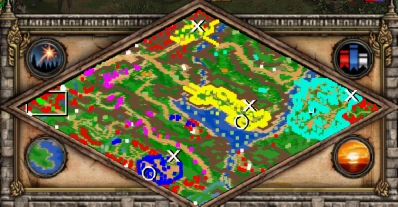 The White Elephant four-Relic relayBattle strategiesAgincourt finite-army castle pressureBattle strategiesThe Legend of Prithviraj Raja-led defenseBattle strategies
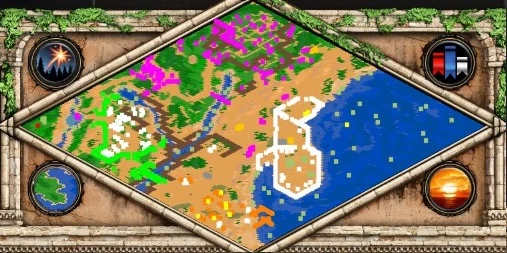 King of Valencia Denia-to-Valencia routeBattle strategies
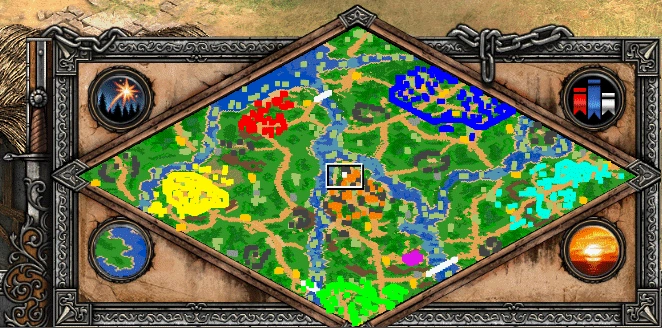 The Wolf and the Lion Île-de-France recoveryBattle strategies
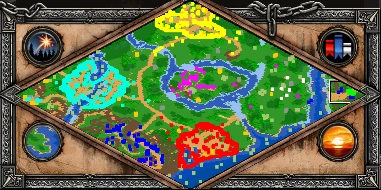 A Kingdom of Our Own Sarus trigger strikeBattle strategiesHammer of the Scots Wallace-before-betrayal planBattle strategiesThe Scourge of God Bleda succession planBattle strategiesAtheism Wonder-and-Relic denial timingTechnology strategies
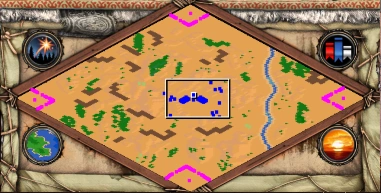 Mangudai Madness upgrade-and-micro planBattle strategiesThe Night Falls tower-capture transitionBattle strategiesA Three-Pronged Attack central-army planBattle strategies
 Stephen Relic-first economy planBattle strategies
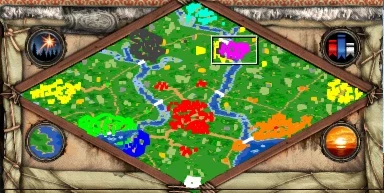 Harbinger of Destruction alliance-and-river planBattle strategiesVinlandsaga island-to-Greenland expansionBattle strategies
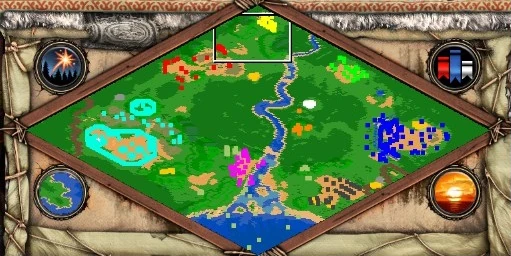 The Great Ride Tarkan route planBattle strategies
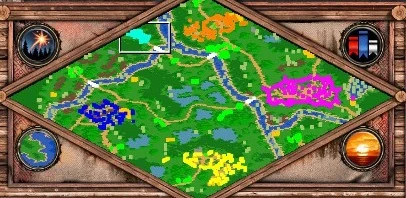 The Iron Lords Castle-Age route planBattle strategiesHoly Roman Emperor Relic-route defenseBattle strategies
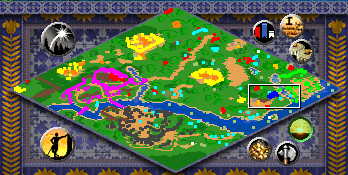 The Old World Prince Juan recruitment planBattle strategies
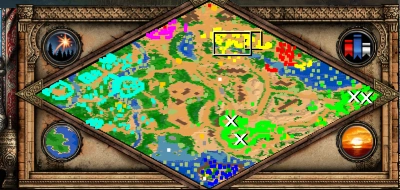 Alexander Safavi Qizilbash foothold planBattle strategiesFetih high-population siege economyBattle strategies
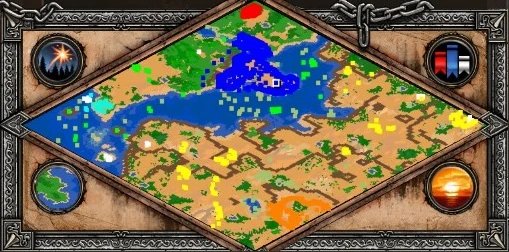 Barbarossa’s March fixed-army preservationBattle strategies
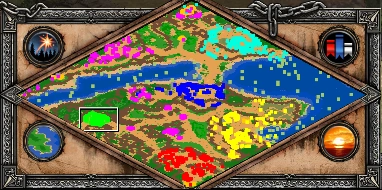 Razing Hellas Sparta-preservation planBattle strategies
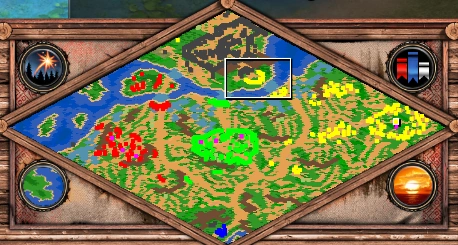 Tsar of the Bulgars Khan-switching strategyBattle strategiesEnlightenment piety-objective routingBattle strategiesTakeover Georgian church-network openingBattle strategies
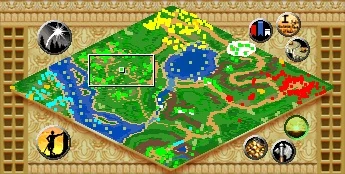 The Mandalay Cobra relic-defense planBattle strategies
 A Promising Warrior escort-and-rescue routeBattle strategiesZipa and Zaque carryover decision planBattle strategiesThe Burmese Tigers fast-monarch objectiveBattle strategiesThe Red Hats Ismail escort routeBattle strategies
 Gurkhan of Persia tribute-and-wall planBattle strategies
 The Cannibals island-base and fleet planBattle strategies
 Serving the New King island-defense openingBattle strategiesPax Mongolica bridge-and-Wonder responseBattle strategies
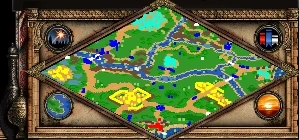 The Dragon Spreads His Wings voivod orderBattle strategies
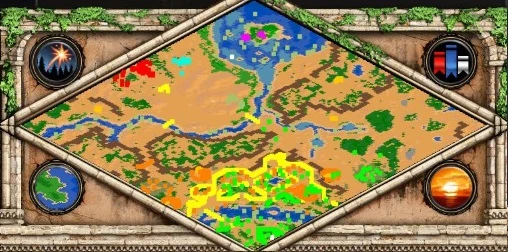 The Enemy of my Enemy El Cid economy planBattle strategiesUp in Smoke Gunpowder Cart priorityBattle strategies
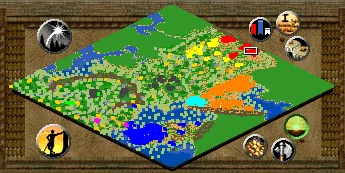 Honfoglalás phased-retreat planBattle strategies
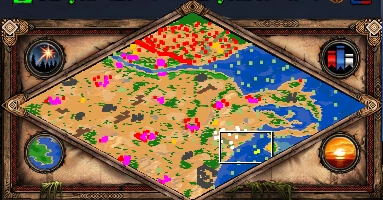 Broken Stelae resource-flag networkBattle strategies
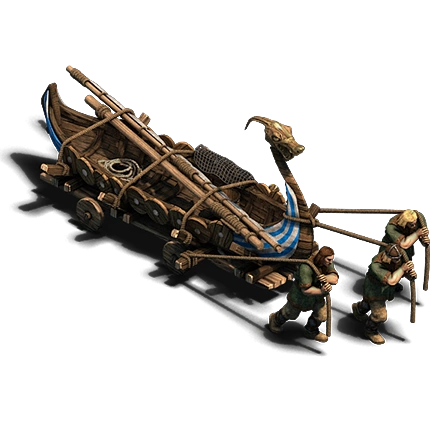 In the Land of the Rus’ kill-reward marchBattle strategies
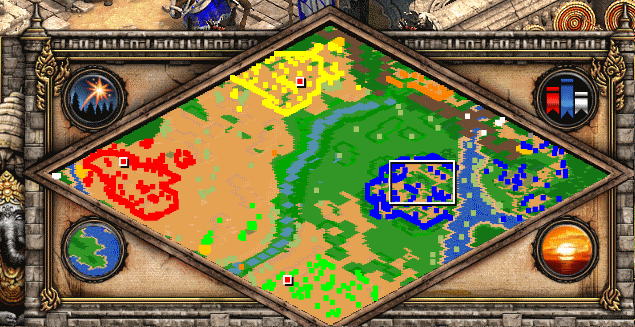 The Fate of India relic-timer defenseBattle strategies
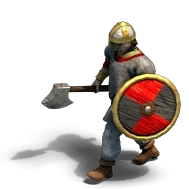 Vortigern hour-long Wonder defenseBattle strategies
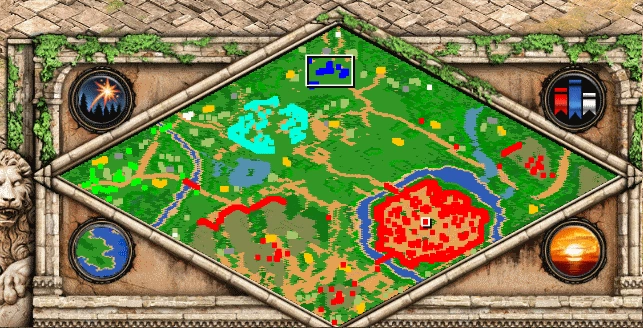 Viva Sforza Milan-economy strikeBattle strategies
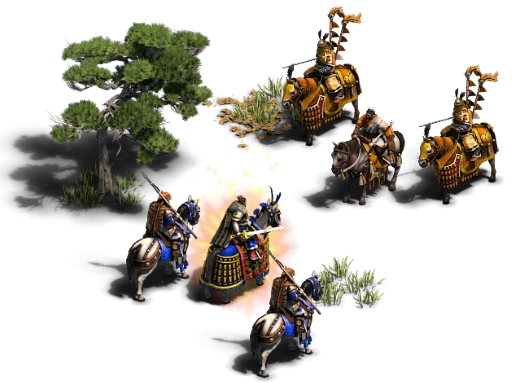 The Battle of Guandu supply-camp phase planBattle strategiesThe Lion and the Demon Wonder-defense planBattle strategies
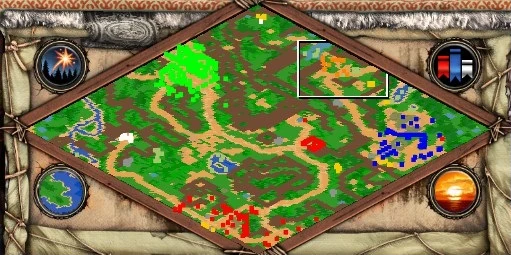 The Promise flag-control expansionBattle strategiesXie An 45-minute preparation planBattle strategies
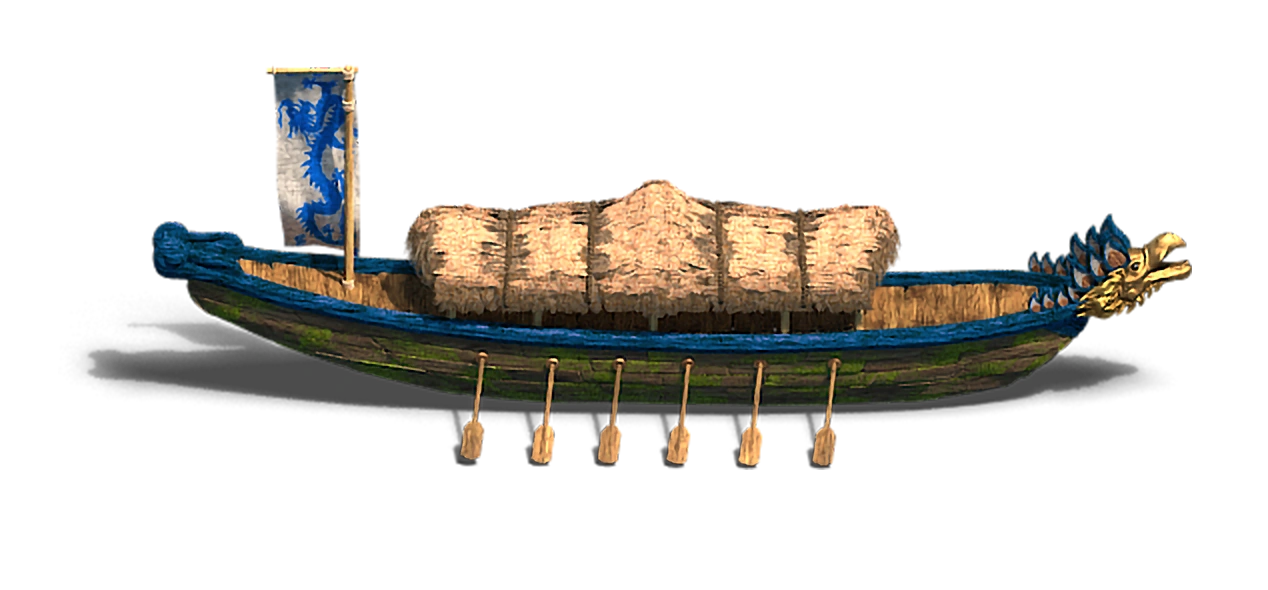 Lake Poyang transport foothold planBattle strategies
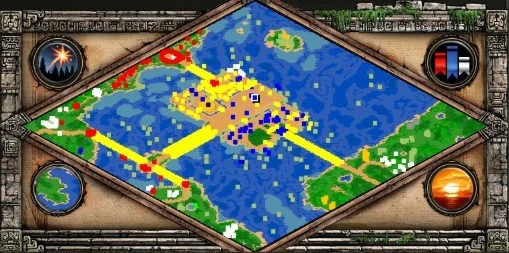 La Noche Triste western Wonder routeBattle strategiesThe Field of Blood layered-Cuzco defenseBattle strategies
 Warrior of God Prague transfer planBattle strategies
 Seeds of Vengeance carryover-and-escape planBattle strategies
 Divide and Conquer two-base resource planBattle strategies
 A Barbarian Betrothal Hun boom-and-fortify planBattle strategiesDuel of the Dukes base-pick counter planBattle strategiesPath of Exile trigger-safe escapeBattle strategies
 Lord of the North Liyang capture planBattle strategies
 The Belly of the Beast Aquileia-first expansionBattle strategies
 Hunted safe-haven escapeBattle strategies
 Manzikert cavalry and siege advanceBattle strategiesThe Rising river-route infiltrationBattle strategies
 Slash and Burn alliance and carryover planBattle strategies
 An Unlikely Messiah Chinon rescue routeBattle strategies
 Cao Cao Red Cliffs river-control planBattle strategiesUnconditional Loyalty hidden-base openingBattle strategiesBroken Spears lake-to-land defenseBattle strategies
 Sun Clan Red Cliffs Legendary defenseBattle strategiesBloody Crestwaves island-base fleet planBattle strategies
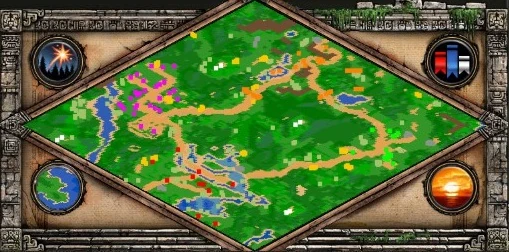 Reign of Blood relic-control victoryBattle strategiesThe Sack of Rome courier and gate planBattle strategiesVain Ambition Hereford escape routeBattle strategies
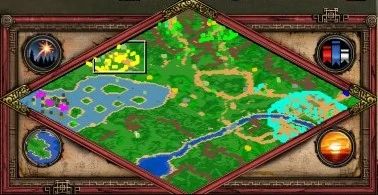 Reaching South siege and ally routeBattle strategies
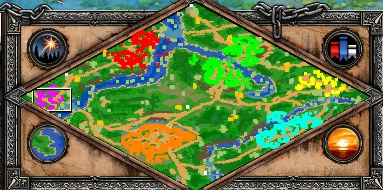 Unholy Marriage relic diplomacy planBattle strategiesThe Scholar and the Sandal Maker mountain approachBattle strategiesThe Rajputs early Town Center and siege planBattle strategies
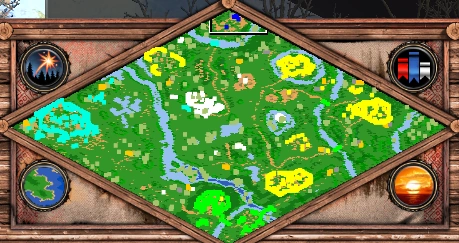 A Most Unlikely Man food and relic economyBattle strategies
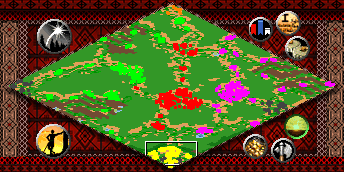 Crossing the Pyrenees protected caravan marchBattle strategiesKarlsefni Iceland landing planBattle strategies
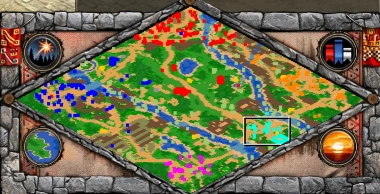 A New Power Arises Castle Age timingBattle strategiesTamar the Builder river-fortification planBattle strategies
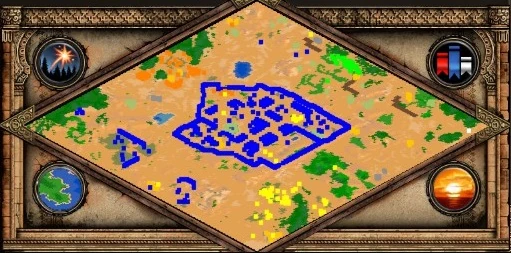 Jerusalem tower objective siege planBattle strategies
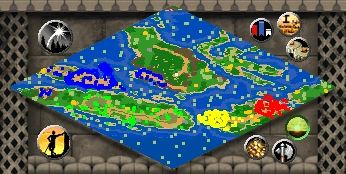 The Oath to Unify Nusantara island defenseBattle strategiesThe Split Amazon crossing planBattle strategiesRoger in Sicily hold-the-emir planBattle strategies
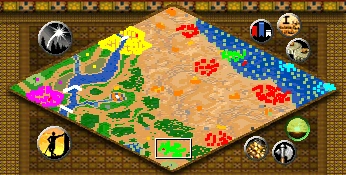 The Right Partner Beja diplomacy routeBattle strategiesYork northern-isles expansionBattle strategies
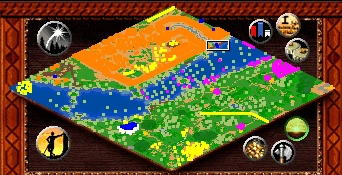 The Hand of a Daughter stealth infiltrationBattle strategiesDeeds of the Father sea siege approachBattle strategies
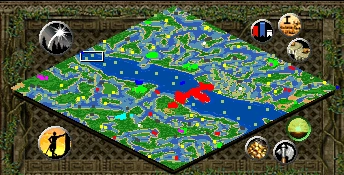 The Amazones food-supply expeditionBattle strategiesThe Tatar Yoke fixed-economy defenseBattle strategiesA Life of Revenge Kushluk pursuitBattle strategies
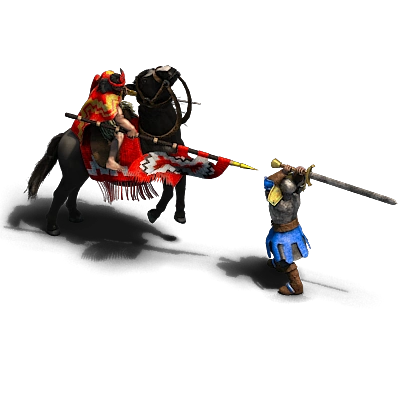 A Taste of Freedom Mapuche alliance planBattle strategies
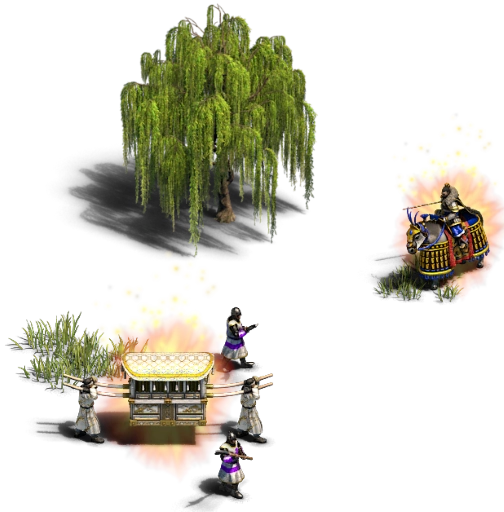 Emperor In All But Name opening defenseBattle strategiesStar of the Poles town-alliance networkBattle strategiesRoad to Royalty stone defense and tradeBattle strategies
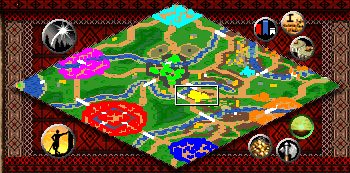 Consolidation and Subjugation Toledo captureBattle strategies
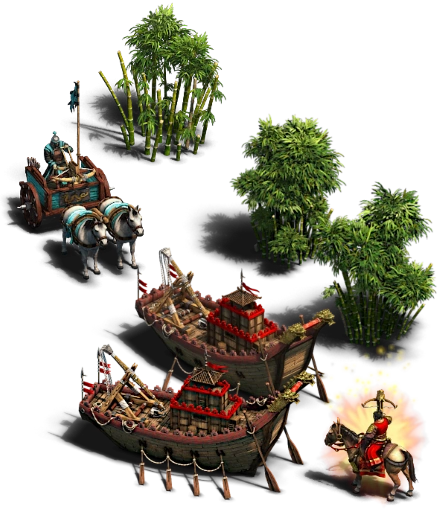 The Avenger castle-control and escort planBattle strategies
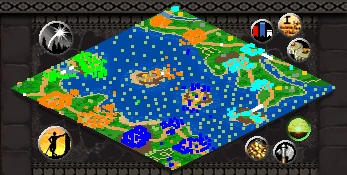 Challenging a Thalassocracy naval-first planBattle strategiesLiberation? Pandya Castle capture planBattle strategies
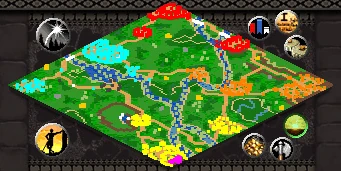 Quelling the Rebellion production-center captureBattle strategiesThe Battle at the Kalka River opening defenseBattle strategies
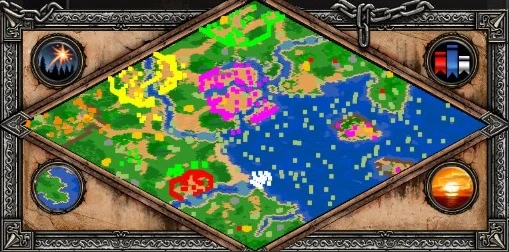 The Lombard League safe landing and town planBattle strategiesThe Maid Falls river defense planBattle strategies
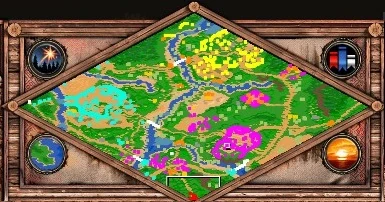 The Matter of the Crown Jadwiga escortBattle strategiesThe Golden City supply-route defenseBattle strategies
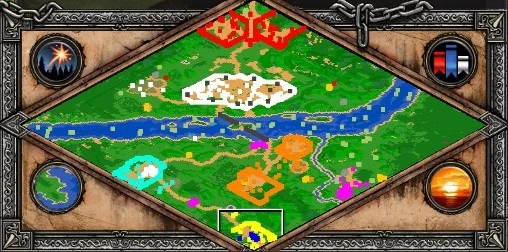 The Maid of Orleans Trade Cart escortBattle strategies
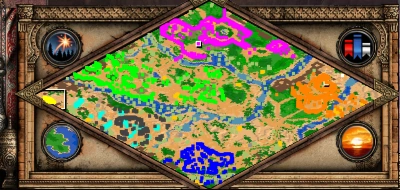 The Fallen Amir Merv-first campaign planBattle strategies
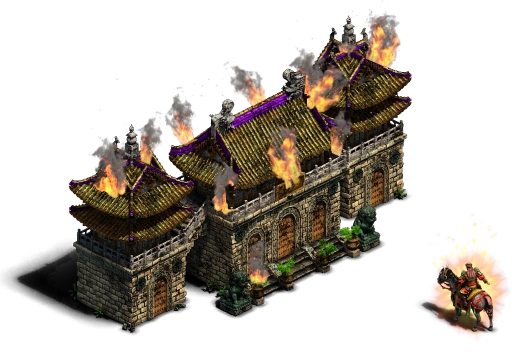 The Imperial Seal district-control planBattle strategies
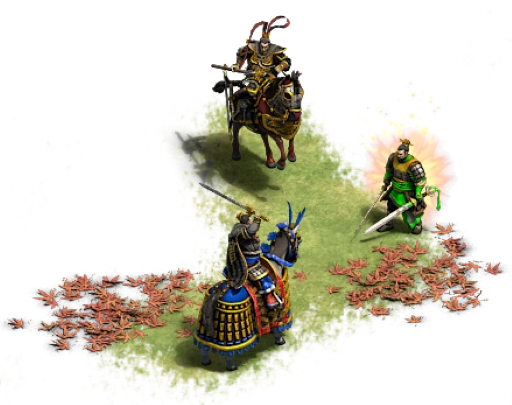 Heroes of the Realm two-phase defenseBattle strategies
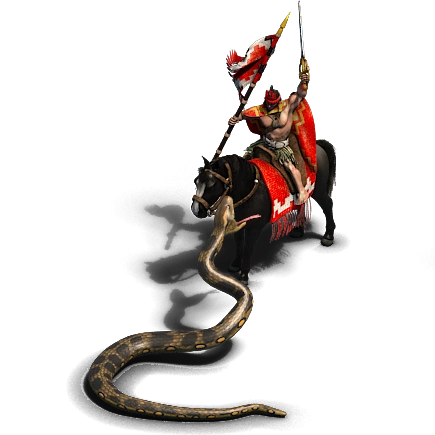 The Elusive Snake ally-morale defenseBattle strategies
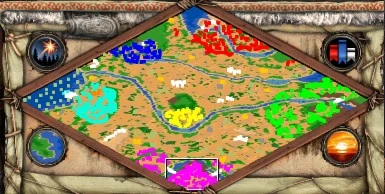 Amir of Transoxiana Gaia-camp blitzBattle strategies
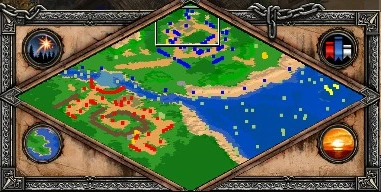 The Battle of Falkirk wall-and-Castle defenseBattle strategiesLepanto Wonder defense and Greek allianceBattle strategiesBrother against Brother El Cid openingBattle strategies
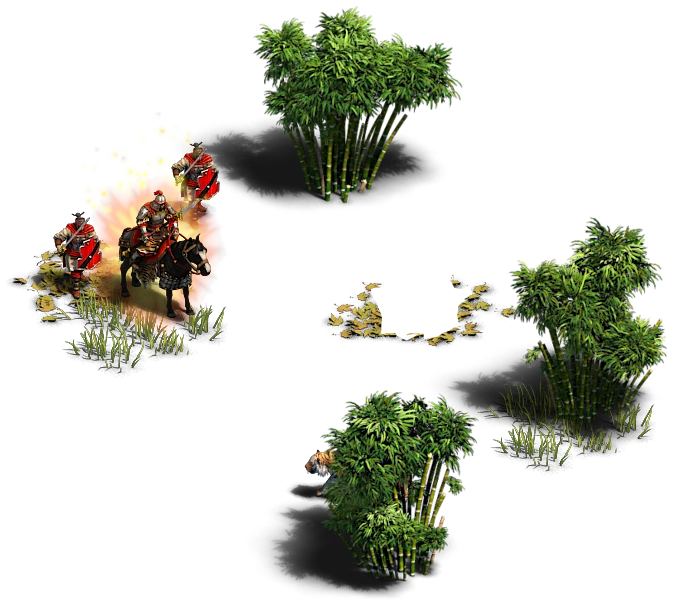 The Conquest of Jiangdong rescue and roster choiceBattle strategiesNobunaga clan-selection and timer planBattle strategies
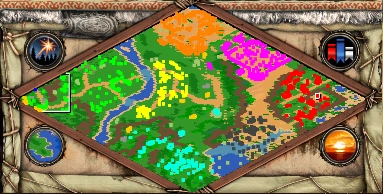 Mongol Raiders flagged-building rushBattle strategies
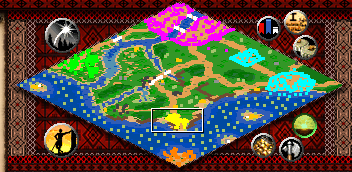 The Battle of Guadalete Tariq campaign marchBattle strategies
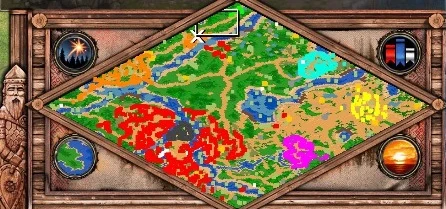 A Worthy Opponent fifteen-minute buildupBattle strategiesFamily Affairs early Castle defenseBattle strategies
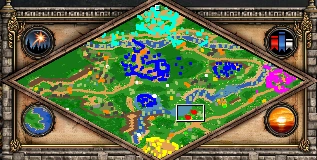 The Successor night-raid timingBattle strategies
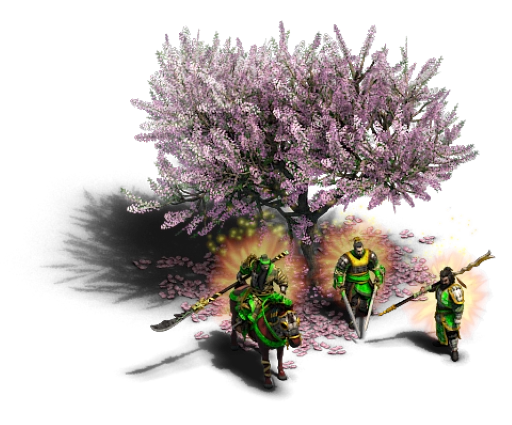 The Oath of the Peach Garden hero trioBattle strategiesBohemond in the East one-hour Castle holdBattle strategies
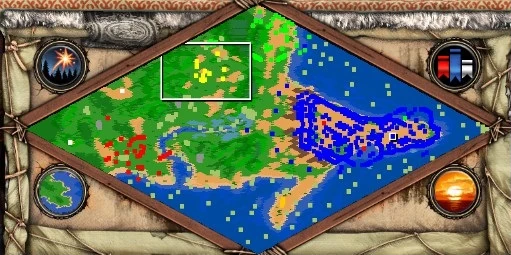 The Walls of Constantinople tribute economyBattle strategies
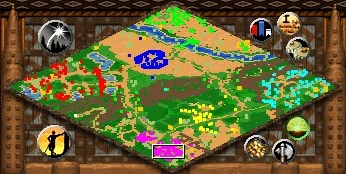 The Sting of the Scorpion Relic Cart subjugationBattle strategies
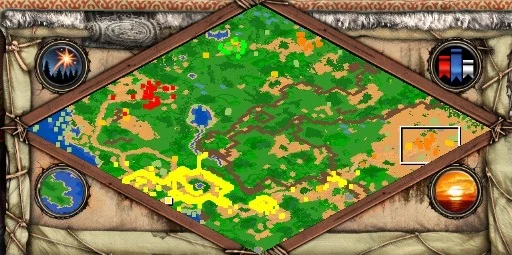 The Horde Rides West Subotai survivalBattle strategies
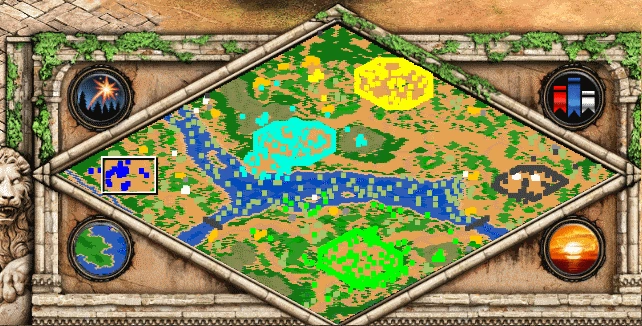 Blood and Betrayal coastal footholdBattle strategies
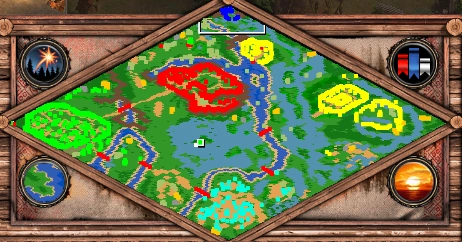 An Unlikely Alliance Wonder defenseBattle strategies
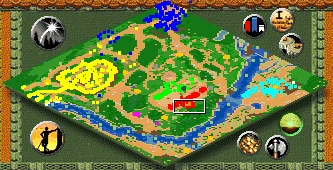 Battles of Tarain opening-force preservationBattle strategies
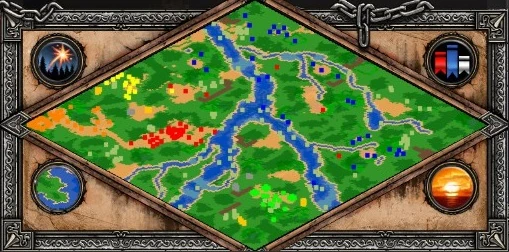 Henry the Lion Polish navy counterBattle strategies
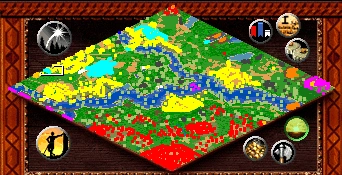 O Fortuna Tuscany raid routeBattle strategies
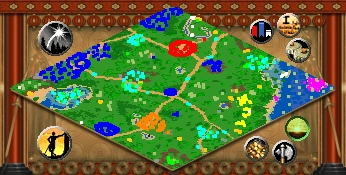 The Dai Viet Uprising ally-support planBattle strategies
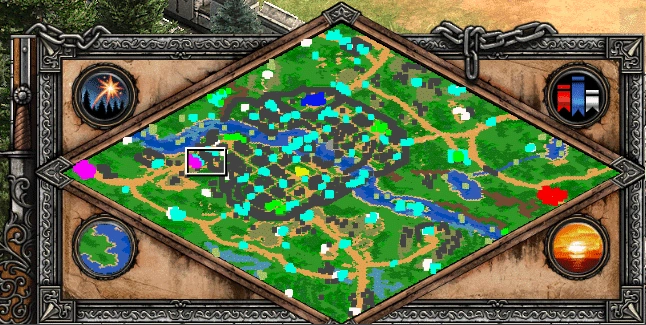 The Cleansing of Paris essential-objective routeBattle strategiesThe Battle of Tucapel Cunco recruitmentBattle strategies
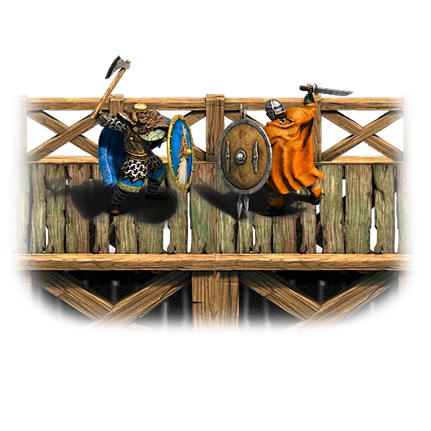 The Battle of Stamford Bridge phased defenseBattle strategies
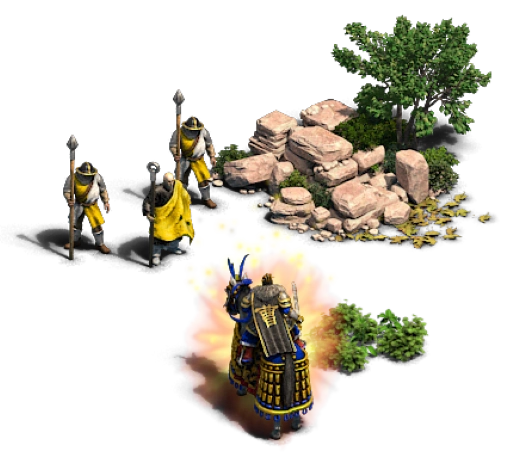 The Yellow Turban Rebellion village-control routeBattle strategies
 Tours Trade Cart capture optionBattle strategiesThe Hook and Cod Wars English lumberyard strikeBattle strategies
 Fires of the Whale-Road tower-first openingBattle strategiesThe Golden King ambush-and-hold planBattle strategies
 Raising the Banners Cuman camp raceBattle strategiesAyn Jalut Baybars and Mameluke counterattackBattle strategies
 Caught in the Crossfire tribute and alliance timingBattle strategies
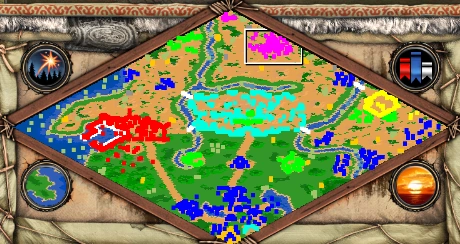 A Titan Amongst Mortals supply-camp sweepBattle strategies
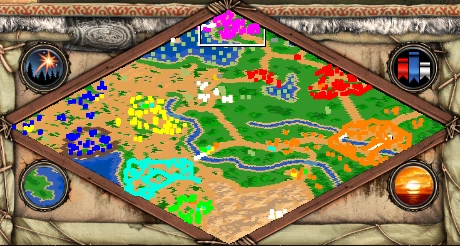 Scourge of the Levant Town Center and Relic startBattle strategiesSultan of Hindustan opening elephant conversionBattle strategies
 A New Duke of Milan supporter-first siegeBattle strategies
 Hand of a Princess forest-cutting routeBattle strategies
 Black Guards King Alfonso rescueBattle strategiesThe Last Timurids Herat and Siege Elephant routeBattle strategiesInto India defensive base placementBattle strategies
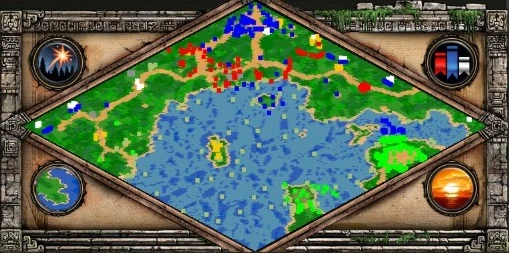 The Boiling Lake transport-cart exchangeBattle strategies
 Hastings shoreline Castle defenseBattle strategies
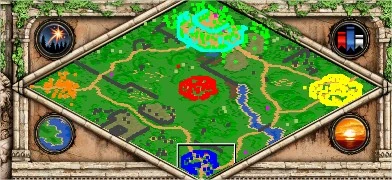 Mercenaries and Masters escape and monastery rulesBattle strategies
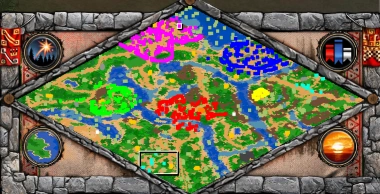 The Falcon’s Tent dual-base openingBattle strategies
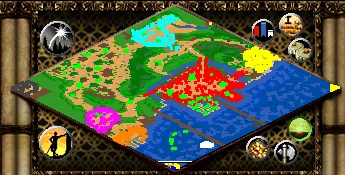 Arrival at Bari Definitive Edition camp sweepBattle strategies
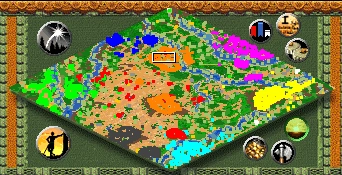 The Digvijaya Raja-target routeBattle strategies
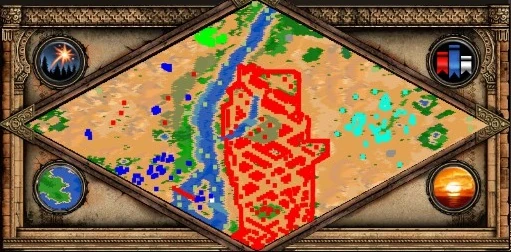 An Arabian Knight counter-group advanceBattle strategiesEmperor of the West Ravenna bypassBattle strategies
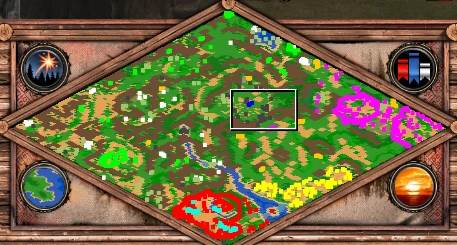 Echoes of Heroes conversion defenseBattle strategiesKurikara town capture and lighthouse objectiveBattle strategies
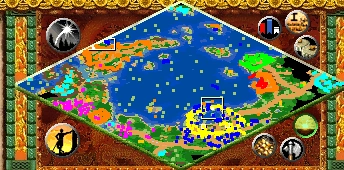 Langshan Jiang transport-and-Trebuchet openingBattle strategies
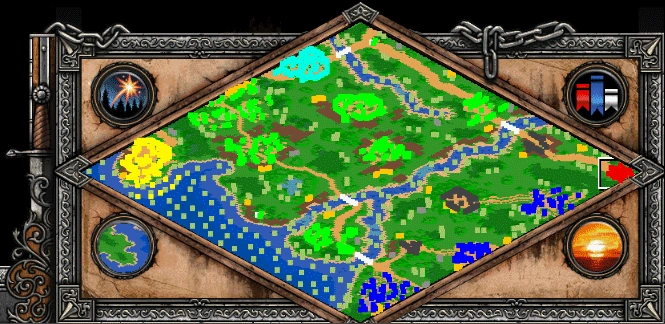 Of Castles and Kings mason escortBattle strategiesReconquista Black Guard base-first planBattle strategiesThe Final Fortress allied takeover and deadlineBattle strategiesThe White Tiger southern village recoveryBattle strategiesToom Tabard three-Town-Center buildupBattle strategiesProdigal Son relic and naval transitionBattle strategies
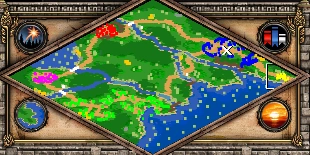 Dissatisfaction no-loss Castle Age routeBattle strategies
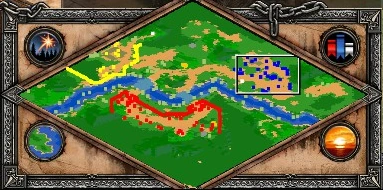 Forge an Alliance three-Relic economyBattle strategiesThe Battle of Panipat twenty-five-minute boomBattle strategiesThe Fruits of Her Labor concurrent objective planBattle strategies
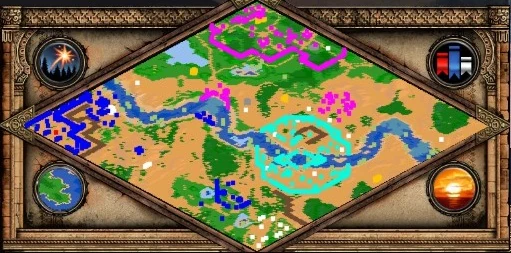 The Exile of the Cid mounted escapeBattle strategiesLoose Ends Relic and Cataphract defenseBattle strategies
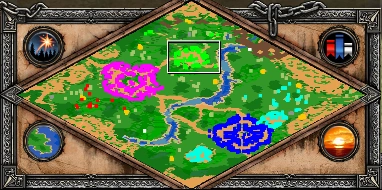 The Battle of the Frigidus Relic openingBattle strategies
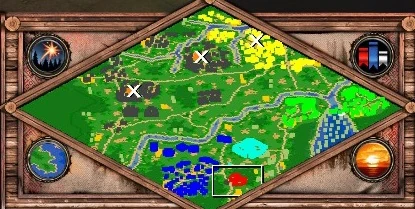 Courage and Coin leader-target offensiveBattle strategies
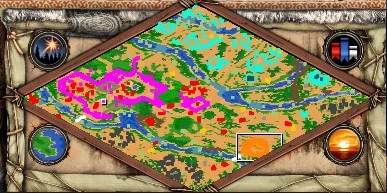 Pearl of the East three-minute survivalBattle strategiesDrake captured-ship resource planBattle strategies
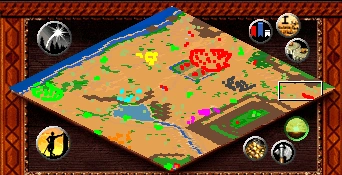 An End and a Beginning captain recruitmentBattle strategiesJihad co-op city-conquest planBattle strategies
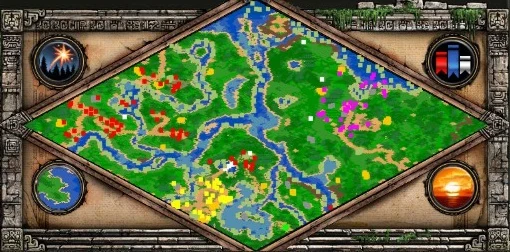 The Triple Alliance Eagle summons and betrayal planBattle strategies
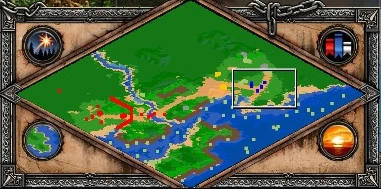 The Battle of Stirling Feudal invasionBattle strategies
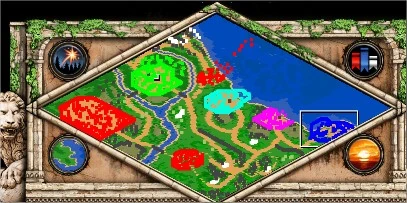 His Own Man city-transfer sequenceBattle strategiesOutlawed minimum-survivor Castle captureBattle strategiesNaval Battle medal-preserving fleet controlBattle strategies
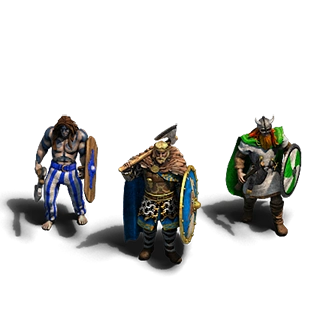 The Storm-Driver of the North ally recruitmentBattle strategies
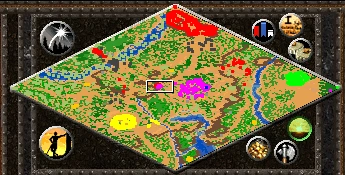 Legionaries on the Horizon scout missionBattle strategies
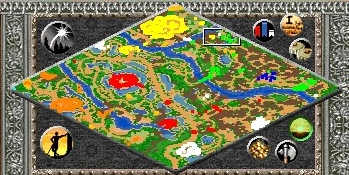 The Saxon Revolt marsh withdrawalBattle strategiesA Kingdom Divided Castle and gunpowder planBattle strategiesA Dangerous Mission transport insertionBattle strategiesFulford Gate multi-front Castle defenseBattle strategies
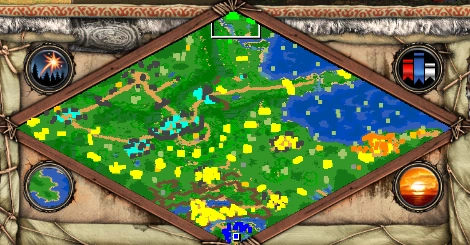 Saving the Huts Hard economyBattle strategiesUsurpation Castle Age elephant pushBattle strategies
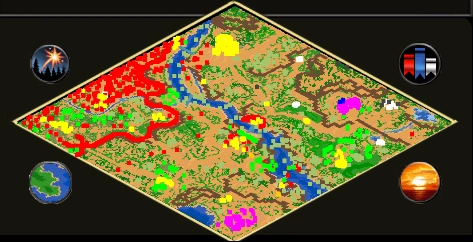 All Roads Lead to a Besieged City outer-objective routeBattle strategiesCrucible alliance and sheep tributeBattle strategiesTales of La Canela Quito negotiation routeBattle strategies
 Preparing for Battle Wallace village takeoverBattle strategiesDesire last-minute Monument controlBattle strategies
 Fast Castle Age scenario build-order practiceBattle strategiesRenunciation river defense and Khan conversionBattle strategiesArrival at Bari HD port-to-city assaultBattle strategiesThe Digvijaya HD dual-city defenseBattle strategies
 Lord of Arabia co-op shared defenseBattle strategies
 The Horns of Hattin co-op relic routeBattle strategies
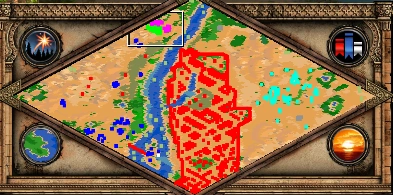 An Arabian Knight co-op role splitBattle strategies
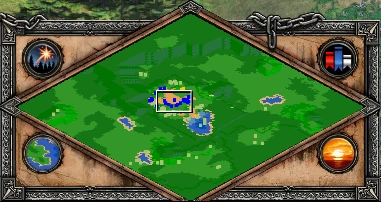 Research and Technology tutorial sequenceBattle strategies
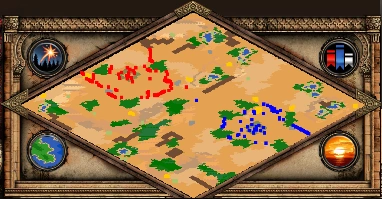 Destroying a Castle medal-speed attackBattle strategies
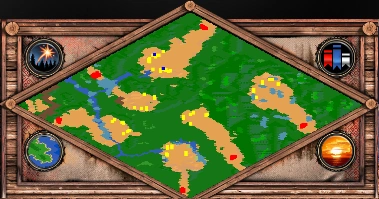 Land Battle counter-choice medalBattle strategies
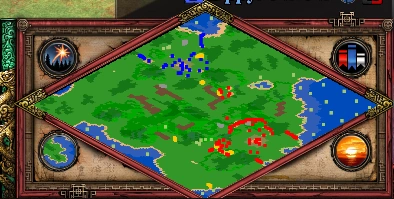 Defending Against a Rush wall-and-counter drillBattle strategies
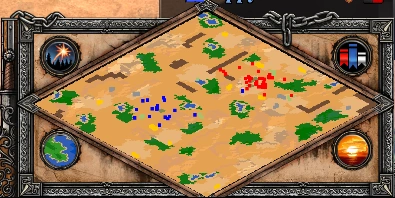 Rushing the Enemy tutorial resource raidBattle strategiesQuetzalcoatl mountain-pass and Tlaxcala planBattle strategiesA Son’s Blood conversion-count restraintBattle strategiesKhata’i Tabriz multi-front defenseBattle strategies
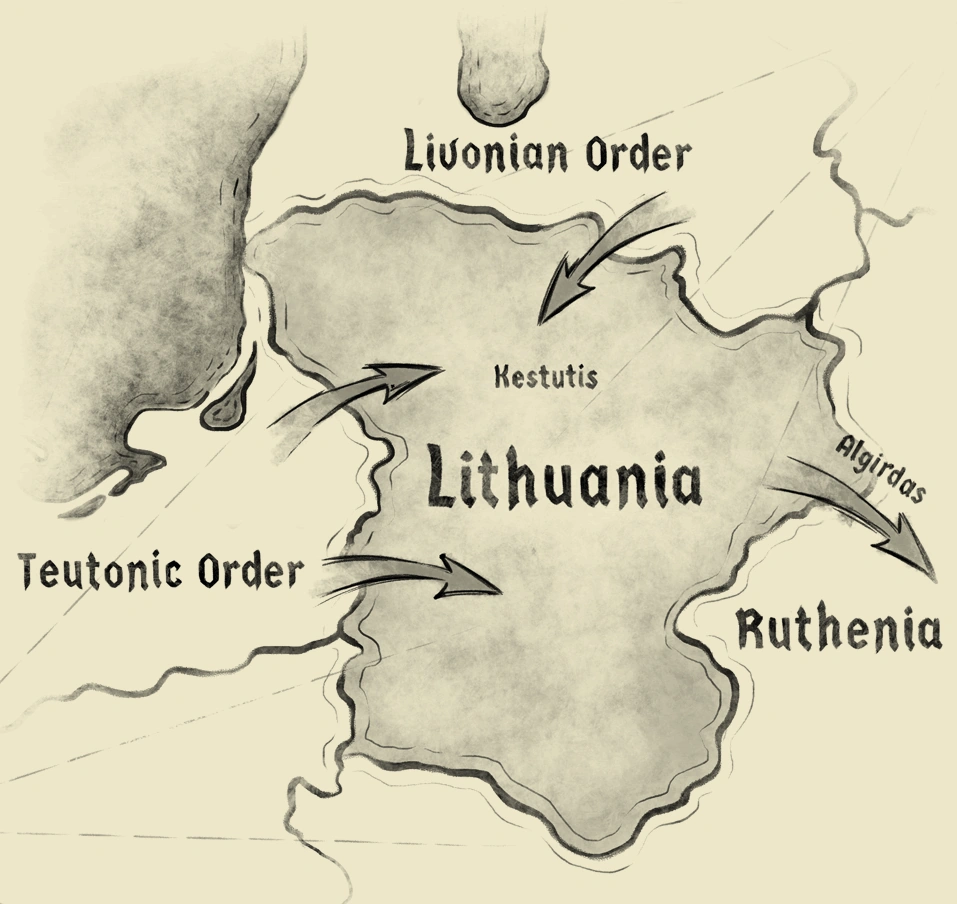 No Man’s Land two-base defenseBattle strategiesThe Emperor’s Fury Hussite breakoutBattle strategiesThe Emperor’s Revenge ally-choice fortificationBattle strategiesThe Lion’s Den early choke defenseBattle strategiesThe Queen in the Panther’s Skin phase transitionBattle strategiesVytautas’ Crusade Ruthenian recruitmentBattle strategiesYury’s Revenge ally-and-Castle raceBattle strategiesE3 2019 Demo timed army compositionBattle strategies
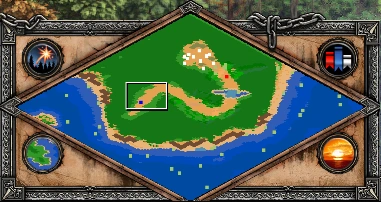 Marching and Fighting flag-to-village lessonBattle strategiesGolden Swamp gold-and-water strategyMap strategiesPilgrims civilization and naval strategyMap strategiesAchaemenids StrategyCivilization plans
 Athenians StrategyCivilization plans
 Macedonians StrategyCivilization plans
 Puru StrategyCivilization plans
 Spartans StrategyCivilization plansThracians StrategyCivilization plans
Tools & custom content
54 entries Victory conditionsGame systemsConquest victoryGame systemsWonder victoryGame systemsRelic victoryGame systemsRandom MapGame modes
 Empire WarsGame modesRegicideGame modes
 Capture the RelicGame modes
 Battle RoyaleGame modesDeath MatchGame modes
 Defend the WonderGame modes
 Wonder RaceGame modesTreatyGame modes
 Turbo Random MapGame modesFree-for-allGame modesCo-op CampaignGame modes
 Terrain categoriesGame systemsTerrain layeringGame systemsElevation levelsGame systemsCliffsGame systemsScenario EditorGame systemsTrigger systemGame systemsTrigger conditionsGame systemsTrigger effectsGame systemsScenario variablesGame systemsScenario Editor player settingsGame systemsScenario Editor diplomacyGame systemsGlobal Victory settingsGame systemsScenario Editor optionsGame systemsScenario messagesGame systemsScenario cinematicsGame systemsScenario Editor hotkeysGame systemsTest scenarioGame systemsTerrain editingGame systems
 Object placementGame systemsModdingGame systemsStandard gameGame modes
 King of the HillGame modesSudden DeathGame modesPopulation limitGame systemsGame speedGame systemsTime limit victoryGame systemsScore victoryGame systemsLast Man StandingGame systemsScenario Editor unit rosterGame systems
 CaptureAgeMods & tools
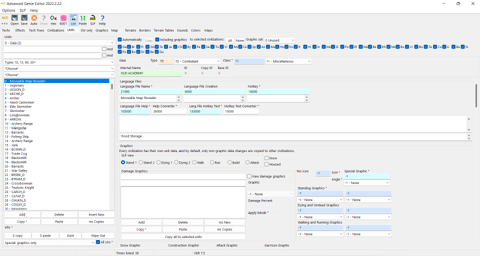 Genie EditorMods & tools
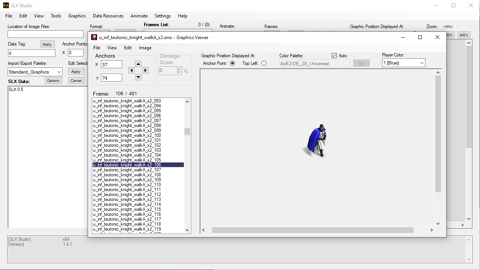 SLX StudioMods & toolsGenie Engine for Age IIMods & tools
 Forgotten Empires teamMods & tools
 The American WorldMods & tools
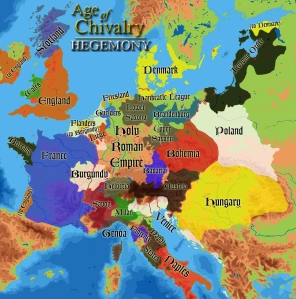 Age of Chivalry: HegemonyMods & tools
 Romae ad BellumMods & toolsTrees and forest objectsGame systems
Updates & patch history
149 entries Update 185872UpdatesShock Infantry bonus damageUpdatesHulk naval balanceUpdatesSiege vision and attack changesUpdates
 Treadmill Crane access changesUpdatesSeptember 2026 civilization balance changesUpdatesNaval and defensive balance changesUpdates
 Update 177723UpdatesUpdate 177723 combat balance changesUpdatesUpdate 177723 naval balance changesUpdatesUpdate 177723 civilization balance changesUpdatesMinor Update 178524UpdatesMinor Update 179158UpdatesMinor Update 180059Updates
 Hotfix 34223Hotfix
 Hotfix 34397Hotfix
 Hotfix 34793Hotfix
 Hotfix 35209Hotfix
 Hotfix 37906Hotfix
 Hotfix 39515Hotfix
 Hotfix 43210Hotfix
 Hotfix 44834Hotfix
 Hotfix 45185HotfixHotfix 50700HotfixHotfix 53347Hotfix
 Hotfix 109739Hotfix
 Hotfix 113358Hotfix
 Hotfix 114480Hotfix
 Hotfix 127161HotfixPatch 2.1PatchPatch 2.2PatchPatch 1.0cPatchPatch 1.0bPatchPatch 2.0aPatch
 Hotfix 63581Hotfix
 Hotfix 71094Hotfix
 Hotfix 78757HotfixHotfix 82587HotfixHotfix 85208HotfixHotfix 85614HotfixHotfix 93870Hotfix
 Hotfix 96976Hotfix
 Hotfix 99404HotfixPatch 1.0PatchPatch 2.3PatchPatch 2.5PatchPatch 2.6PatchPatch 2.7PatchPatch 2.8PatchPatch 3.1PatchPatch 3.2PatchPatch 3.3PatchPatch 3.4PatchPatch 3.5PatchPatch 3.6aPatchPatch 3.6PatchPatch 3.7PatchPatch 3.8PatchPatch 3.0Patch
 Patch 5.3PatchPatch 5.1PatchPatch 5.4PatchPatch 4.0PatchPatch 4.1PatchPatch 4.2Patch
 Patch 4.3PatchPatch 4.4PatchPatch 4.5Patch
 Patch 4.6PatchPatch 4.7PatchPatch 4.8PatchPatch 4.9PatchPatch 3.9PatchPatch 5.0PatchPatch 5.5PatchPatch 5.6PatchPatch 5.7PatchPatch 5.8Patch
 Update 104954Update
 Update 107882UpdateUpdate 108769UpdateUpdate 111772Update
 Update 117204Update
 Update 118476UpdateUpdate 125283Update
 Update 128442UpdateUpdate 130746UpdateUpdate 133431Update
 Update 141935UpdateUpdate 143191Update
 Update 143421Update
 Update 144358Update
 Update 145651UpdateUpdate 147949UpdateUpdate 153015UpdateUpdate 153638UpdateUpdate 155976Update
 Update 158041Update
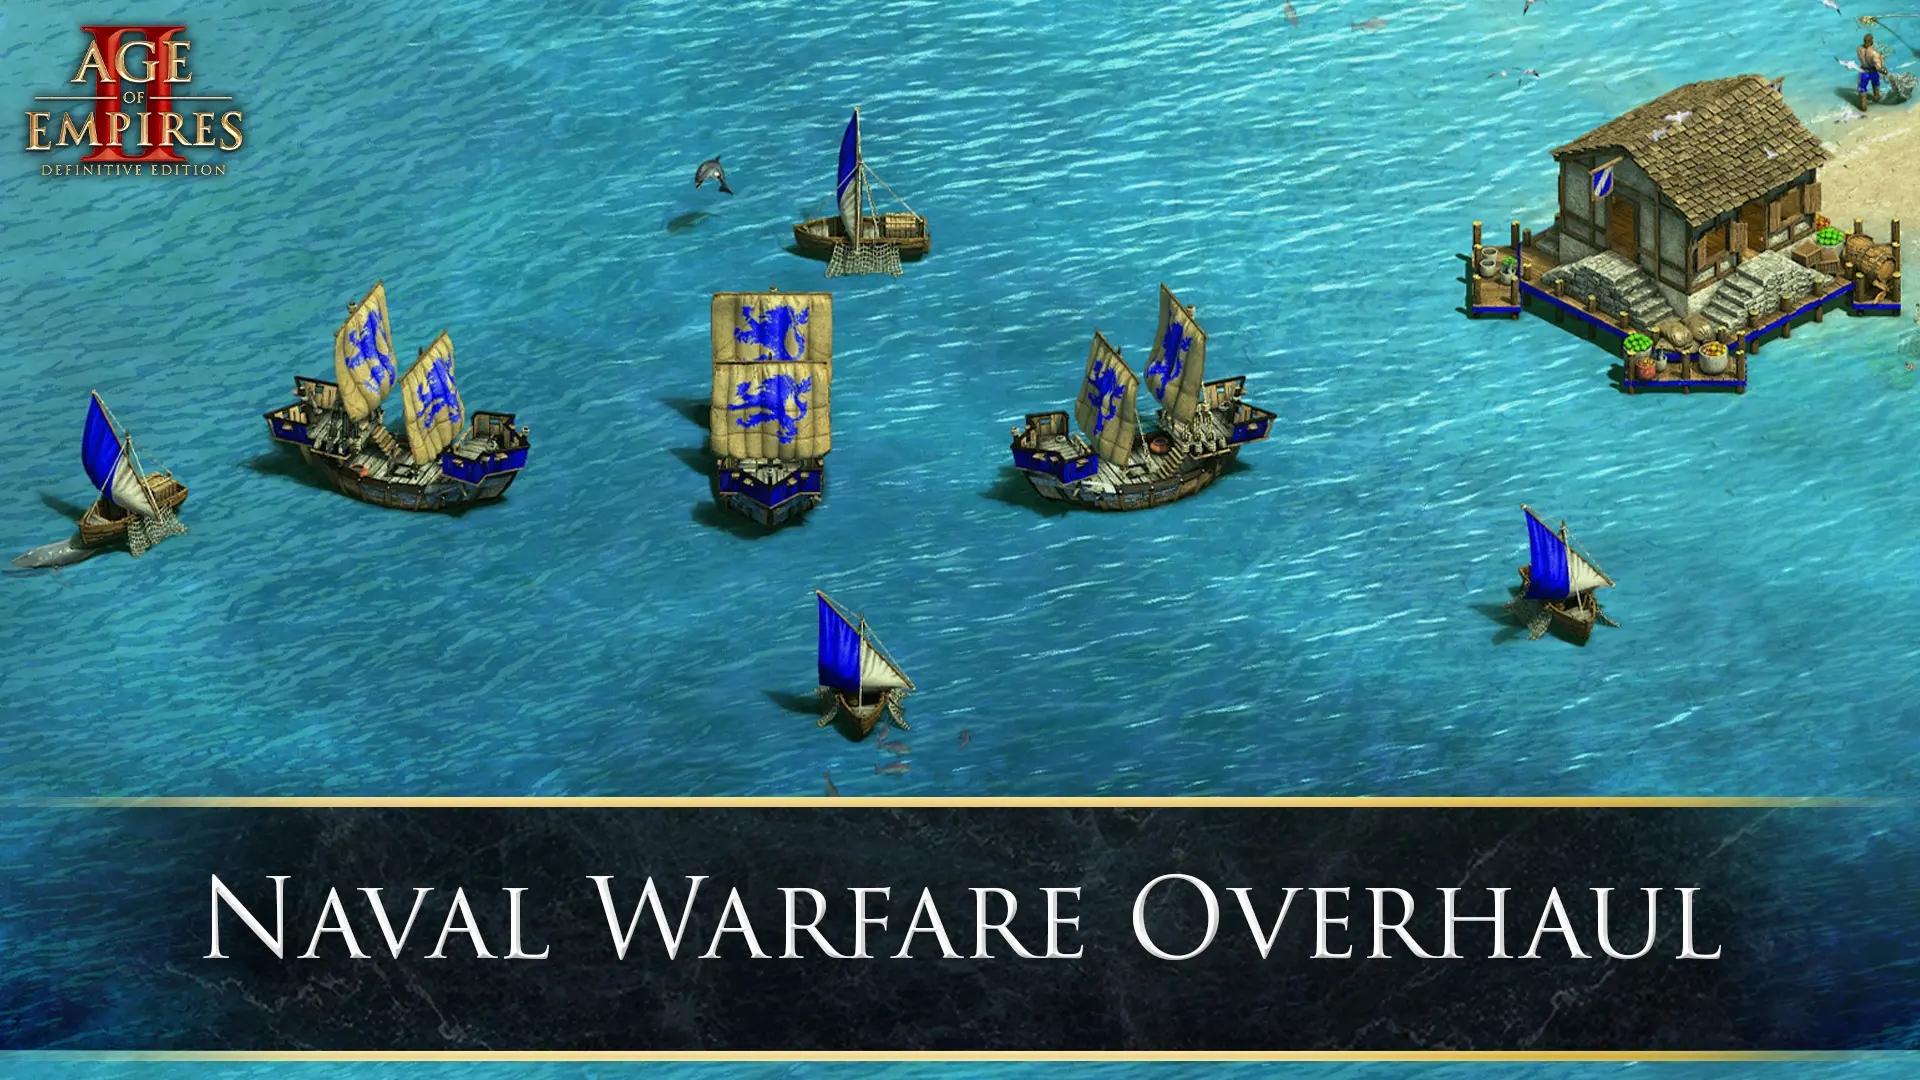 Update 169123UpdateUpdate 160062UpdateUpdate 162286Update
 Update 169409UpdateUpdate 169652Update
 Update 170934Update
 Update 32911Update
 Update 33059Update
 Update 33164Update
 Update 33315Update
 Update 36202Update
 Update 35584Update
 Update 34055Update
 Update 34699UpdateUpdate 36906UpdateUpdate 32708Update
 Update 174992UpdateUpdate 175278UpdateUpdate 178524UpdateUpdate 179158UpdateUpdate 180059UpdateUpdate 37650UpdateUpdate 39284UpdateUpdate 40220Update
 Update 40874Update
 Update 41855Update
 Update 42848Update
 Update 44725Update
 Update 46295UpdateUpdate 47820UpdateUpdate 50292Update
 Update 51737UpdateUpdate 54480UpdateUpdate 56005UpdateUpdate 58259UpdateUpdate 59165UpdateUpdate 61321UpdateUpdate 62085UpdateUpdate 63482UpdateUpdate 66692UpdateUpdate 73855UpdateUpdate 77209UpdateUpdate 75350UpdateUpdate 78174UpdateUpdate 81058Update[[#Age of Empires|Update 83607]]UpdateUpdate 87863UpdateUpdate 90260UpdateUpdate 93001UpdateUpdate 95810UpdateUpdate 99311Update