GUIDE · BATTLE STRATEGY
Skirmisher defense
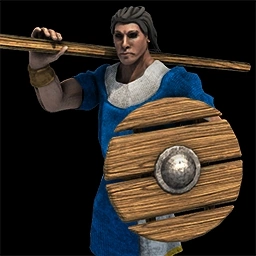
Skirmishers answer many ranged threats and protect workers or a slower army when screened.
Overview
Skirmishers answer many ranged threats and protect workers or a slower army when screened.
Plan and execution
Scout Archer production, add a Range when justified, and keep Skirmishers near vulnerable workers or behind a defensive line.
Risks and adaptation
Cavalry, infantry, and siege punish unsupported Skirmishers. Stop making them when the matchup changes. Keep Skirmishers behind a wall, Spearman screen, or other unit that can stop cavalry reaching the firing line. Once the enemy stops producing Archers, use the Range for a more relevant unit.
Decision example
A small Skirmisher group can push Archers away from an exposed camp, especially with armor and range upgrades that match the enemy's research. Keep it behind a wall or Spearman line because a cavalry switch reverses the matchup quickly. Track whether the opponent is still producing Archers; adding more Skirmishers after the threat ends ties up food and wood that could fund Castle Age. Use the defended time to move workers back to resources and prepare the next army line.
- Focus
- Ranged-unit counterplay
- Signature / category
- Plan and execution
- Release / context
- Age of Empires II system
- Region
- Battle strategy
- Classification
- Battle strategies