Objectives
- Reroute Perimeter Station
- Reroute Factory Station
- Reroute East Park Station
- Head to the Surface / Help the Survivors
- Reroute the Vanished Station
- Calibrate Platform A
- Calibrate Platform B
- Talk to Dr. Florez
Walkthrough step-by-step
Power Lines is the fifth main mission in the Contain the Crisis questline and one of two sub-quests of Notes: Plan of Attack (start it via Arish's Briefing first). The CFD needs a lot of power — a maintenance team was sent to reroute power from the city grid through the subway stations but disappeared along with an entire subway station, and Arish wants Dylan to finish the job.
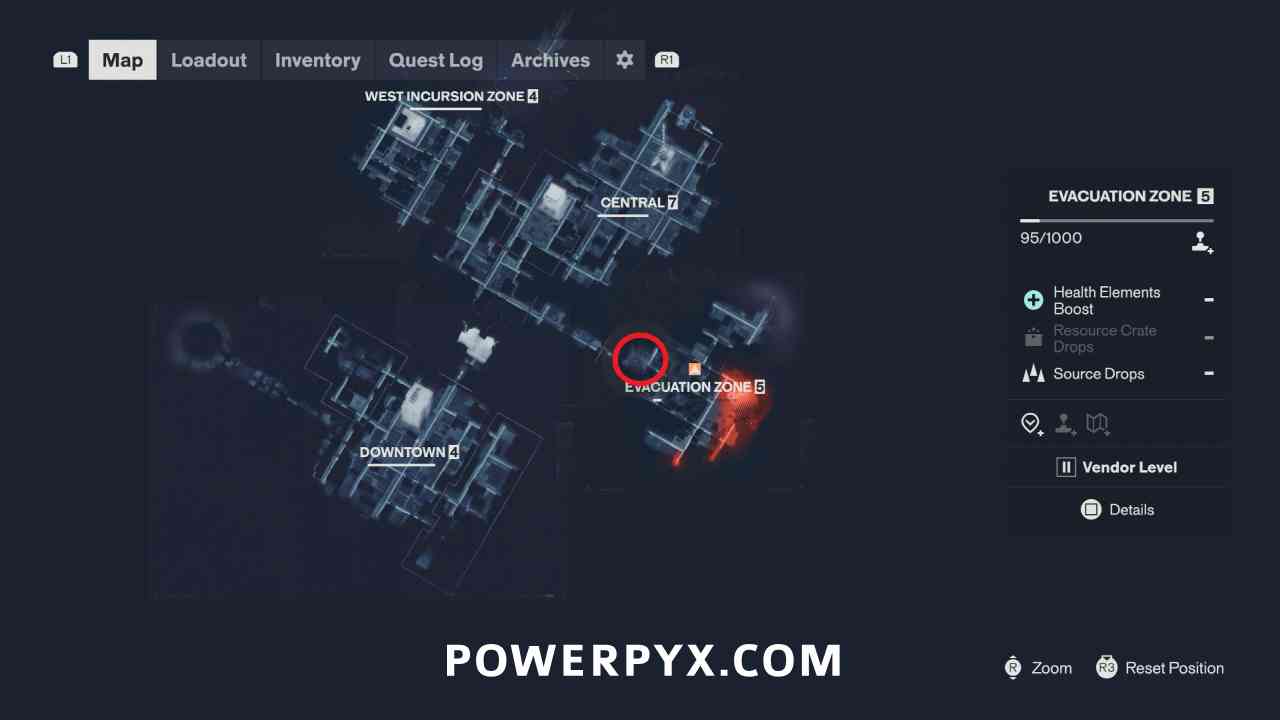
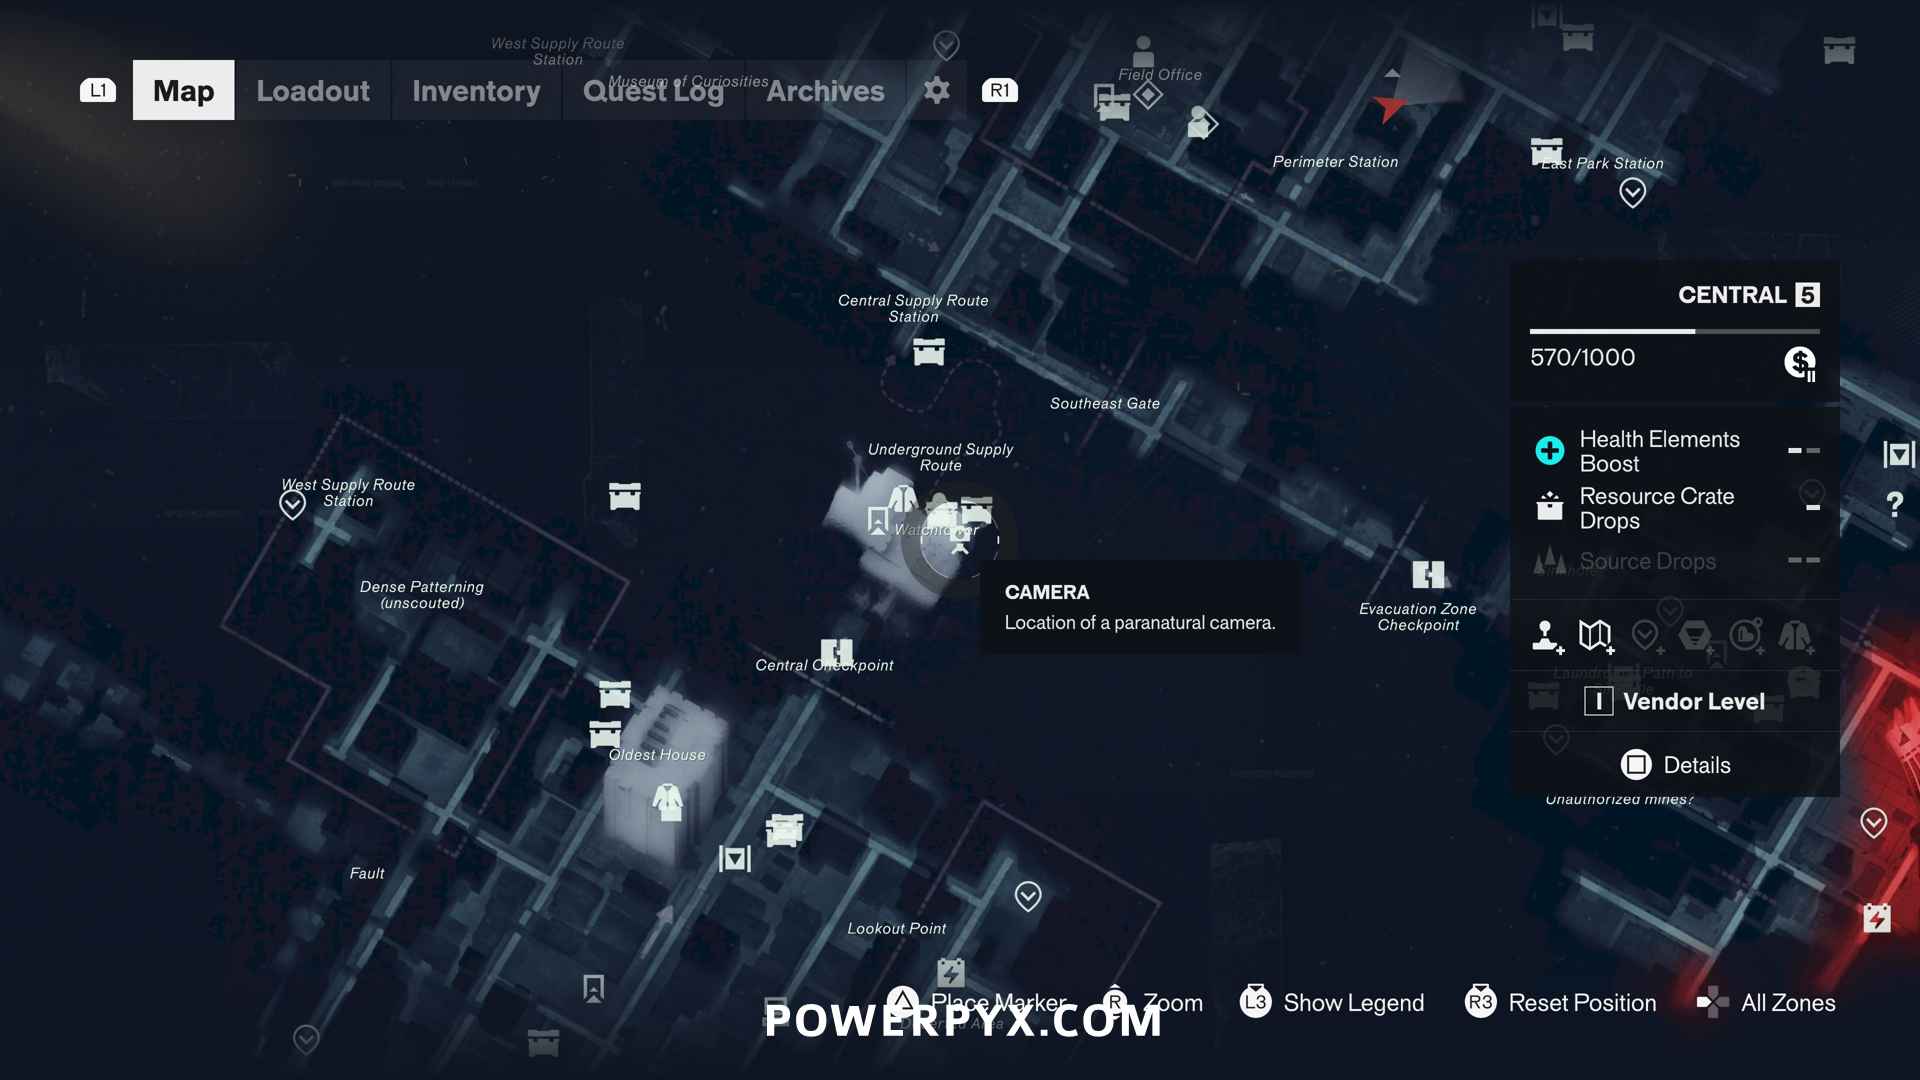
Access: all three powerline stations sit in the Central region, east of the Field Office. Reach the area through the Level 1 Clearance door directly east of the south corner of the Field Office building.
1. Reroute Perimeter Station
The closest station, down the road east of the Field Office area. The entrance is along the road on the west side of the search area — defeat the Hiss group, then go down the stairs into the subway. In the first part, pull an electrical charge to a second nearby box to enter a room with a Materials crate. Then pick up the 3 Calibration Units (shown as boxes on the minimap) and place them in the yellow squares (leylines) near the Tuning Device — placement spots show yellow tape on the ground, and hints sit in notes near the central machine.
Before placing anything: go back up, grab the electric charge used earlier, bring it down to the end of the track to the north, and place it to open a shutter hiding one calibration unit. Then place the three units:
- First: in the room just opened, near the stairs.
- Second: at the far end of the tracks in the dead end — take it back up the stairs the way you entered (grab the charge from the door where you picked up the first machine and run it back to its original spot to place this machine).
- Third: up the stairs opposite where you entered, in the spot immediately beside it.
Return to the large central machine and interact: with all devices placed correctly (1 in the square closest to the machine, 2 in the squares furthest away), the light turns green and the number changes to 1.
2. Reroute Factory Station
To the north, behind the Patterned Factory area. The entrance is along the road on the north corner of the Patterned Factory — defeat the Hiss and Mold fighting there, then descend the stairs. On the way down, grab a calibration device from a shop on the right and bring it into the subway area; line up all three calibration devices with the larger machine.
- First: in the spot directly at the bottom of the stairs.
- Second: found through the tunnels under the entry stairs, placed in the first spot between the two benches.
- Third: sitting on the train to the left — pick it up and put it in the other spot between the two benches.
Activate the big machine once everything is lined up (all 3 devices forming a straight line in front of the machine).
3. Reroute East Park Station
To the southeast, past Perimeter Station. The entrance is at the intersection on the north end of the search area — defeat the Hiss and descend the stairs. On the right side of the first station level, grab the first calibration device and bring it down to the platform; drop it nearby since mold must be cleared first. On the platform, destroy the three mold growths to reveal the three device placement spots. Before placing anything, interact with the big machine in the middle repeatedly until it teleports you to the room in the upper area where the calibration device sat behind a gate; attack the panel on the left to open the gate, then bring the device down. The third calibration device is already next to the machine where the mold was cleared. Place all three devices in the yellow squares around the machine, then activate it to finish rerouting power.
4. Head to the Surface / Help the Survivors
After activating the machine, try to exit — the door is now a wall. Go up the stairs and interact with the speaker on the wall and the wall itself to explain to Zoe that you cannot exit. Return to the platform and go down the subway tunnel where the spinning wall was; defeat the Mold enemies blocking the way in the first room, then continue down the tunnel.
5. Reroute the Vanished Station
The next area needs two more stations calibrated. Before doing anything with Platform B, go up the stairs near where you entered and follow the path up. On the upper level, take the charge from the box powering the light and use it on the one near the door. In this room there is a calibration device plus a Health Upgrade crate. Before moving the calibration device, go to the opposite wall where a mold can be broken, opening the way to the people who were talking on the radio, along with more of the machines (the power/light must be off so the mold does not regrow). Carry the two calibration devices from this area back to Platform B; also carry the electric charge to the power box on Platform B so both boxes on Platform B have electricity. Interact with the machine on Platform B and it teleports you to Platform A. Note: Platform A must be calibrated first before Platform B can be properly calibrated.
6. Calibrate Platform A
On Platform A, follow the path south where you can break a panel to open the gate leading back to where the survivors were. Take one of the electric charges and run it down to the spot on Platform A — placing electricity here opens the gate up the stairs to grab the third calibration device. A fourth calibration device has spawned in the middle room where the survivors are. Place two calibration devices around Platform A: one spot is below the mold — carry the electricity back to the middle room, then destroy the mold and it will not grow back. After placing both calibration devices, interact with the machine on Platform A to calibrate it. Summary:
- Power both electric boxes at Platform B to teleport to Platform A.
- Power the electric box at Platform A to open the upstairs gate for a calibration device.
- Remove electricity at Platform A to destroy the mold.
- Place 2 calibration devices at Platform A.
7. Calibrate Platform B
Run back to Platform B through the central area. From when you turned the electricity on here earlier, 4 mold spots should have grown — the two mold spots in the middle fill the gap between the broken power wires on the ground (they conduct the electricity). If you accidentally destroyed the mold over the wires, grab the electricity again and place it on the power boxes at Platform B. Then make sure the power at Platform B is removed (carry it to the two power boxes in the middle room upstairs). Now break the mold on the two black platforms on the edge of the station, but not the two on top of the wires, since those are needed to conduct electricity. With both calibration devices placed and two mold in the middle, turn on the machine at Platform B. Summary:
- Turn on power to grow mold in the middle.
- Remove power to destroy mold on the sides (keep the middle mold).
- Place 2 devices on the sides.
- Interact with the machine.
8. Talk to Dr. Florez
This spawns more Mold enemies in the area — defeat them, then go back up to the central area and speak with Dr. Florez once more to complete the mission.
Rewards & unlocks
- 1 x Living Shard
- Counts toward Notes: Plan of Attack — pair with Into the Sinkhole (and the Central and West Incursion Zone Resonant bosses) to unlock Enemy of My Enemy.