The side quest
There are 14 Freeze Frame cameras (instant photos) across Manhattan — 2 per zone. Finding every camera and interacting with it from behind finishes the side quest Freeze Frame, which is one of six requirements for the Panopticon Intern trophy/achievement (alongside The Party Won't Stop, The Complete Set, A New Directive, Into the Valley of Death, and Panopticon Service Request).
You can start two ways: bumping into a camera itself, which briefly freezes Dylan then vanishes, or finding the paired Instant Photos — the first photo pair sits on a desk at the back of the FBC Field Office, right of a brown pillar, near a plant and camera rolls. It's one of the earliest grabbable quests, picked up during your first conversation with Zoe on the second floor of the Watchtower in Central. Note: this page's per-location detail is still being expanded — the approach notes below are being completed.
How the cameras work
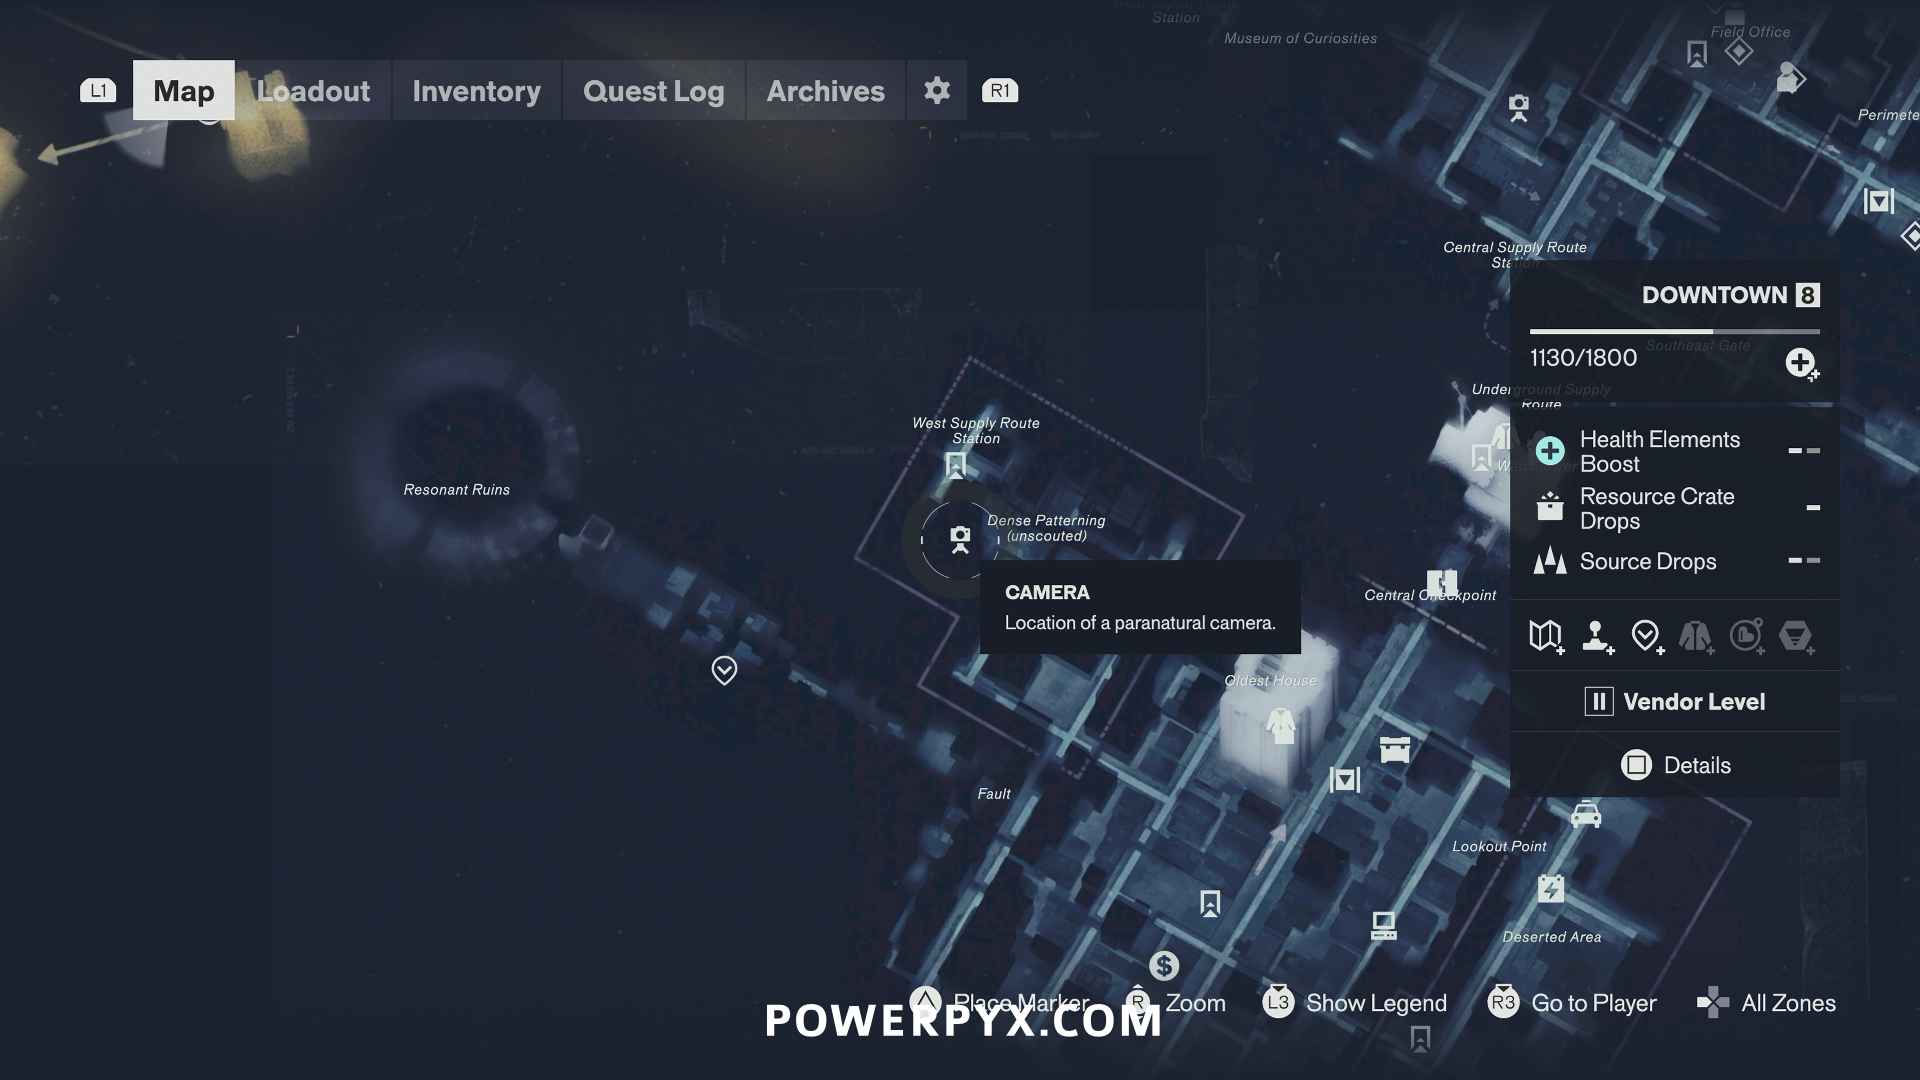
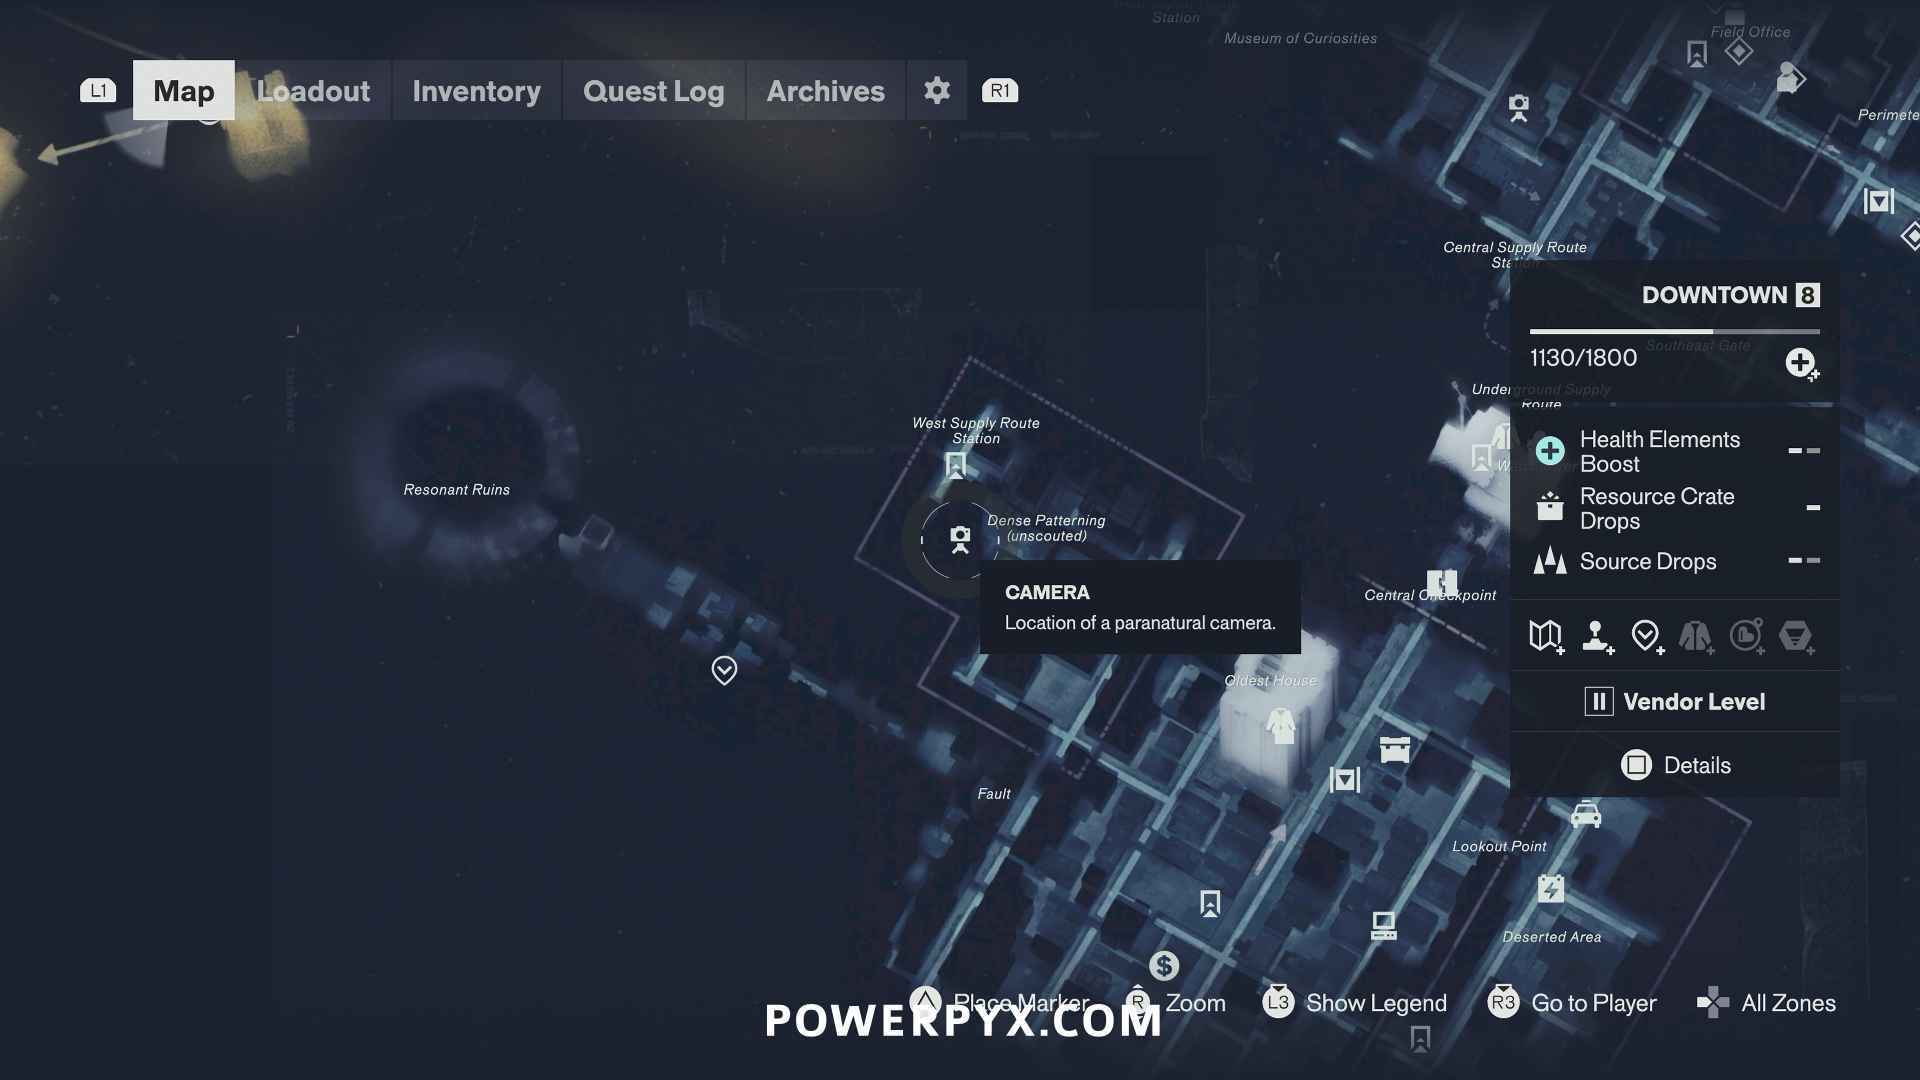
Each camera must be reached from behind without being seen. If it spots you, it freezes you briefly and vanishes — walk away until a clicking sound plays, which signals it has respawned, then try again. Cameras appear as camera icons on the map once you get close. After interacting with a camera from behind, pick up the Instant Photo it drops — the photo points to the zone and location of the next camera. Nothing is missable; everything works in post-story free-roam.
Before attempting all cameras, finish all three Jesse Sightings quests (The Incursion Fault, then The Subway Fault, then The Underpass Fault) for the traversal abilities, equip Ground Slam (earned by defeating the West Incursion Zone Resonant, equipped via the Mural in The Gap) to break Ability Barriers on rooftops, and obtain Ignite or Inferno from the Central Zone Resonant.
Camera approaches
Common techniques: alternate hidden routes, platforming behind the camera, spending electric charges to open doors, smashing through rooftops with Ground Slam, or unlocking a door behind the camera then backtracking to it.
- Downtown #1 — smash the ability barrier on the roof above with Ground Slam; reach the roof from the street slightly northwest using Shift gravity to walk up the roof's side.
- Downtown #2 — carry electricity from the Power Core Station north of the camera to the roof slightly northeast, then to the door behind the camera.
- Central #3 — from the Watchtower fast travel door, go downstairs into the open storage room, climb the scaffolds, and drop through a hole in the ceiling to land behind the camera.
- Central #4 (needs Reach from Jesse Sightings: The Subway Fault) — let the camera spot you, go down inside the building, open the bottom-floor door, walk outside until the respawn click, then backtrack upstairs behind the camera.
- West Incursion Zone #5 — on a platform on a building's side; use Shift gravity at the end of the street (slightly west), jump toward the flying platform in 180° inversed gravity, then a second platform spawns leading to the camera.
- West Incursion Zone #6 — in the far northwest corner, on a sideways-flipped building (Shift gravity); drop onto the camera from the roof above, using Reach to climb the second roof.
- Evacuation Zone #7 — bring electricity from the Power Core Station in the southeast corner along the street west (two electrical boxes: one on the street, one below the elevator), then use Reach to get on the camera's roof and power the cube by the door.
- Evacuation Zone #8 — let the camera spot you, walk past into the building, take the elevator down, exit at street level, walk until the click, then backtrack via the elevator to get behind the camera.
- The Park #9 — in the underground subway station (enter from the street slightly north, at "Nomand Avenue Station"); burn the webbed blocked wall on the left path with Ignite/Inferno to get behind the camera.
- The Park #10 — on a platform above the sewer entrance; carry electricity from the electric cube on the street south (near the jacket map icon) to the elevator slightly west, ride up, and jump across.
- The Underpass #11 — on the northeast island, looking out of a yellow-lit corridor; hug the left edge, look down for a grapple point (Reach), and drop through a floor hole behind the camera.
- The Underpass #12 — on the island south of Tubes Island, up in a moldy wall; use Shift gravity, follow the red floor, drop through the upper opening opposite the camera (or jump-dash from a nearby pillar with midair quick attacks for distance).
- The Unknown #13 — at a construction site behind a hole in the blue mold; enter the main building, go downstairs, defeat the mold ambush, and access the camera from behind (flip gravity 180° if the site isn't visible).
- The Unknown #14 — inside a shop; let it spot you, enter the shop behind it, hit the red garage-door button, walk away for the respawn, then re-enter through the opened garage.
Final objective — Contain All Cameras in Downtown
After all 14 cameras are done, a call sends you to Downtown, where a marked quest area contains many cameras to shut off from behind. Being seen resets the objective, and the cameras spawn in different spots each attempt.
For the remaining Panopticon Intern requirements, see the Trophies & Achievements List and the 100% Completion Roadmap.