How Secret Hideouts work
There are 6 Secret Hideouts across Manhattan, one per zone except the Underpass (which has none). Entering all of them unlocks the Backroom Espionage trophy/achievement.
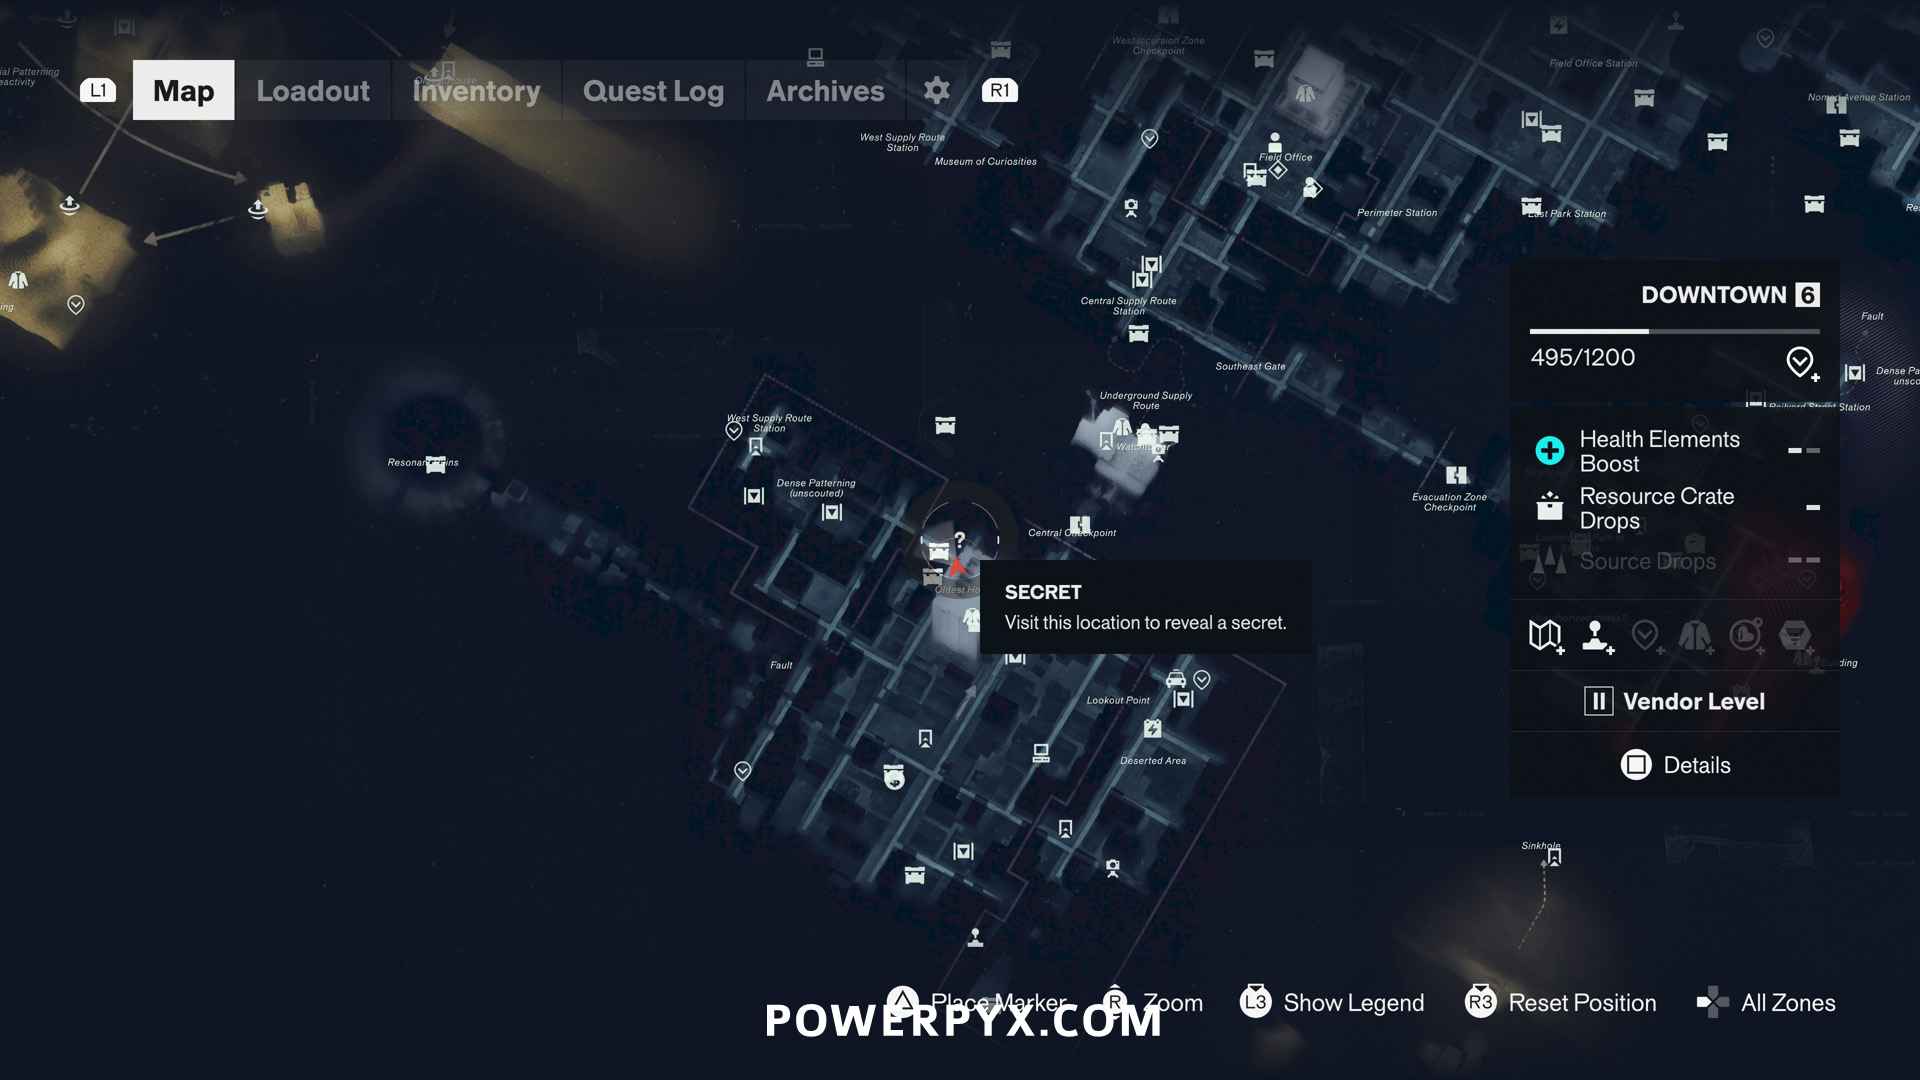
Every hideout sits inside a shop reachable from street level. Inside certain shops you'll find walls bearing a black marking. A note in the shop gives a hint; solve the puzzle by interacting with shop objects in the right order or pattern, and the wall opens into the hideout. Each hideout holds a Health Upgrade crate, so all six together give you 6 health-upgrade pieces. They show on the map as "?" secret icons when you get close, can be done in any order, and nothing is missable — everything works in post-story free-roam.
Hideout locations and solutions
- Downtown — "Atlantis Restaurant" (green entrance, entered from the street). Interact with objects in this order: (1) wall box in the back right corner (has the L1/LB prompt), (2) radio on the left from the entrance, (3) dark coffee maker on the counter, (4) white coffee maker on the metal shelf behind the counter, (5) soda machine next to the coffee maker, (6) microwave next to the coffee maker, (7) fridge behind the counter in the corner. The door opens; open the health upgrade box inside.
- Central — "Wear'Em & Wash'Em" laundromat. If a red barrier blocks the door, look up for red lines in the air and follow them to the destructible objects tied to the door; destroying them opens it. Inside, read the wall notes, then switch the washing machines to the right on/off pattern. There are 6 columns (1 = leftmost): column 1, turn ON the 1 interactable machine; column 2, turn ON the 2 interactable machines; column 3, turn ON the 2 interactable machines; column 4, turn OFF everything (one machine is on at entry and must be switched off); column 5, turn OFF everything (already off by default); column 6, turn ON the machine nearest the door, keeping the other 2 off. The door opens; collect the health upgrade.
- West Incursion Zone — "Urban Fresh" mart. Enter code 1213 on the cash register to open the wall. (The code comes from the soda dispenser's flashing lights, reversed, per the in-store note.)
- Evacuation Zone — Könstig art gallery (southeast of the Main Street fast travel door, middle of the zone, near a fast travel point). Light the sold paintings — the note lists them as Journey, Windows, Thunder, and Tides — using the L1/LB prompts on the 4 pillars around the room: front-left pillar = middle light, back-left pillar = left light, back-right pillar = left light, front-right pillar = middle light. The door in the left corner opens.
- The Park — "Atlantis" restaurant. Enter code BDAC on the cash register.
- The Unknown — "Pulse Fitness" (purple sign above the door). This area has two opposite-gravity versions; if the marker leads to an art gallery instead, you're on the wrong gravity end and must flip gravity 180 degrees to reach the street with the Pulse Fitness shop. Inside, interact with the machines in this order: Treadmill 0.5 MPH, then Bike 15 MPH, then Vending Machine, then Treadmill 15 MPH, then Bike 0.5 MPH.
Tips
Grab each hideout's note before guessing at the puzzle — the notes always point to the solution. Since the puzzles are self-contained, they pair naturally with sweeping a zone for sketchbooks and dogs. The six Health Upgrade pieces feed the Personal Development trophy (obtain 4 Health Upgrades), so by the end you'll have more than enough. For the full completion order, see the 100% Completion Roadmap.