Gold Coast - Fort
Gold Coast - Fort is a separate randomized Age III map variant, not a guaranteed copy of standard Gold Coast with the same resource and route layout. Its “- Fort” suffix distinguishes it in the map pool, while the generated terrain determines what the player can actually secure.
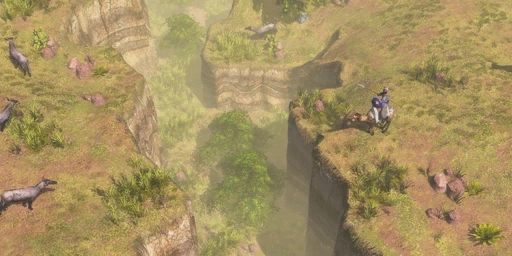
Map character
Read the match preview and scout Hunts, Mines, neutral sites and possible routes before using a standard Gold Coast opening. Do not assume the title guarantees a Fort objective or a fixed starting structure; confirm those details in the current map.
What to scout
Choose an expansion based on the observed terrain and the route your army can defend. Keep the normal Gold Coast entry separate when comparing map plans, because variant-specific generation may change the safe resource path.
Read this generated map as its own variant
Gold Coast - Fort is a separate Age III random-map entry, not a fixed copy of standard Gold Coast. The suffix identifies which map generation was selected; it does not by itself promise a Fort objective, a free Fort or a particular starting structure. Terrain and resource placement can vary between matches. Begin with the lobby map name and visible starting position, then use the Explorer to establish what this generation actually offers. Keep observations for Gold Coast - Fort separate from notes on standard Gold Coast so a remembered coastline or expansion route does not become an assumed feature of the wrong map.
Scout the first economy before choosing an opening
Start by locating the nearest Hunt, Mine and safe Wood line around the Town Center, then trace the routes between those resources and the opponent’s likely approach. This reveals whether the opening economy is compact or whether Villagers must travel through exposed ground. Check the spacing of natural resources before committing workers to a distant pocket. If the Explorer finds a shorter safe route, use it to place early production within reinforcement distance; if resources are scattered, keep the first army close enough to protect several gathering groups instead of overextending toward one isolated deposit.
Evaluate trade, neutral sites and water as separate investments
A generated Trade Route, Native settlement or useful coastline can change the value of an early Trading Post or Dock, but each option requires an actual site and a plan to hold it. Verify that the feature appears, estimate the builder’s travel and exposure, and decide which force can defend the approach. A Trading Post that cannot be protected may cost more in lost gathering time than it returns. Water is similarly conditional: build a Dock when the shoreline offers a usable fishing or transport route, not just because the map’s name contains “Coast.” Choose one strategic objective first, then expand if the army can secure a second.
Place production to connect the base and the next objective
Once the layout is known, place production buildings where new units can reach the threatened resource line or expansion without crossing the map unprotected. Keep the Town Center economy supplied while a forward group scouts or contests a neutral site. If the useful route lies toward the opponent, establish a safe staging point and retain a reserve at home; if the main value lies near the starting area, invest in a compact defense before moving Villagers outward. The goal is to make each building support a route the army can actually reinforce, rather than placing production according to a remembered fixed layout.
Adapt standard Gold Coast advice by its assumptions
An older Gold Coast build order may depend on a specific Trade Route, coastline, Native site or resource pocket. Before copying its timings, compare those assumptions with the current Gold Coast - Fort generation. Preserve the underlying decision when it still fits—for example, secure early income or protect a forward position—but change the placement and timing when the feature is absent or farther away. Recheck the plan after scouting the opponent’s side as well: a route that appears safe from the Town Center may be exposed to a short enemy approach. This makes the two map pages useful side by side while keeping variant-specific observations accurate.