Hudson Bay
Hudson Bay places teams on opposing shores of a resource-rich region. Cree and Inuit settlements and Harpooner and Highwayman outlaw options create several neutral targets, while the water gap affects reinforcements and expansion. The map’s resources and routes vary by generation.
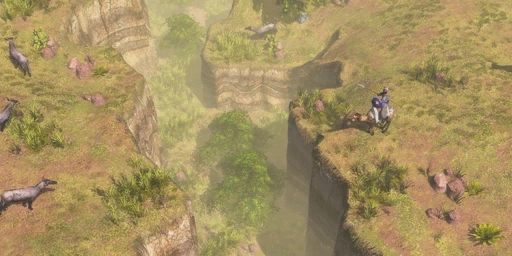
Map character
Scout the nearest shore, settlements and the approach toward the opponent. Decide whether the bay is a barrier, a fishing area or a route for a deliberate landing before investing in a Dock or transport. Compare the Cree and Inuit alliance choices with the army you intend to build.
What to scout
Keep the starting economy safe while exploring the crossing. Use naval spending for a specific fishing area, transport or defended shore; avoid splitting units across the bay before they can support one another.
Practical direction
The distance between shores makes reinforcement timing important. Establish one protected crossing and one useful neutral objective before extending to more distant resources.
The bay changes reinforcement distance
Opposing shorelines create more distance between forces than a direct inland route. Scout the nearest crossing and the resource sites on each shore before sending Villagers away from support. An army on the far side can threaten expansion, but it also needs a route for reinforcements or retreat. Keep a reserve on the home shore until the landing position can be held, and watch for the opponent to use the same water gap.
Select a neutral investment that can be defended
Cree and Inuit settlements offer different alliance choices; Harpooner and Highwayman outlaws are also listed. Reveal which site is closest and compare its units or technology with the force you plan to field. A Trading Post near the bay may be vulnerable from the opposite shore, so secure an approach before sending builders. Outlaw recruitment can complement the army, but should not consume the units needed to hold workers and the crossing.
Give naval resources a defined job
A Dock and ships make sense when they protect fishing, support a crossing or control a route the army needs. If the coastline is exposed or the bay does not create a useful naval path, land production may serve the opening better. A transport should carry a formed force to a chosen landing, not isolated units in repeated trips. Check actual shore access and resource placement each match because the generated layout changes which side is safest.
Choose Cree for flexible ranged pressure and economic utility
A Cree settlement gives access to a different package from the Inuit site. The Commerce Age Cree Tracker costs 40 Food and 80 Wood, trains in 20 seconds and has 260 hit points, 10% ranged resistance and 18 line of sight. Its ranged attack is built to punish light ranged cavalry, ranged shock troops and heavy infantry, while its lower multipliers against cavalry mean it should not be treated as a universal answer. The Cree Coureur des Bois costs 120 Food and takes 29 seconds; it can gather resources, build and claim Treasures, making it a worker-like investment that can also travel with an expansion force. Consider Cree when the plan needs long-range vision, a specialist ranged unit or another flexible gatherer. Keep the Tracker screened from cavalry and protect any Coureur sent to a distant shore.
Use the Inuit roster for a different timing and target set
The Inuit alliance in The Baltic Powers offers the Commerce Age Inuit Hunter and the Fortress Age Inuit Qamutik. The Hunter costs 60 Food and 50 Wood, trains in 30 seconds and has 130 hit points, 20% ranged resistance and 18 line of sight. Its ranged attack has strong listed bonuses against Pets, Mercenaries, Outlaws and Native warriors, so it is most useful when those target classes matter; it is not simply a stronger general-purpose Musketeer. The Qamutik arrives later, costs 110 Food and 110 Wood, and combines 420 hit points, 7.25 speed and a ranged attack of 15 at range 14 with a siege attack of 15 at range 10. The Fortress Age cost makes it a substantial commitment, but its mobility and durability can help pressure a shore or support a later push.
Compare the shore crossing with alliance access
The bay’s opposing shores make neutral-site access and reinforcement timing part of the same decision. A Trading Post or Tambo on the far shore is only useful if builders can reach it and troops can keep it. Before committing, reveal the settlement, the possible outlaw camp, nearby resource sources and a return route. A Cree Coureur des Bois can help establish an exposed economy, but its 120 Food cost competes with ordinary Villager production and its safe gathering still depends on protection. An Inuit Qamutik is a later combat option, not a substitute for securing the crossing in the opening. Claim the site closest to a defensible route and avoid sending units across one at a time.
Give the water a specific economic or military purpose
A Dock is useful when the coastline supports a plan: Fishing Boats can add Food income, while a Transport Ship can move a formed force to a chosen landing. Both uses need protection and a reachable shoreline. Scout first to see whether the bay separates valuable resources, creates a safe fishing area or offers an exposed approach for the opponent. If the water does not help the current economy or a planned attack, Wood and time may be better spent on land production and a defended Trading Post. Keep a reserve on the home side until the far shore can receive reinforcements, and watch for enemy transports while workers or ships are exposed.